4. USER MENU
4-9
4.6 NavNet vx2 Synchronization
The NAVpilot goes to the NAV mode when it receives a P sentence (proprietary FU-
RUNO sentence) from a NavNet vx2 equipment. For example, “autopilot information”.
You can turn this feature on or off as follows:
1. In the NAV mode, long press the key to open the menu.
2. Rotate the Course control knob to select [NavNet2] then push the knob.
[NavNet2] also appears on the [NAV Option] menu.
3. Rotate the Course control knob to select [OFF] or [ON] then push the knob.
4. Press the key to close the menu.
4.7 Data Source Setup
4.7.1 Sensor sync
When NavNet3 or NavNet TZtouch devices are connected to the same network with
the NAVpilot, the sensors connected to NavNet3 or NavNet TZtouch devices are avail-
able for the NAVpilot. Do as follows to share the sensors:
1. In the STBY mode, long press the key to open the menu.
2. Select [Other Menu] o [System Setup] o [Sensor Selection] to open the [Sensor
Selection] menu.
3. The cursor is selecting the current setting for [Sensor Sync]; push the Course
control knob.
4. Rotate the Course control knob to select [ON] or [OFF] then push the knob.
When [Sensor Sync] is set to [ON], the sensors connected to NavNet3 or NavNet
TZtouch devices are available for the NAVpilot.
5. Press the key several times to close the menu.
4.7.2 Data source selection
Do as follows to select the data source.
1. Turn on all sensors connected to the NAVpilot.
2. In the STBY mode, long press the key to open the menu.
3. Select [Other Menu] o [System Setup] o [Sensor Selection] to open the [Sensor
Selection] menu.
Sensor Selection
Sensor Sync: OFF
Heading Sensor
Speed (STW)
Speed (SOG)
Position Sensor

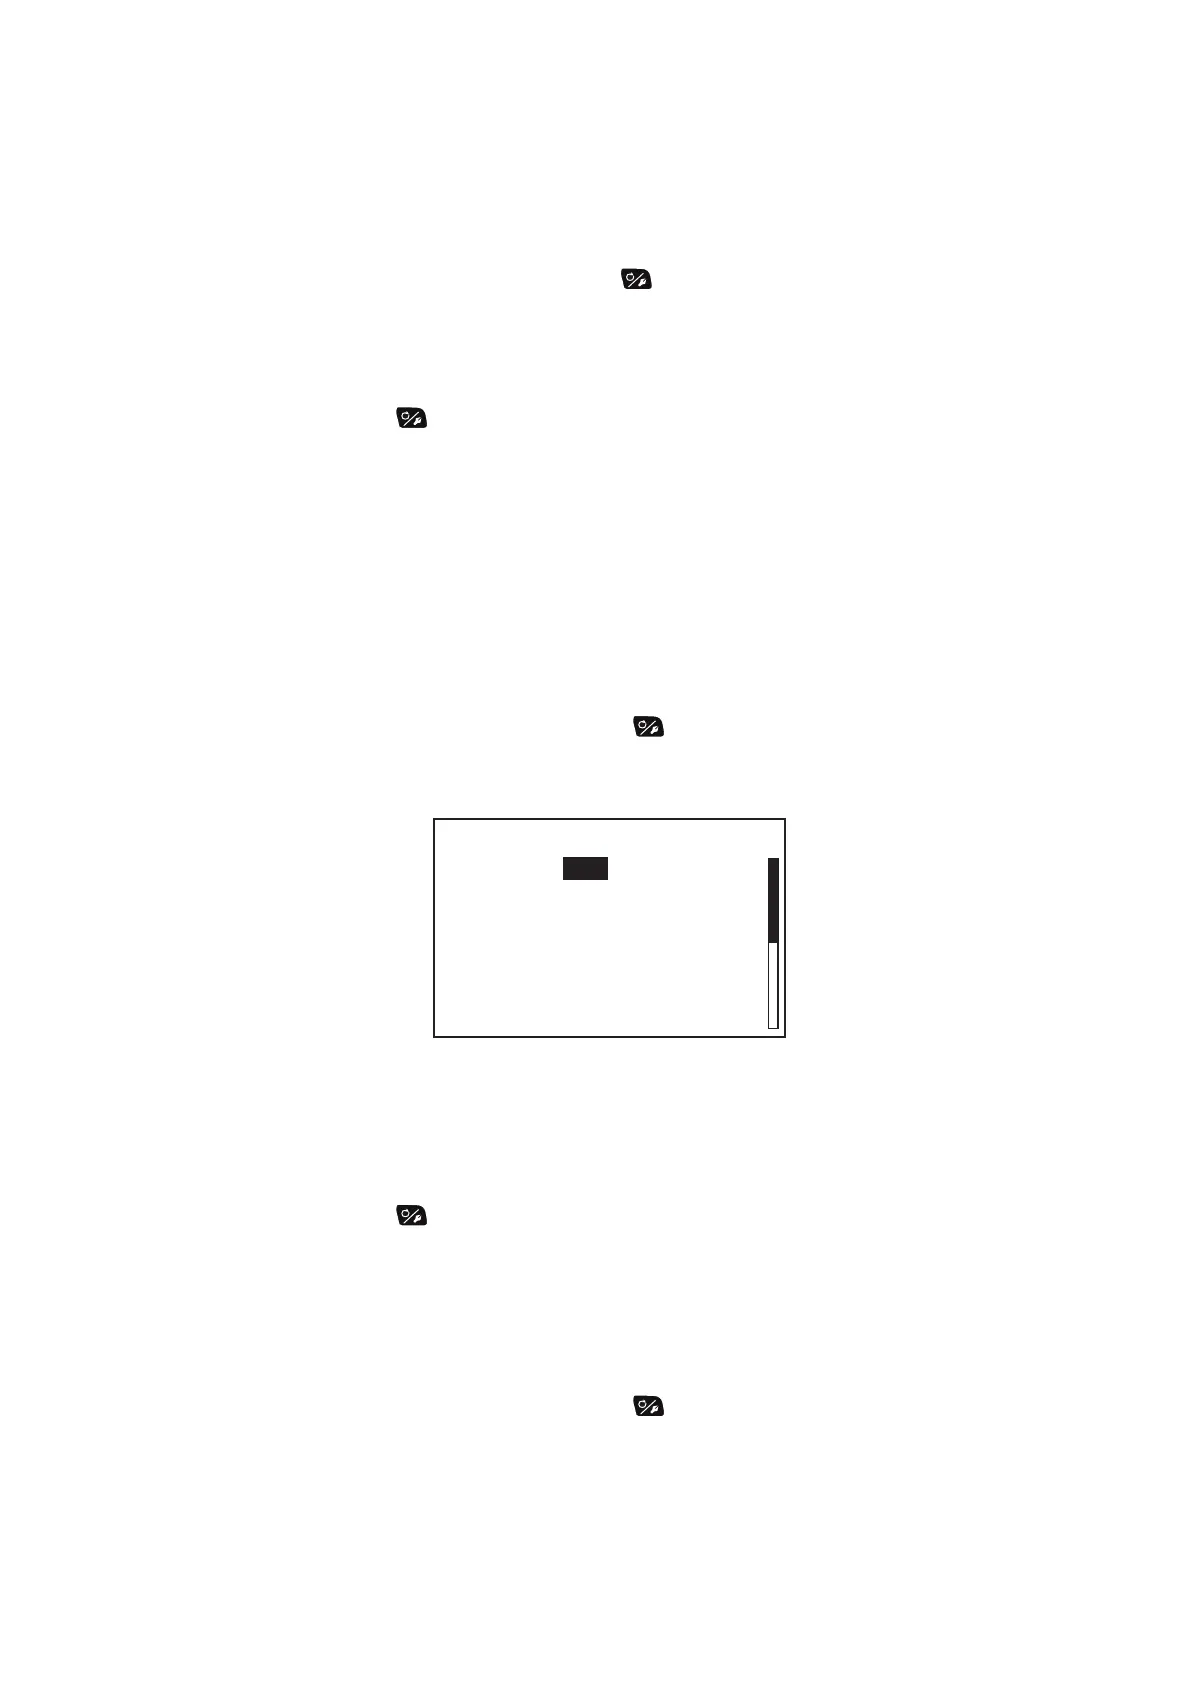 Loading...