6. INSTALLATION AND WIRING
6-3
6.1.3 How to install the control unit
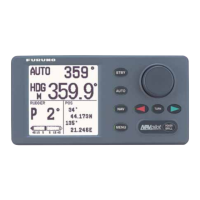
1. Detach the nut lock then unfasten the toothed nut.
2. Using the mount template at the back of this manual, open a mounting hole in the
installation site.
Note: According to the bulkhead thickness (d), the diameter of the mounting hole
changes as follows:
• d d 10 mm: Open a mounting hole of 90 mm in diameter.
• 10 mm < d d 20 mm: Open a mounting hole of 95 mm in diameter.
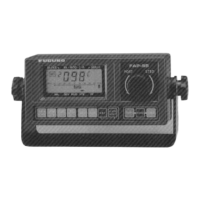
3. Attach the surface mount sponge to the mounting location.
Fit the notch of the sponge with the hole for the projection of the control unit to
prevent the sponge from blocking the hole.
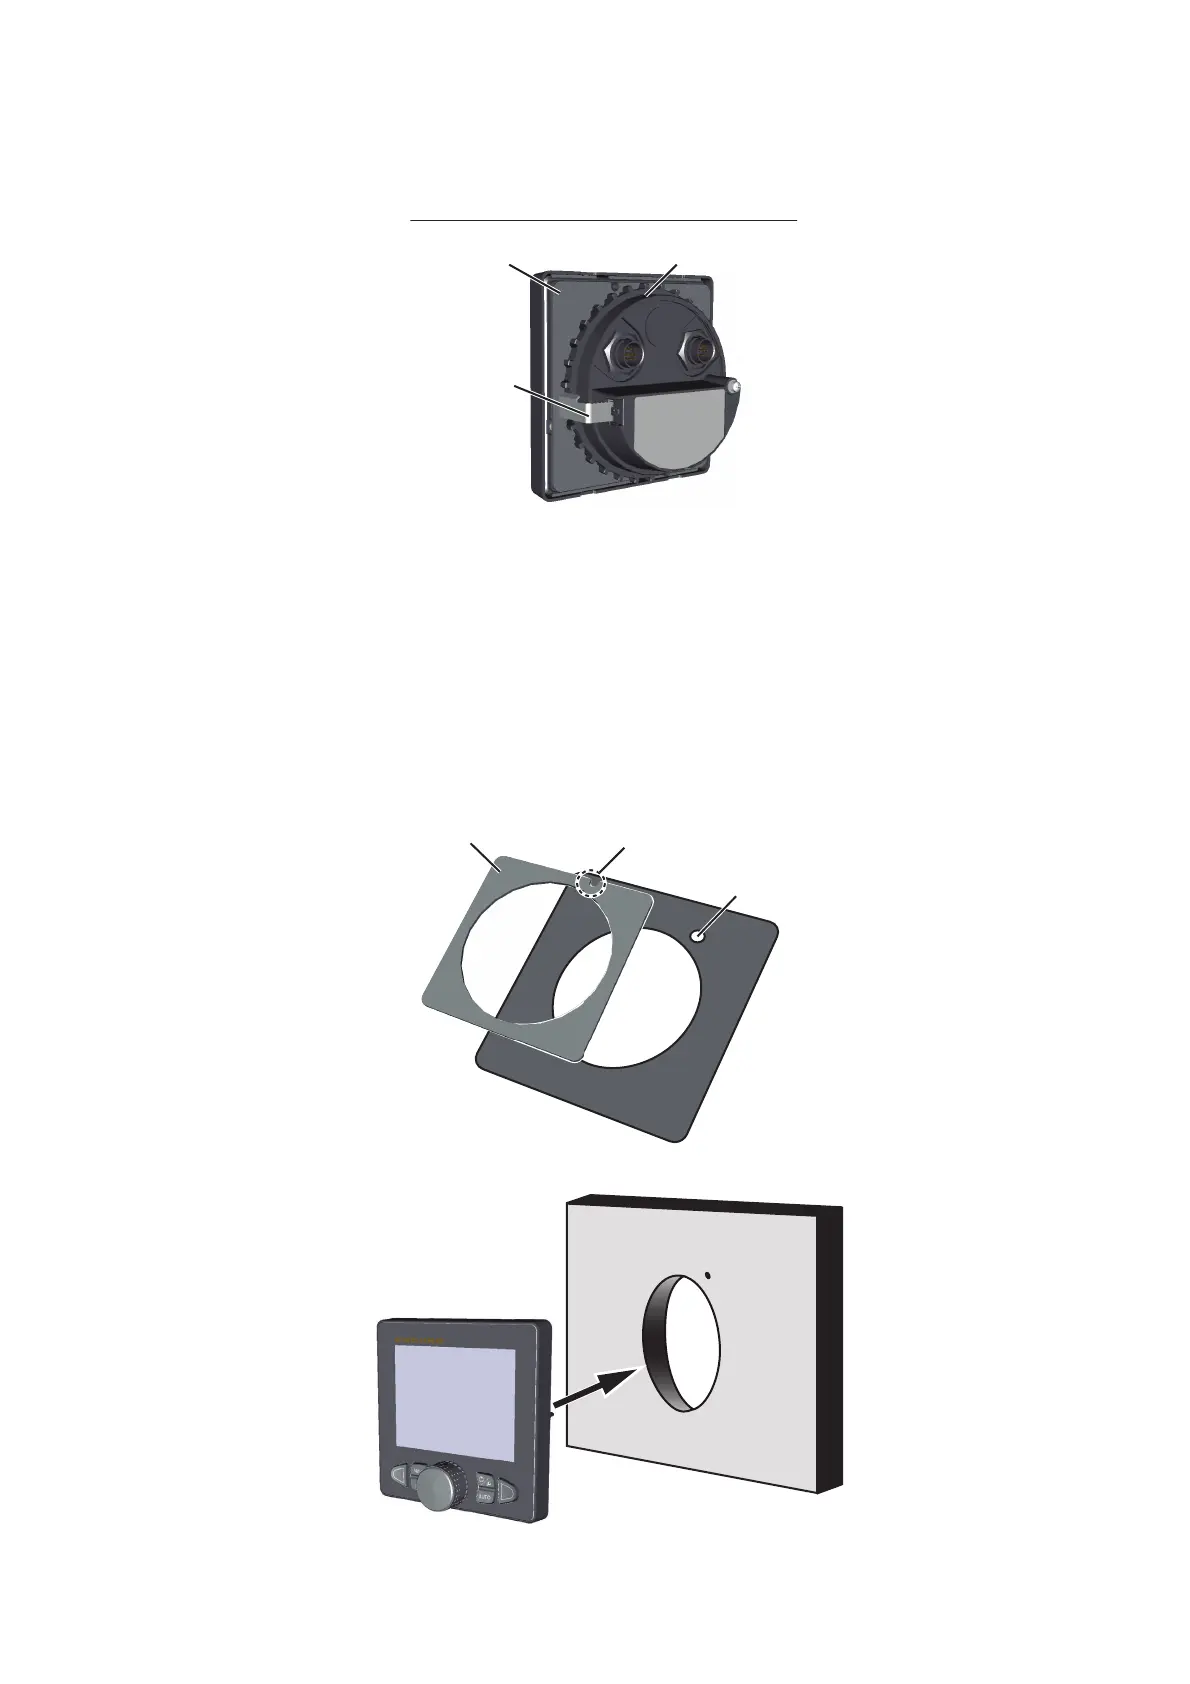
4. Set the unit to the mounting hole.
Toothed nutToothed nut
Nut lockNut lock
Control unitControl unit
The rear side of the control unit FAP-7011C
Hole for the projection
Notch
Surface mount sponge
Mounting hole
Mounting hole

 Loading...