2 GPSMAP
®
700 Series Owner’s Manual
Getting Started
Turning Off the Chartplotter
Press and hold the Power key.
Initial Chartplotter Settings
The rst time you turn on the chartplotter, you must congure a series of initial settings. These
settings must also be congured when restoring original factory settings (page 92). Each of these
settings can be updated later. Follow the on-screen directions.
GPS Satellite Signal Acquisition
When you turn on the chartplotter, the GPS receiver must collect satellite data and establish the
current location. When the chartplotter acquires satellite signals, the signal strength bars at the
top of the Home screen are green . When the chartplotter loses satellite signals, the green bars
disappear and a ashing question mark appears on the boat icon on the chart screen.
For more information about GPS, visit the Garmin Web site at www.garmin.com/aboutGPS.
Adjusting the Backlight
1. From the Home screen, select Congure > System > Beeper/Display > Display.
TIP: Press and release the Power key from any screen to open the display screen.
2. Select
Backlight.
3. Adjust the backlight:
Select Auto to allow the chartplotter to adjust the backlight automatically, based on ambient
light.
Adjust the slider manually.
NOTE: Select Auto to switch between Auto and Manual mode.
Adjusting the Color Mode
1. From the Home screen, select Congure > System > Beeper/Display > Display.
TIP: Press and release the Power key from any screen to open the Display screen.
2 Select
Color Mode.
3. Select
Day Colors, Night Colors, or Auto.
The Auto setting automatically changes the color scheme based on sunrise and sunset times.
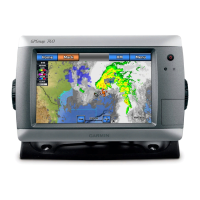
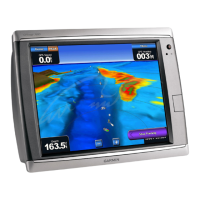
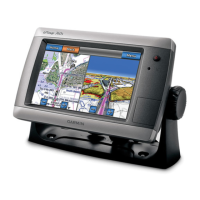
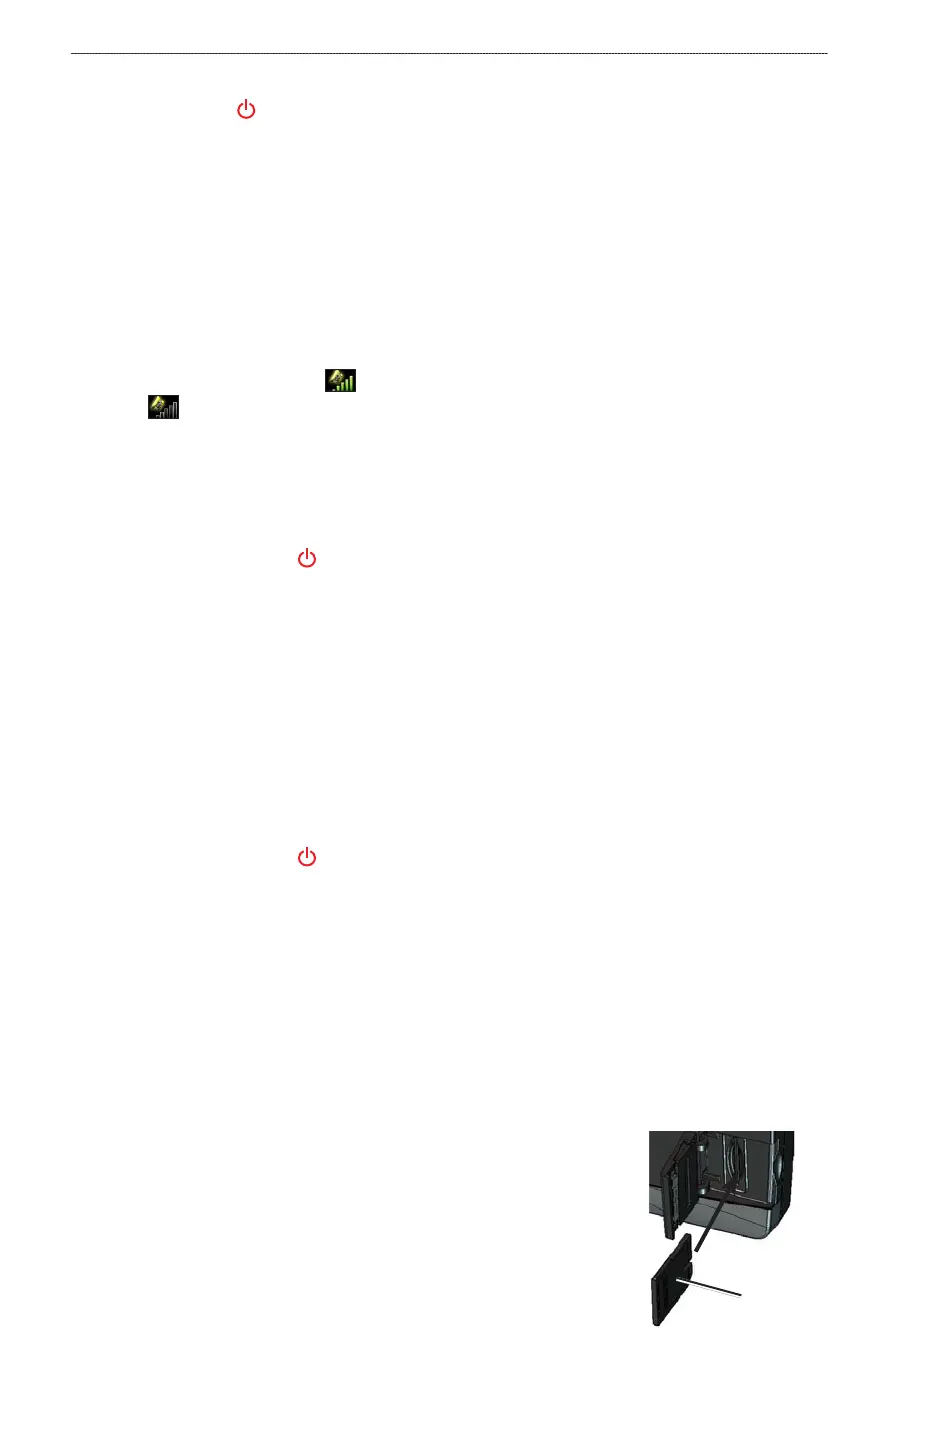
Inserting and Removing Data and Memory Cards
Insert optional BlueChart
®
g2 Vision
®
data cards to view high-resolution satellite imagery and
aerial reference photos of ports, harbors, marinas, and other points of interest. Insert blank, SD
memory cards to transfer data such as waypoints, routes, and tracks to another compatible Garmin
chartplotter or a computer (page 58). The SD card slot is located on the front of the chartplotter.
Open the access door, insert the data card or the memory card into the
slot, and press the card until it clicks.
Press the data card or the memory card into the slot again and release
it to eject the card.
•
•
•
•
Card labelCard label