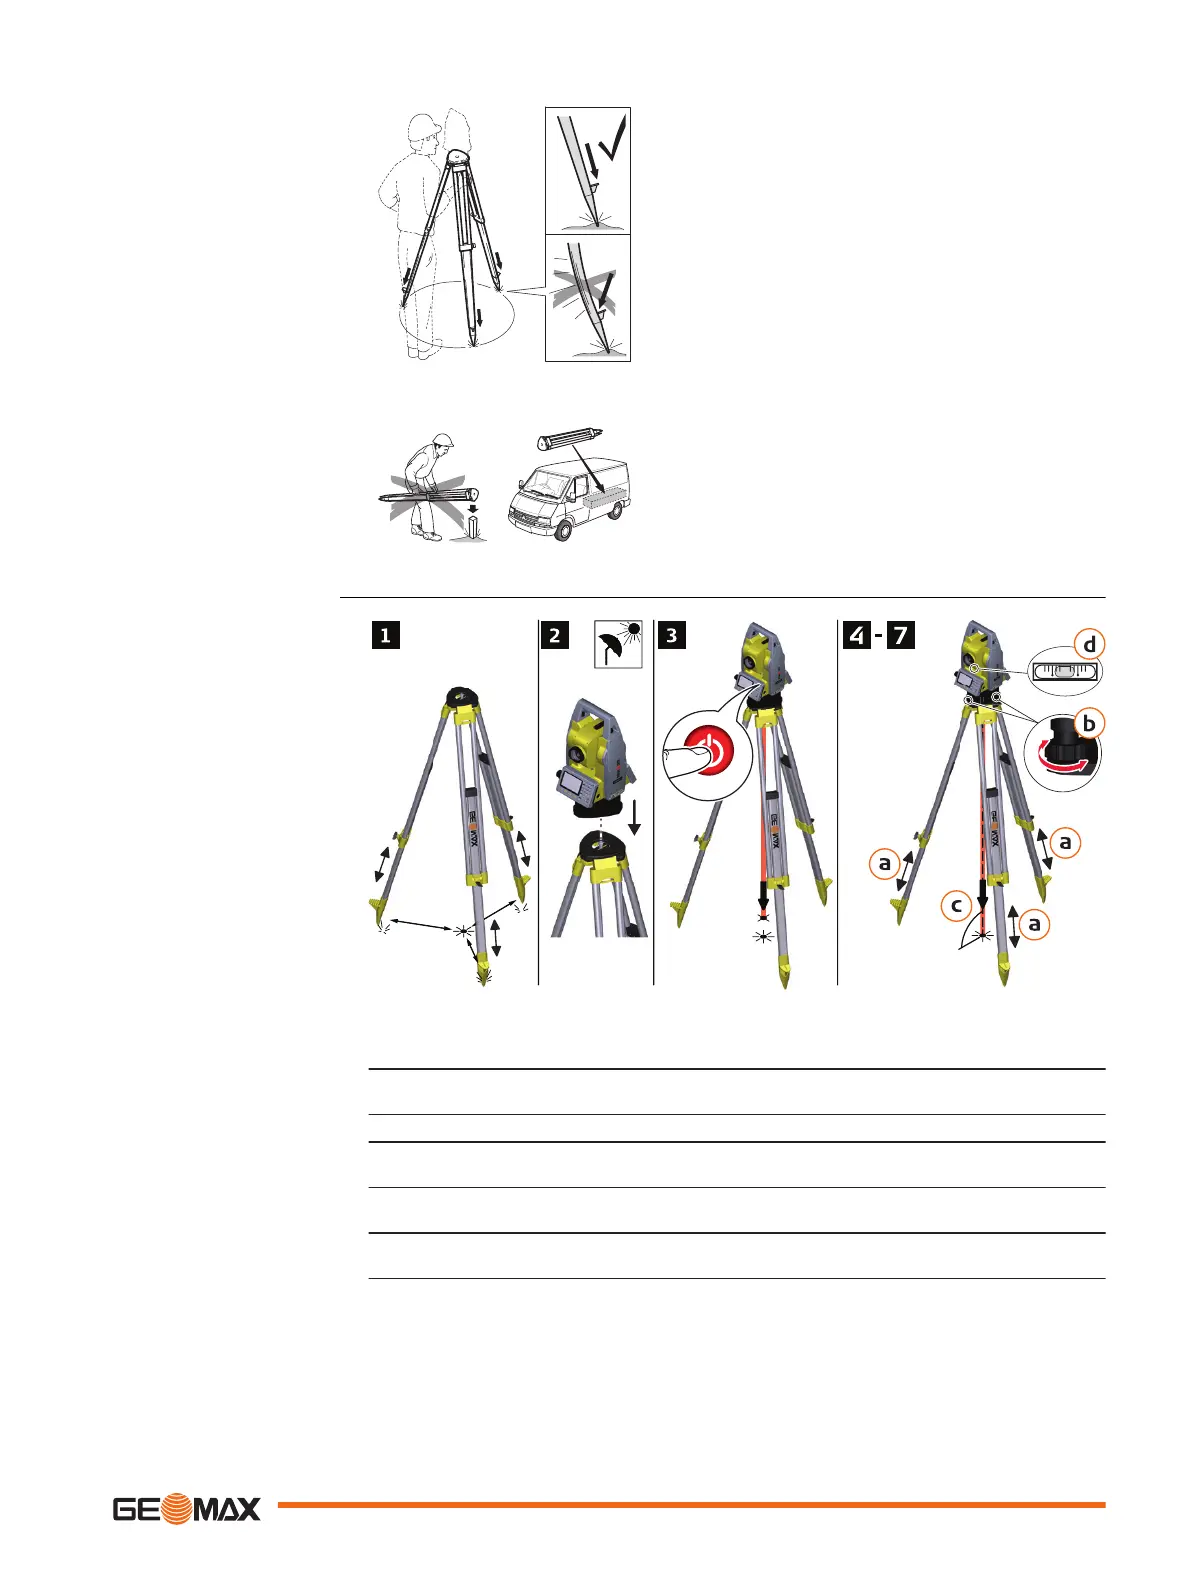
Loosen the clamping screws on the
tripod legs, pull out to the required
length and tighten the clamps.
a In order to guarantee a firm
foothold sufficiently press
the tripod legs into the
ground.
b When pressing the legs into
the ground note that the
force must be applied along
the legs.
Careful handling of tripod.
•
Check all screws and bolts for
correct fit.
•
During transport always use the
cover supplied.
•
Use the tripod only for survey-
ing tasks.
☞
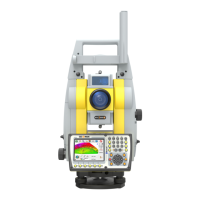
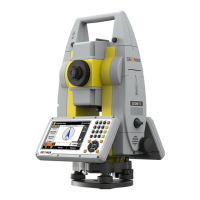
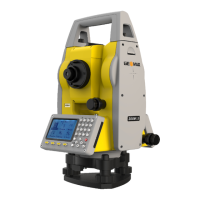
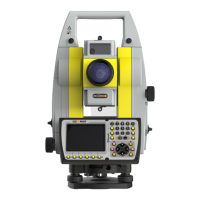
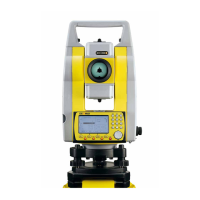
Insert the battery before setting up the instrument. When inserting the battery after
setup, the instrument may tilt slightly.
1. Extend the tripod legs to allow for a comfortable working posture. Position the tripod
over the marked ground point, centring it as best as possible.
2. Fasten the tribrach and instrument onto the tripod.
3. Turn on the instrument. To switch on the laser plummet, press FNC from within any
application and select Level.
4. Move the tripod legs (a) and use the tribrach footscrews (b) to centre the plummet
over the ground point (c).
5. Turn the instrument until the tubular level is parallel to two footscrews.
Adjust the tripod legs (a) to level the tubular level (d).
Setup step-by-step
Operation 25
 Loading...