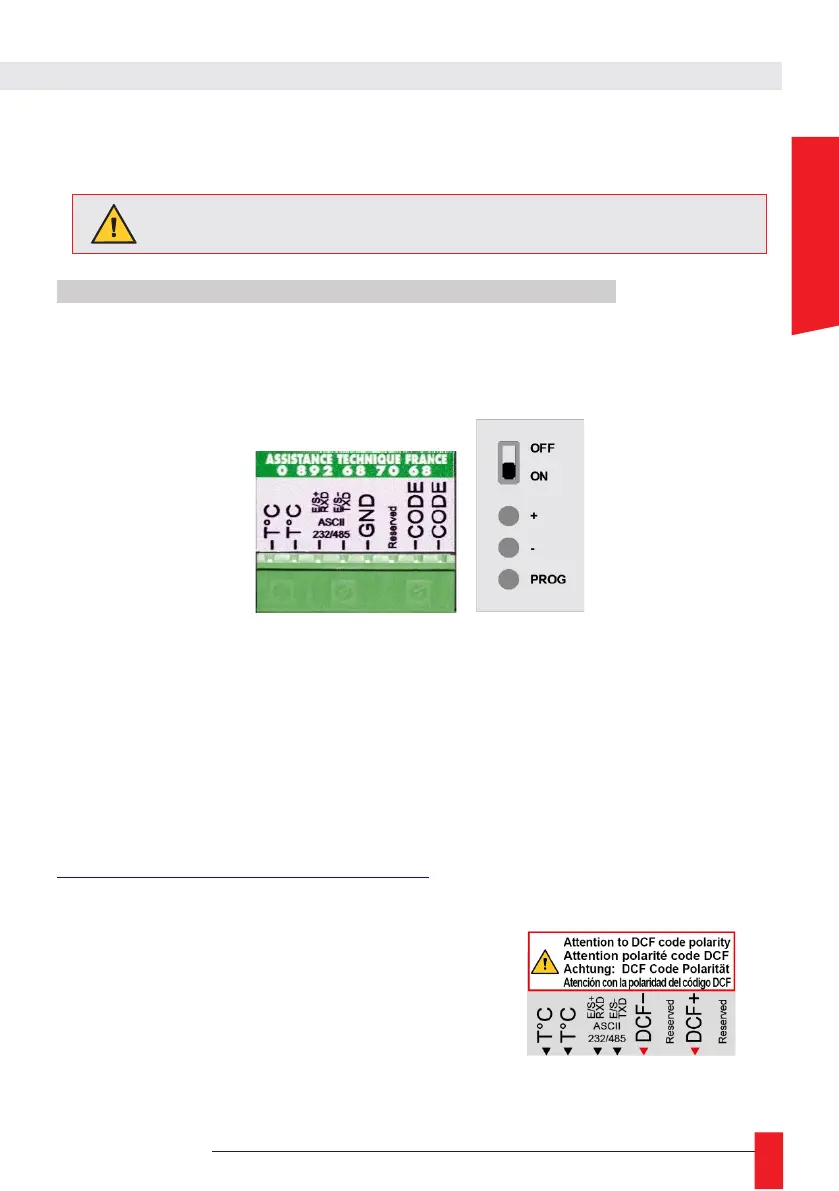
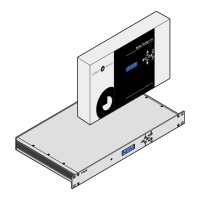
Before starting to connect the equipment,secure the bracket.
Note: if the two points CODE are not connected, the clock will automatically run on standalone mode
(except for impulse receiver clocks).
In case of mains cut, the clock display will be off, however time
keeping is ensured by built-in battery.
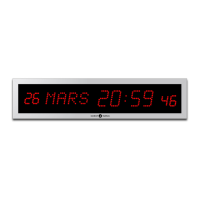
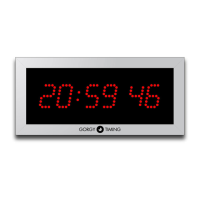
3.1. LEDI
®
CLOCK: MAINS CURRENT/TIME CODE/DISPLAY
► Connect the power supply.
► After connection, turn the clock operation by flipping the switch on the back of the clock
to the ON position (down).
3.1.1. Pulse receiver and AFNOR NFS 87500 time code receiver version
► Connect pulse or AFNOR NFS 87500 time code signal on the inputs CODE of plug-in terminal (no
polarity).
3.1.2. Radio-synchronized by TDF, DCF or GPS receiver version
► Connect TDF, DCF or GPS antenna on the inputs CODE of plug-in terminal (no polarity).
o position your antenna, please refer to instructions on antennas "MDE-ANTENNES-0085" available on:
https://www.gorgy-timing.fr/188-modes-d-emploi.htm
3.1.3. DCF 24V wired version
► Connect DCF input to the terminal – and +
Pay attention to the correct polarity: wiring mistakes may cause
severe damages.