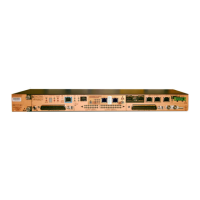
920550-5020 Rev 14 HN4000 Hardware Installation Guide
1
Installing the HN4000 Switch
2
2.1 Unpacking and Inventory
EachHN4000includesindividuallypackagedcomponentsthatmustbeinventoriedtoverify
thatallcomponentshavebeenreceived.
Step 1. Opentheshippingcontainersandremovetheequipment.
Step 2. InventorytheequipmentagainsttheShippingListdeliveredwiththeshippingcon‐
tainers.TheHN4000InstallationKititemlistsarelocatedinthesection
”RackMount‐
ingKits” on page B‐1.
Step 3. Ifanyitemsaremissing,incorrect,orifthereareanysignsofdamagetoanyitems,
seeAppendix E:ContactingHatterasNetworks.
Step 4. Movetheequipmenttotheinstallationsitewhentheinventoryiscomplete.
End of Procedure
2.2 Fastener Torque Requirements
TableC‐13onpage C‐6liststhetorquerangesforthefastenersusedintheHN4000installation.
Refertothistablewhenyouinstallfasteners.
Static Electricity can damage or decrease the reliability of electrical and optical equipment. While
unpacking and handling electrical and optical equipment, wear a grounding wrist strap to dis-
charge the static buildup. The grounding wrist strap is designed to prevent equipment damage
caused by static electricity. Before unpacking and installing equipment or making system intercon-
nections, connect the grounding wrist strap.

 Loading...