Installing the Ground and Power Cables 2-9
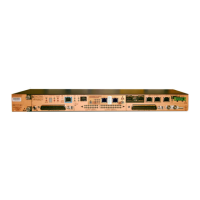
920550-5020 Rev 14 HN4000 Hardware Installation Guide
Step 3. [Optional]IftheHN4000istobeprovisionedwithasecondpowersource,repeat
Step2,butconnectthesecond‐48VDCcabletopins3and4ofthepowerplug(‐48
VDCtopin3andRTNtopin4).Refertothedualpower‐moduledrawingin
theright
sideofFigure 2‐8.
Step 4. Insertthe4‐pinpowerplugintothepowersocketontheHN4000andsecuretheplug
withthetwomountingscrews.
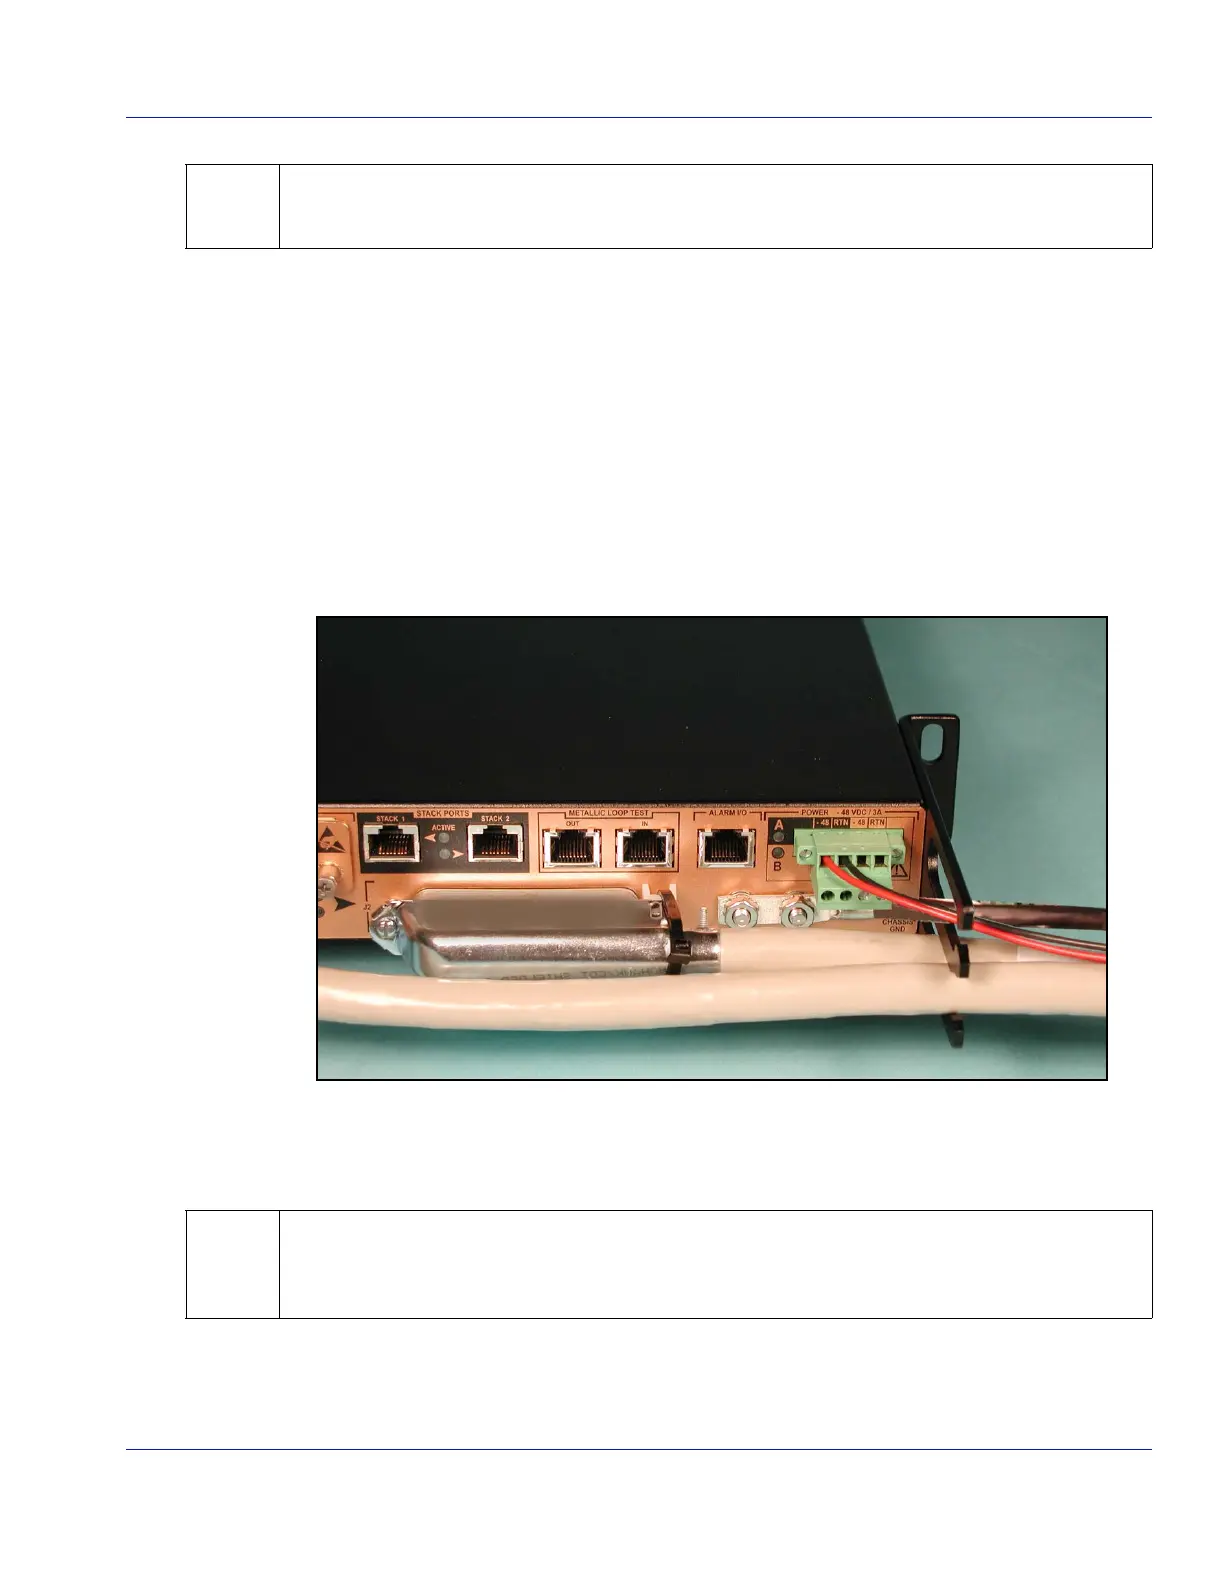
Step 5. Dressthepowercablesperlocalpracticeandthroughacable‐guideslotinthe
chassis’right‐handbracket.
Figure 2‐9
onpage 2‐9showsasingle‐48VDCpowerconnectiontoanHN4000’sA‐side
terminals.
Figure 2-9 Example of a Single Power Connection
2.6.3 HN4000 4-pin Power Plugs
If only one power-module is being provisioned, you can optionally connect the -48 VDC power
cable to pins 3 and 4 of the power plug (the -48 VDC lead to the “B -48” pin and the RTN lead to
the “B RTN” pin).
The 4-pin power plugs used with the HN4000 are manufactured by Phoenix Contact
(P/N 1777824). They are available at distributors such as Mouser (www.mouser.com -
P/N 651-1777824), as well as other distributors such as Future Electronics, Sager Electronics,
and TTI.
 Loading...