Cooling Unit Module Replacement 6-7
920550-5020 Rev 14 HN4000 Hardware Installation Guide
6.2.2 Removing and Replacing the Filter Element
Undernormalconditions,replacethefilterelementevery3months.Industyconditions,
replacethefiltereverymonth.
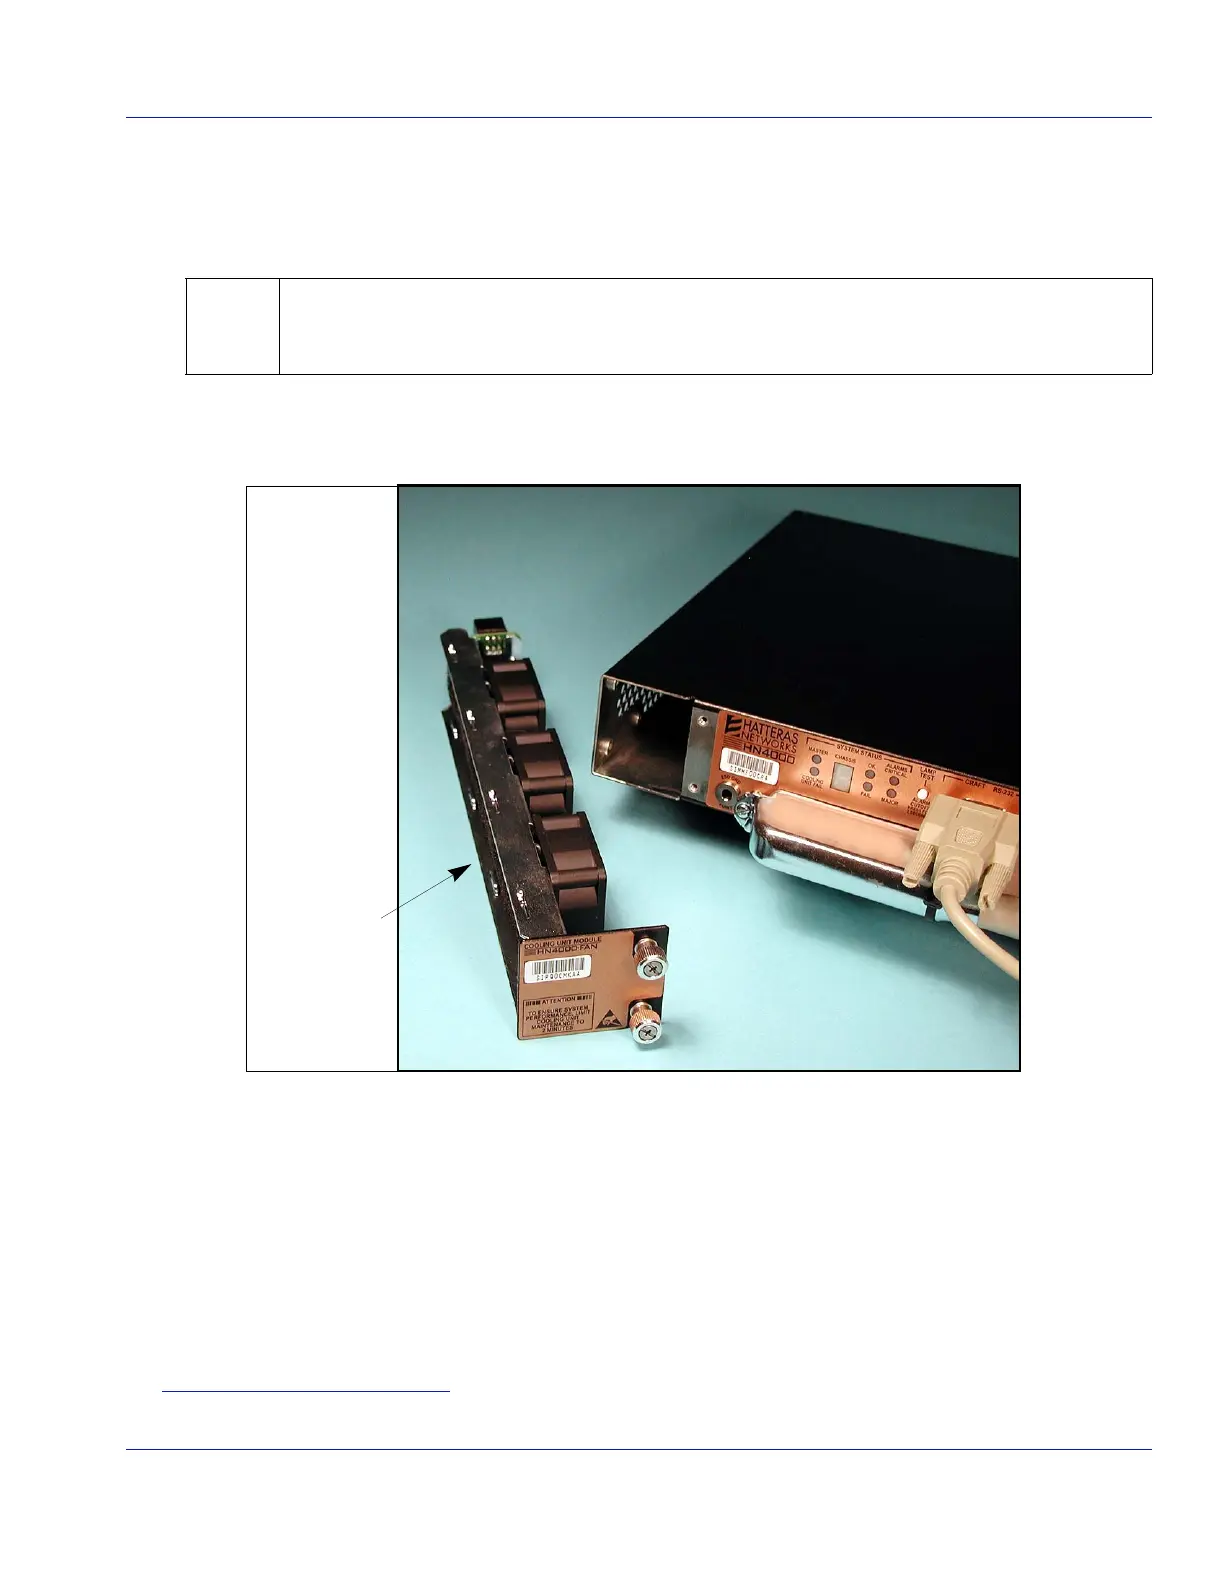
Figure 6‐4showsthefilterelement’slocationintheCoolingUnit.Thefilterisheldinplacewith
eightmetallocatingtabs.
Figure 6-5 Cooling Unit Module and Filter Element
Takethefollowingstepstoreplacethefilter.
Step 1. RemovetheCoolingUnitfromthechassis.
Step 2. GraspthefilterelementandpullitoutoftheCoolingUnit.
Step 3. PlacethenewfilterelementintotheCoolingUnit,ensuringthattheelementisseated
beneaththeeightmetallocatingtabs.
End of Procedure
For Outside Plant (OSP) locations where a closed-loop/filtered cooling system is in place (such as
an RT or CEV), Hatteras Networks recommends that the filter element not be installed in the
HN4000 Cooling Module.
 Loading...