2-32
Chapter 2: Label Design
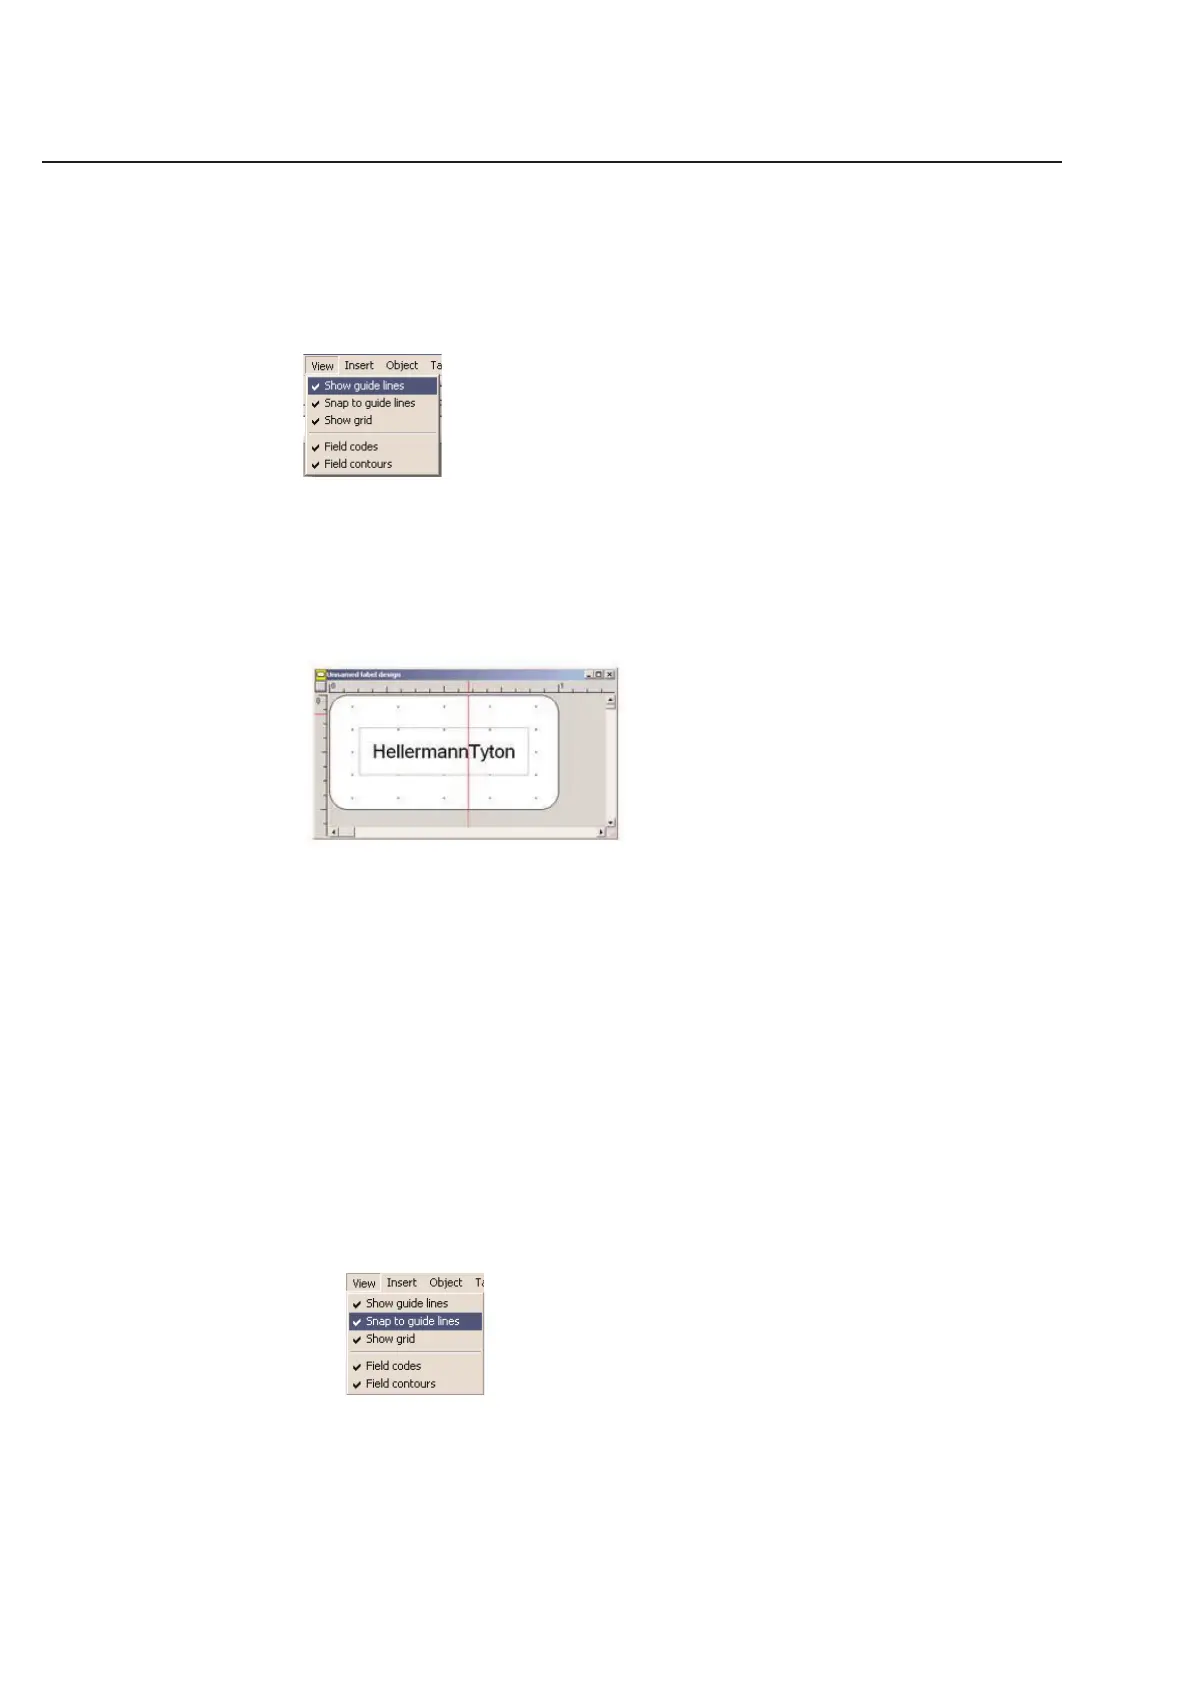
View Options for the Label Design
TagPrint Pro offers a number of options in viewing your label design. These tools can be helpful in creating a profes-
sional looking design. These options are listed in TagPrint Pro’s View menu.
Guide Lines
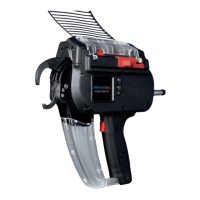
Guide lines help align objects on a label design. You can activate or deactivate guide lines on your label design by
checking or un-checking the Show guide lines option in the View menu.
Creating Guide Lines
To create a new guide line, place the cursor on a ruler in the label design window, and hold down the left mouse
button while dragging the cursor out onto the label area. To place the guide line, release the mouse button.
You can use any number of horizontal and vertical guide lines on your label design.
Changing Guide Lines
You can change a guide line by placing your cursor over an existing guide line.
When your cursor is placed over the existing guide line, it will change into a cursor with left/right arrows or up/down
arrows, depending on the orientation of the guide line. Click and hold down your left mouse button to move it else-
where on the label design. To place the guide line, release the mouse button.
Removing Guide Lines
You can remove a guide line entirely by moving it back to the ruler from which it originated.
Snap to Guide Lines
You can choose the Snap to guide lines option to force nearby object boxes to align with the guide line.
This tool can be very useful for lining up multiple objects that are not near each other on the label design.