3. Configuring the Heska Element COAG
™
Analyzer
Setup
on-screen touch button for instrument configuration. This opens the Settings
Menu for configuration. The instrument configuration is described in Section 3.2.
3.2. Configuration of the Heska Element COAG
™
Analyzer
Configuration of the Heska Element COAG
™
Analyzer is performed from the Settings
Menu which is accessed by touching the
Setup
button at the Home Screen. The Settings
Menu can be seen in Figure 3.2.
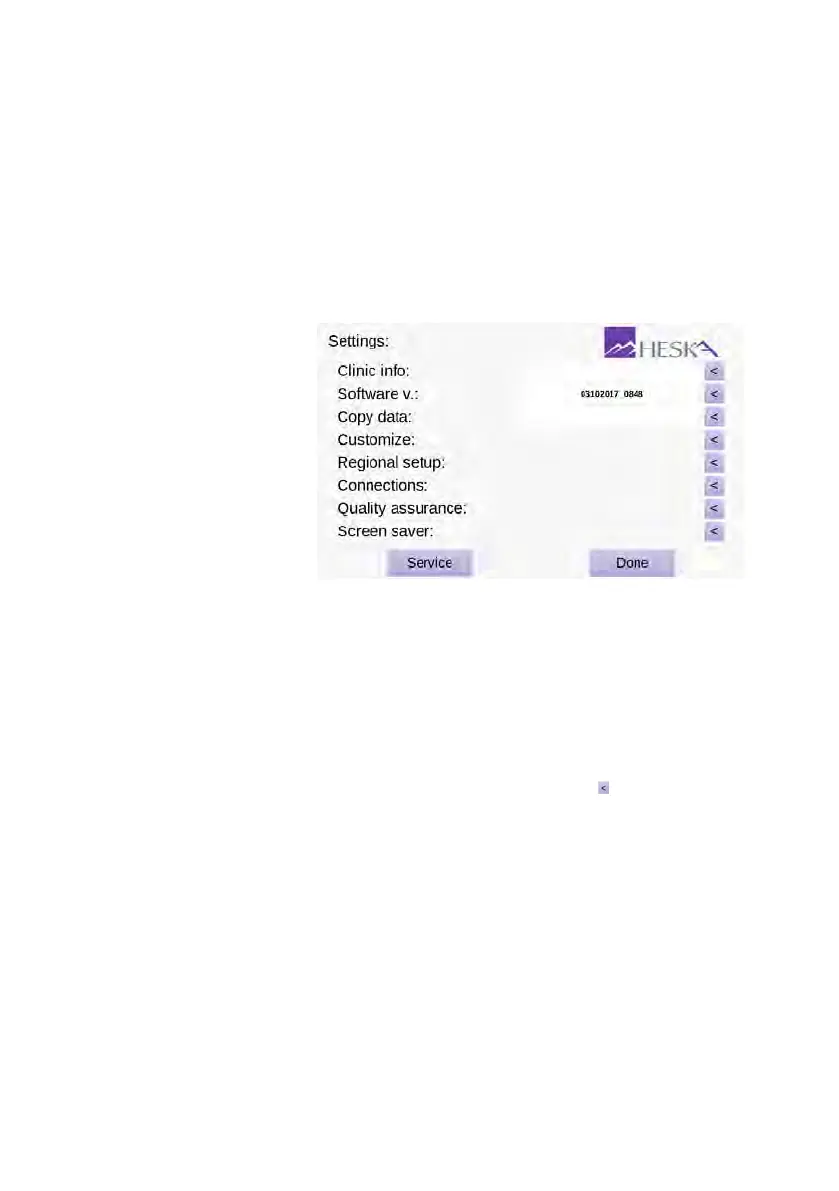
Figure 3.2:
Setttings
Menu. From the Set-
tings Menu it is possible
to change and review
the Analyzer configura-
tion. The configuration
options are organized
in categories which
can be accessed by
touching the purple
arrow button to the right
of the category title.
The configuration options are divided into categories. The settings for a category can
be accessed by touching the purple arrow button to the right of the category title. The
categories are:
Clinic Info
Edit your clinic information (name, contact information, etc.), see
Section 3.2.1
.
The information is not required, but if present it will appear on the result printouts
and blood typing certificates.
Software V.
View and update software version. The currently installed software version
is printed in the text field next to the category title. Touch the to install a different
software version, see Section 3.2.2 for detailed instructions.
Copy data
Copy test data and results to a USB stick or an external hard drive, see
Section 3.2.3
. The exported data can be sent to Customer Support for analysis in
case of unexpected results or problems with the Analyzer.
Customize Modify the Analyzer’s default settings, see Section 3.2.4.
Regional Setup
Change time, date and time format, see
Section 3.2.5
. The current
time and date are always displayed on the Analyzer’s Home Screen and will be
printed on the results printouts and logged in the results database.
14