3. Configuring the Heska Element COAG
™
Analyzer
3.2.6.1. Printer
The Heska Element COAG
™
Analyzer is programmed to run with specific printer models
that are currently available in the market. This section covers the necessary information
regarding printer compatibility and suggestions regarding other options, if these printers
are not available at your convenience.
The Heska Element COAG
™
Analyzer only functions properly if connected to a printer
approved by the manufacturer and compatible with the Heska Element COAG
™
Ana-
lyzer.
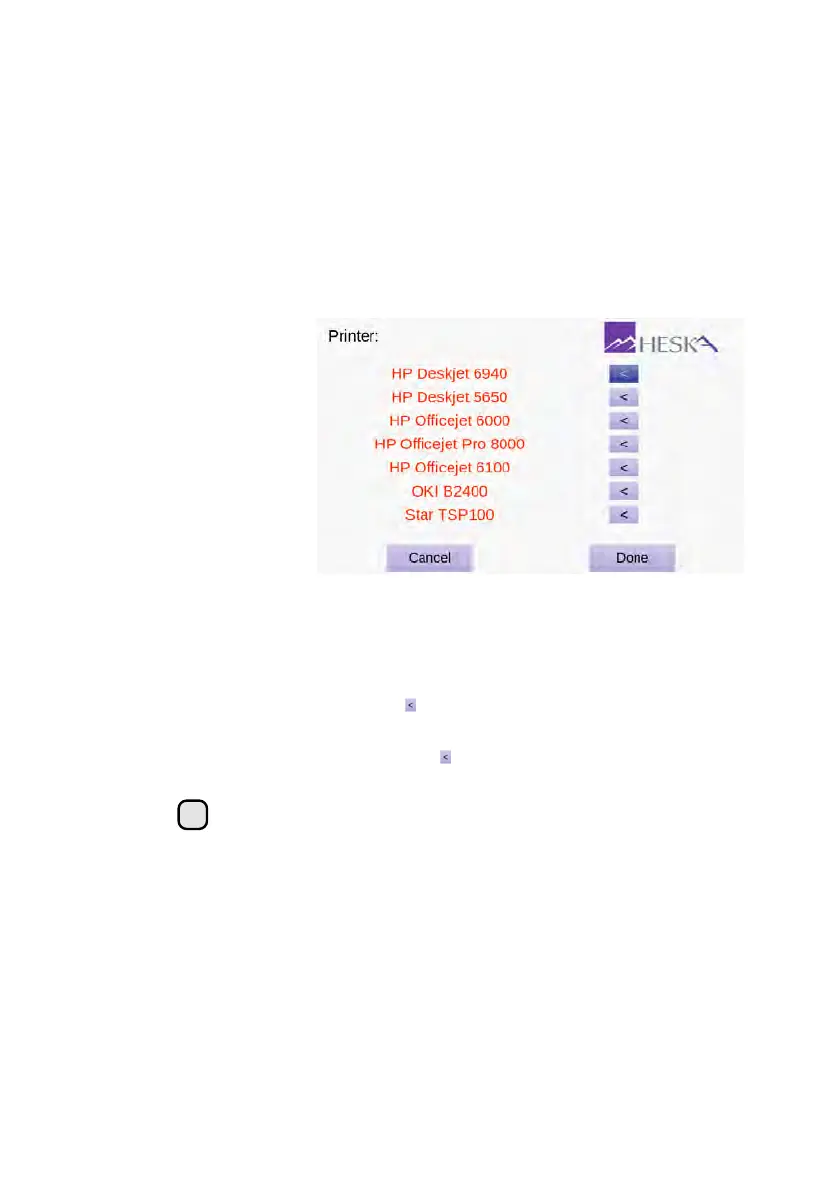
Figure 3.14:
Printer
Selection Menu. The
Printer Menu shows
a list of printers that
are compatible with
the Heska Element
COAG
™
Analyzer.
The currently selected
printer is indicated by
a dark purple arrow
button to the right of
the printer name.
To change the printer or to view a list of printer models compatible with the Heska Element
COAG
™
Analyzer, follow these steps:
1. From the Home Screen, touch Setup (this opens the Settings Menu).
2.
From the Settings Menu, touch to the right of the Connections category (this
opens the Connections Menu).
3.
From the Connections screen, touch to the right of the Printer entry field. This
will display a list of printers compatible with the Heska Element COAG
™
Analyzer.
i
Connected printers are indicated with black text, offline printers with red.
The currently selected printer is indicated by a dark purple arrow button
to the right of the name of the printer.
4.
To select a different printer for use with the Heska Element COAG
™
Analyzer, set
the printer up according to the manufacturer’s instructions and connect it to the
Heska Element COAG
™
Analyzer using a USB cable. The USB port is located on
the back of the instrument, see Figure 2.1.
5.
Select your connected printer by touching the corresponding arrow key on the
right-hand side of the screen.
28