Chapter 3
3.2. Configuration of the Heska Element COAG
™
Analyzer
Connections
Use this menu to install an external printer or connect the instrument to a
Laboratory Information System (LIS), see
Section 3.2.6
for a detailed discussion
of the connectivity options.
Quality assurance
From this menu, it is possible to calibrate the instrument for the
Fibrinogen Test, see
Section 3.2.7.1
, or to perform a self test of the Analyzer, see
Section 3.2.7.2.
Screen saver
Turn the screen saver on/off and change the images shown on the screen
when the screen saver is running, see Section 3.2.8.
i
The
Service
button is only used by Authorized Service Personnel to access
internal system functions and requires a password.
When the instrument is configured, touch
Done
to return to the Analyzer’s Home
Screen.
3.2.1. Clinic Info
The Clinic Info screen is shown in
Figure 3.3
. The menu has data fields for entering the
clinic’s contact information. To enter the Clinic Info screen touch the
Setup
button on
the Analyzer’s Home Screen and touch the to the right of the Clinic Info category in
the Settings Menu.
All information in the Clinic Info screen is optional but will, if present, appear on the result
printouts. Further, when connecting to a data exchange or computer network, the clinic
information will also be transferred to any connected Laboratory Information System
(LIS). Refer to
Section 3.2.6.2
for details regarding how to setup the Analyzer with a
LIS.
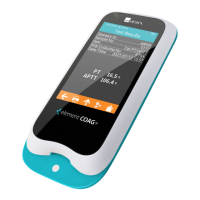
Figure 3.3:
Clinic Info.
In the Clinic Info menu
the user can optionally
supply name and con-
tact information for the
clinic. If entered, the in-
formation will be printed
on result printouts and
be exported if the Ana-
lyzer is connected to a
LIS.
To enter your clinic information:
15