4.2 Measurement Range Setting
38
Settings
Select the measurement range. Auto-ranging (the AUTO range) can
also be selected.
4.2 Measurement Range Setting
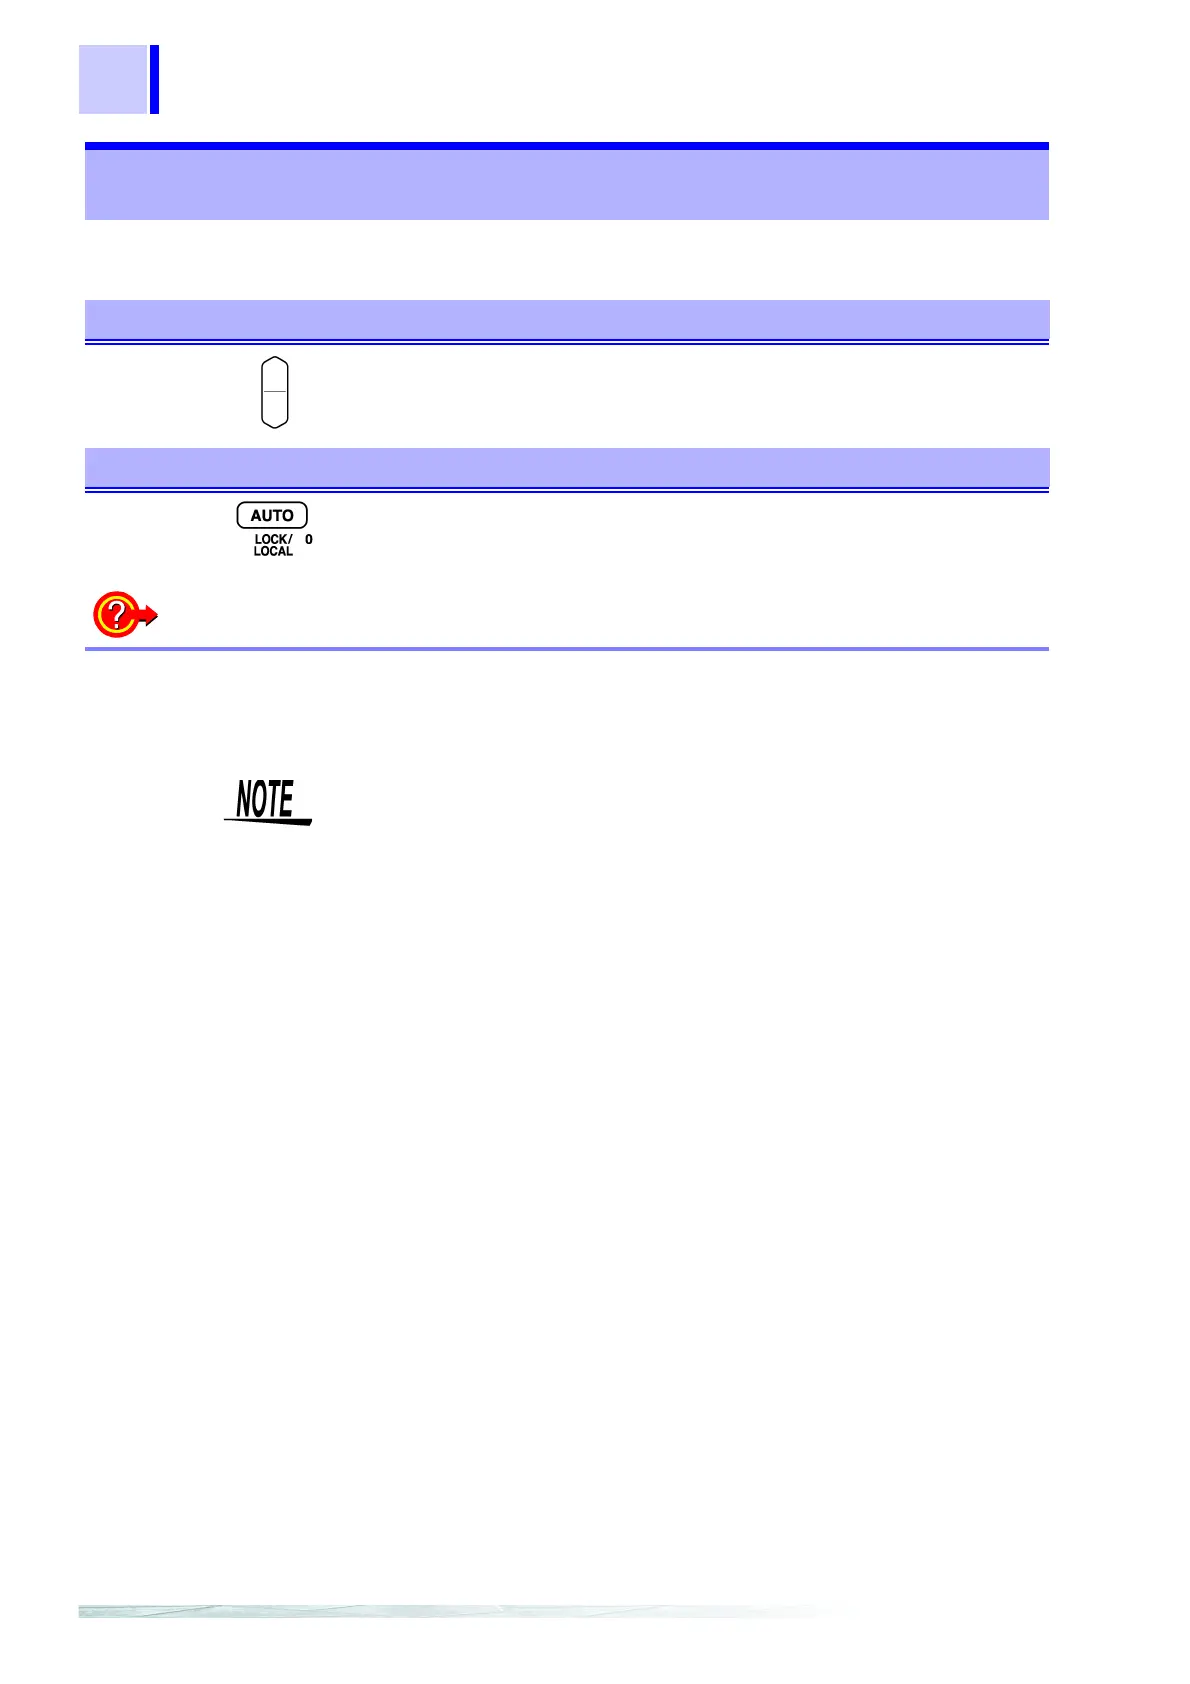
Manual Range Setting
Select the range to use. (AUTO off)
The decimal point location and unit indicator change with each key-
press.
Auto-Ranging
Press this while a manual range is selected. (AUTO lights)
The optimum measurement range is automatically selected.
Switching from
Auto
-
ranging back to
Manual
range selection
Press the AUTO key again. The range can now be changed
manually.
• Temperature measurement has only one range. The range cannot
be changed.
• Depending on the state of the sample, auto-ranging may be
unstable. In this case, select the range manually, or increase the
Delay time.
❖ 5.11.2 Trigger Delay (Page 69)
• In the low resistance ranges (200 Ω and below) a relatively high
load is placed on the sample. In the 20 mΩ and 200 mΩ ranges,
up to about one watt may be applied. Therefore, confirm the
measurement range before connecting to delicate samples.
• When measuring delicate samples, use the Low Power
measurement mode.
• Refer to 9.2 Accuracy; Resistance Measurement Function (Page
164), Low Power Resistance Measurement Function (Page 165)
for information on range accuracy.