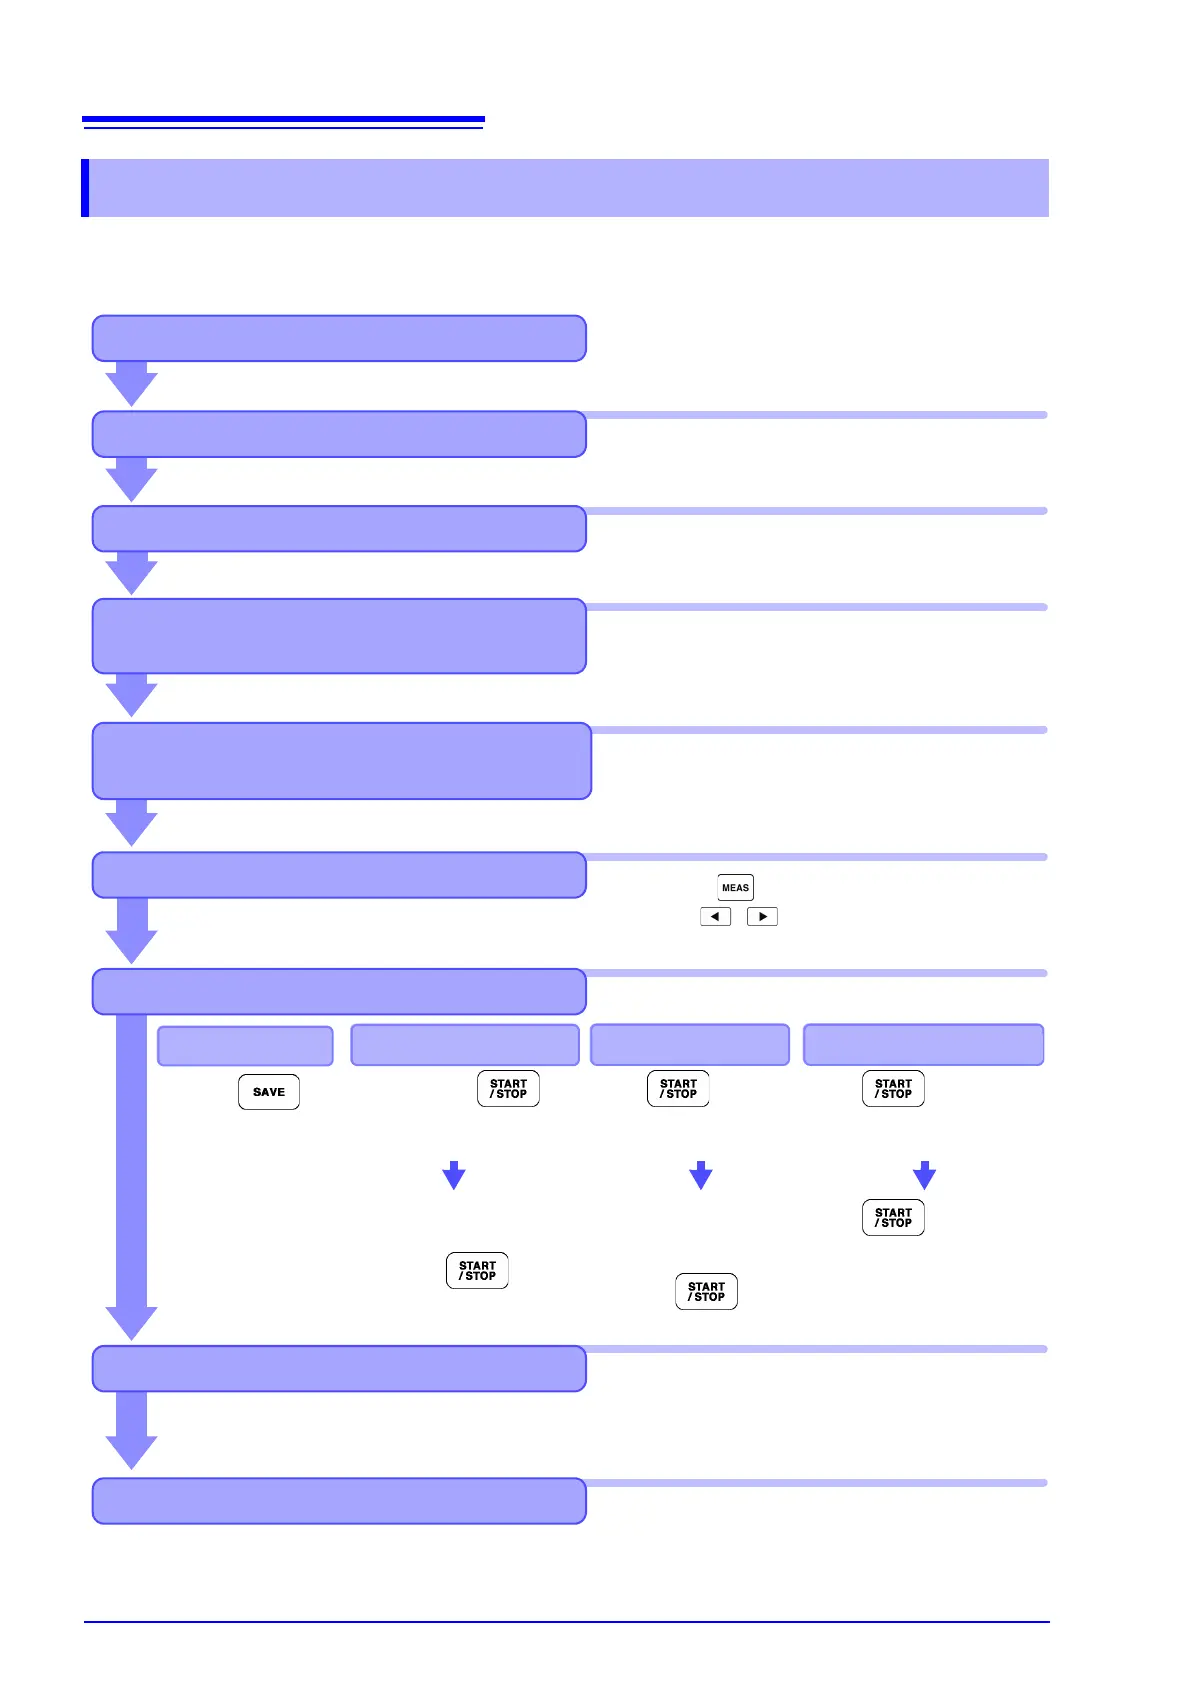
Saving
Turning Power Off
Analyzing Saved Data on a Computer
Installing the Instrument
Initial Instrument Preparations
Stops automatically at the
specified stop time.
Press the key to
force stop.
After pressing
saving starts at the speci-
fied start time.
Connect the instrument to a computer with the sup-
plied USB cable or an Ethernet cable and use the
dedicated PC application program to transfer data to
the computer for analysis. This also enables remote
operation and control of the instrument.
See 3.2 ( p.26)
See 3.3 ( p.28)
See 3.4 ( p.29) to 3.8 ( p.33)
See 3.9 ( p.34) to 3.12 ( p.43)
See Chapter 7 ( p.133)
See "Instrument installation" (p. 7)
See Chapter 9 ( p.177)
Press the key, and select display contents
with the and F keys.
See "2.2 Basic Operations" (p. 18)
Viewing Measurement Values
Press the .
Manual saving
Pre-Operation Inspection
Connecting Cables and Probes, and
Turning Power On
Configuring wiring settings and sensor
settings, and checking the wiring
See Section 3.8 ( p.33)
Always perform these checks before connect-
ing, and when turning the power on.
See Chapter 4 ( p.45)
For high-precision measurements, allow at least
30 minutes warm-up after power-on before exe-
cuting zero adjustment.
Configure current sensor phase correction to
facilitate more precise measurement.
Always execute zero adjustment before con-
necting to measurement objects.
Press to save
for a specified time
span.
Save timer control
Press to start.
Save the specified time span.
Press to stop.
When the timer and real-time
control are set, stops at the
specified time.
Stops automatically
when the specified time
has elapsed.
Press the key to
force stop.
Save interval control
Save in realtimecontrol
 Loading...


