Check that the condensate discharge system in the indoor unit
works correctly. To do so, check the level of the drain pan using a
spirit level or a clear exible pipe full of water. The side of the unit
on which the drain hose is located must be around 5 mm lower
than the front side.
N O T E
The drainage connection on the RPIM unit is located at the rear.
Once adjusted, tighten the suspension bracket nuts.
Apply a thread-locking product to the bolts and nuts to prevent
them from loosening. Otherwise, abnormal noise may be caused
by mechanical vibrations and the indoor unit may become loose.
Apply protective paint to the bolts and nuts to prevent rusting.
Secure the drain hose with the clamp and adhesive supplied.
C A U T I O N
Completely cover the unit with a sheet of plastic to protect it during installation work.
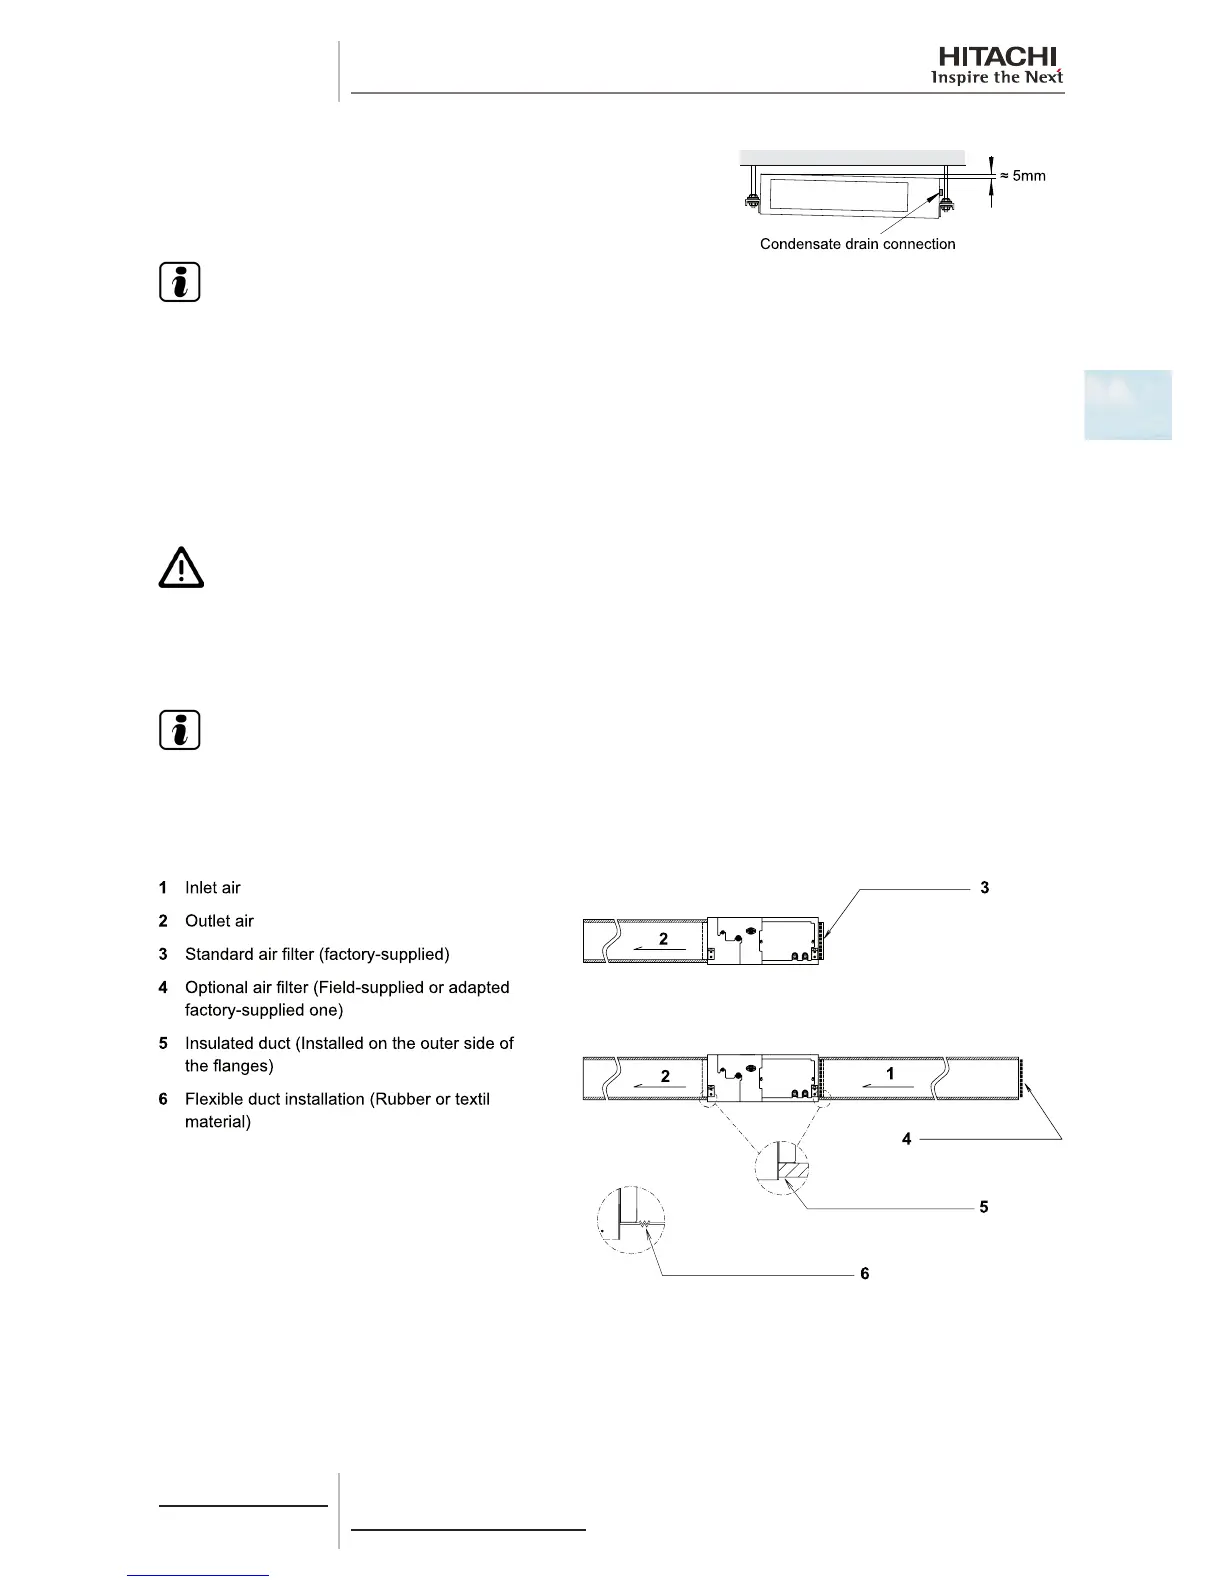
2.5.3 Air duct connection
N O T E
• Useeld-suppliedexibleductstoavoidabnormalacousticvibrations.
• RPIunitsaresuppliedwithastandardairlteronthesuctionside.Thislterissuppliedforcaseswhereno
suction duct is applied (or when the duct is very short).
Secure the exible air duct to the outsides of the hoses supplied with the unit.
Bear in mind the following instructions depending on the installation type:
1 Where the suction duct is not used, keep the standard air lter.
2 Where the suction duct is used, t the air lter at the suction duct inlet point, removing the standard air lter from the
unit. This air lter must be eld-supplied or a factory-adapted one must be used.
3 In the case of the RPIM unit, low static pressure is produced in the suction duct and, therefore, a short duct must be
used.
 Loading...