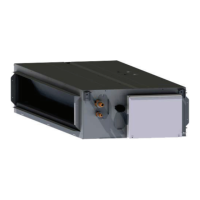
2 Unit installation
24
SMGB0077 rev.0 - 01/2013
Electrical connection of the air panel
1 The following connectors are used in the air panel. Remove the tape xing the wiring connectors on the air panel and
pull out them as shown in the gure below. Connect them with the wiring connectors on the indoor unit.
>PS<
HS-HB
Electrical box
Motor wiring for auto louver
(on air panel) (connector for
low voltage: 18 poles, white)
Motor wiring for auto louver
(on indoor unit) (Connector
for low voltage: 18 poles,
white)
Condition without air
intake grille
2 After completing the wiring connection of the air panel, attach the air inlet grille. Perform the attaching work in the re-
verse procedure of removing.
2.1.5 Accessories supplied with the air panel: P-N23NA
Check that the following accessories are supplied with the unit.
N O T E
Please contact your HITACHI distributor if any of the accessories has not been supplied with the unit.
Accessory Appearance Quantity Purpose
Long bolt (M6 x 50)
4 For panel xing.
2.1.6 Air panel installation
C A U T I O N
Take care while the air panel is unpacked and protect it by placing it on insulating or soft material so as not to
scratch the sealant insulation.
Location of the suspension brackets
Make sure the suspension brackets on the indoor unit are
approximately 102 mm in height above the false ceiling.
 Loading...