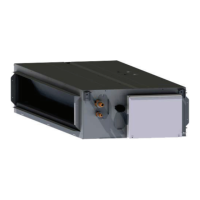
Installation
Avoid obstacles that could block the air inlet or outlet ow.
Choose a position in which the unit does not take in outdoor air mixed with combustion or exhaust fumes.
The unit must not be covered in snow.
Do not use the unit in the winter when the weather conditions may
lead to the formation of condensation in the heat exchanger.
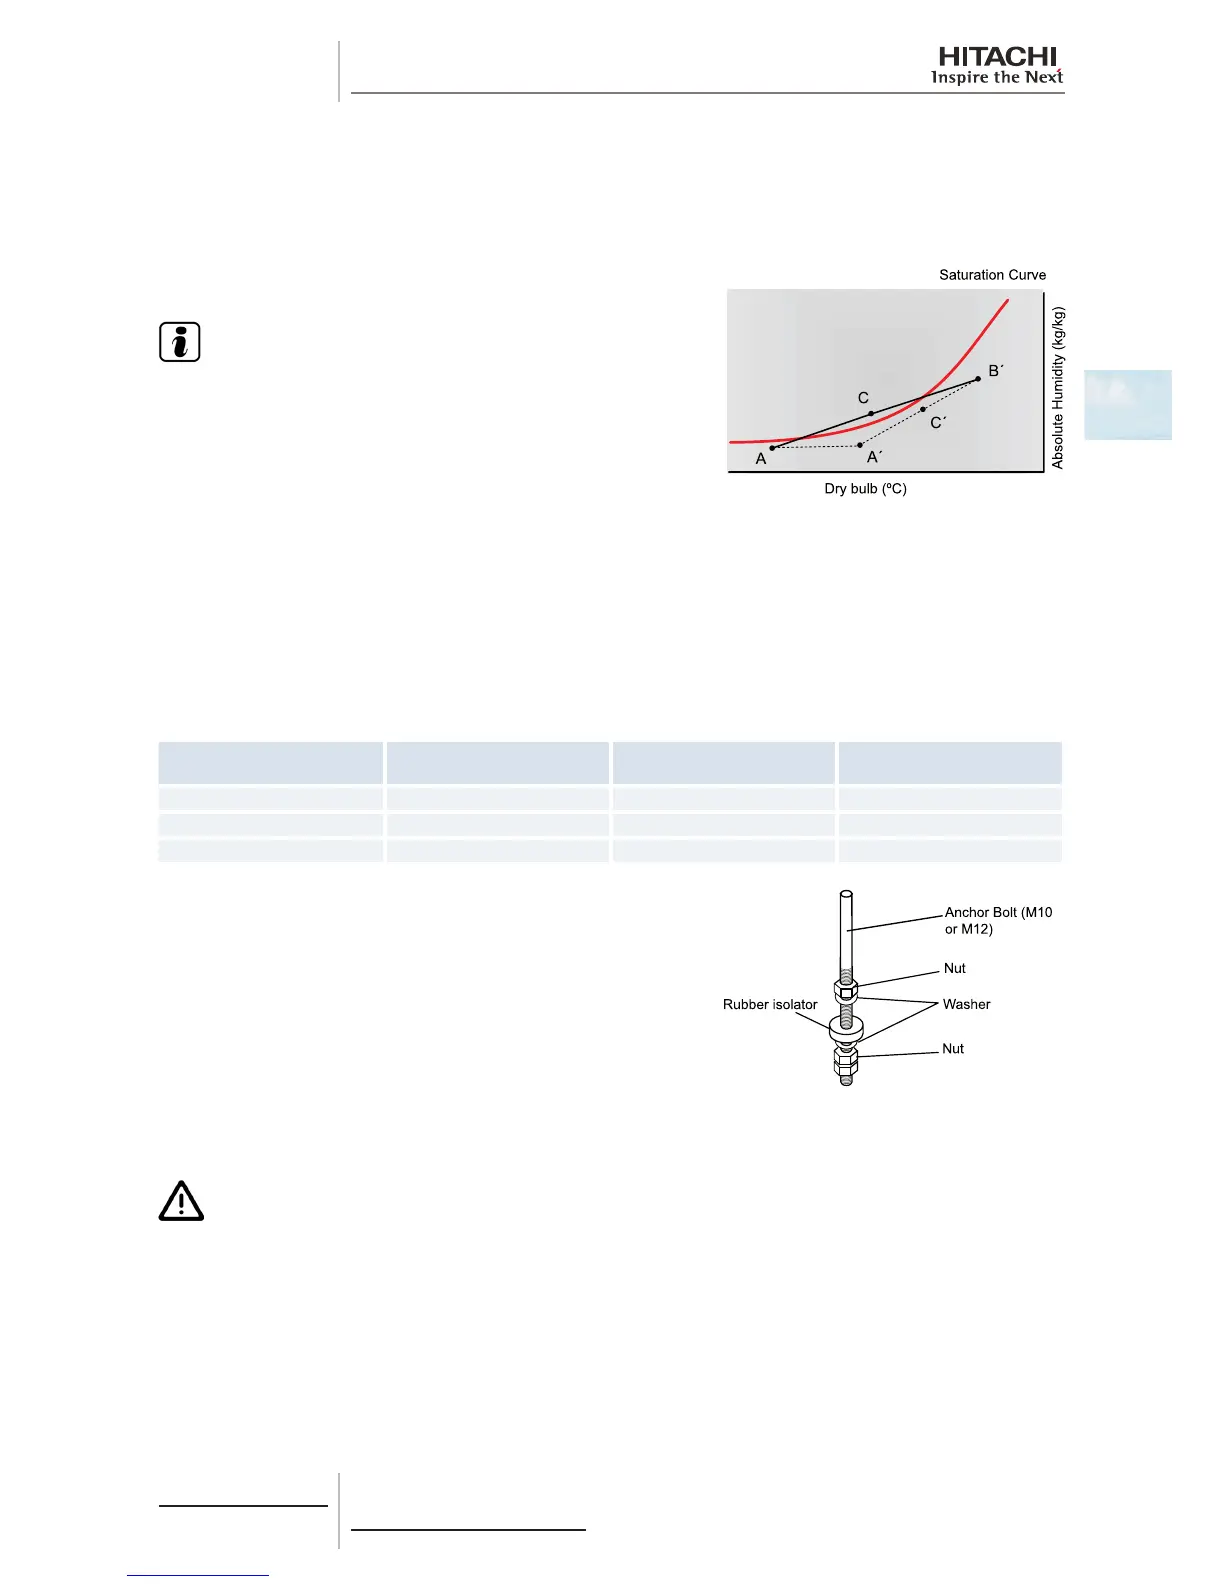
N O T E
• The formation of condensation arises if the line connec-
ting the outdoor and indoor temperature points and the
conditions of humidity cross the saturation curve in the
psychrometric chart.
• Raising the temperature at point A (outdoor air) to point
A’ gives improved conditions in which the line connecting
the outdoor and indoor temperature points and the condi-
tions of humidity do not cross the saturation curve. In this
case, the total heat exchanger can be used.
The limit for ambient conditions in which the total heat exchanger is used is shown in the table below as an example, at an
outdoor air temperature of 0 °C, -5 °C and -10 °C and an indoor air temperature of 30 °C. Where the indoor or outdoor air
humidity is higher, condensation may accumulate and ow outside the unit.
The method for raising the temperature of A (outdoor temperature) must be determined according to current law in the
place where the unit is installed.
Outdoor Air Temperature
(DB)
Indoor Air Temperature
(DB)
Indoor Air Relative Humidity
(%)
Indoor Air Absolute Humidity
(kg/kg)
0ºC 30ºC 50 0.0133
-5ºC 30ºC 36 0.0095
-5ºC 25ºC 45 0.0089
Prepare the sling bolts.
Fit the anchor bolts on the suspension bracket and adjust to
ensure the unit is installed horizontally.
Thread on the nuts and t the washers for all the bolts, as shown
in the gure.
Fit two suspension brackets onto the nut and washer of each bolt,
starting on one side.
Check that the nuts and washers are correctly secured with the
suspension bracket retainers and t the brackets onto their nuts
and washers on the other side.
C A U T I O N
The unit control box is fragile. Do not apply force to the control box.
 Loading...