EasyManuals Logo

HP 200 User Manual

HP 200
246 pages
To Next Page IconTo Next Page
To Previous Page IconTo Previous Page
Page #132 background imageLoading...
Page #132 background image
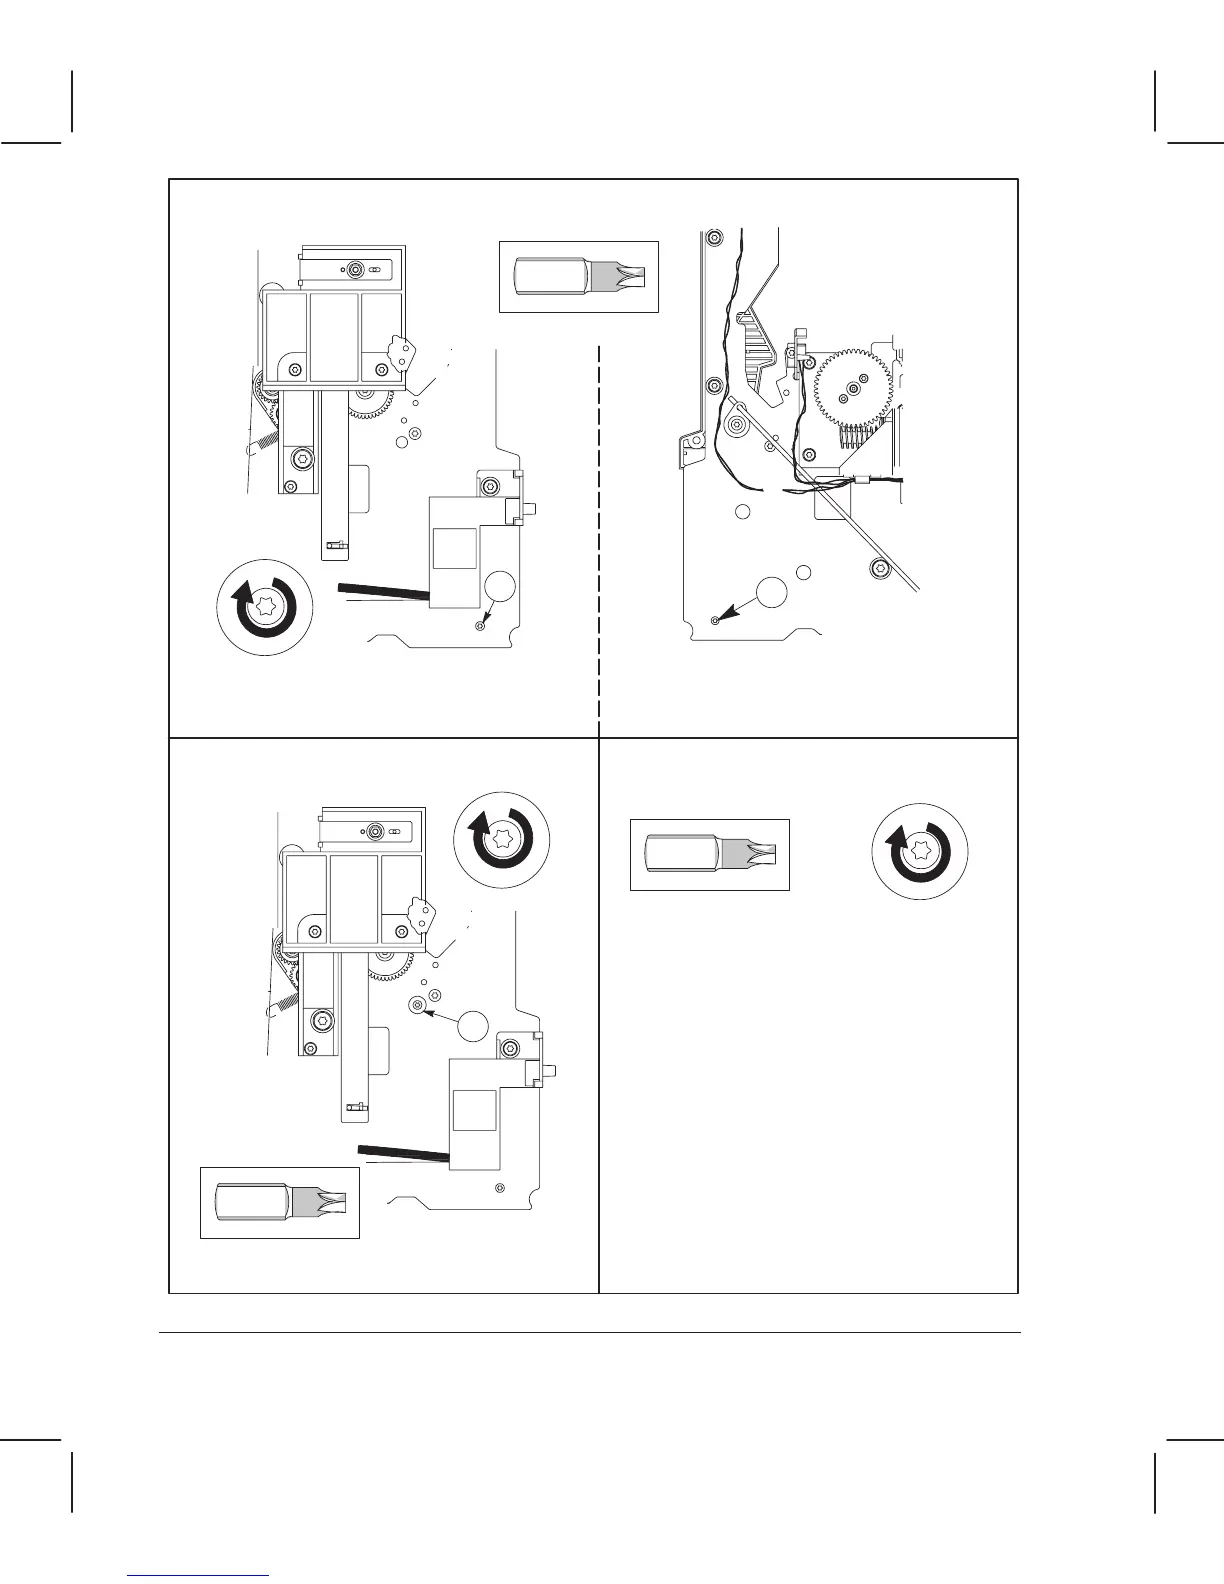
Replace the indicated screw.
Replace the two indicated screws. ( dogĆpoint screws.)
4
3
Torx-15
 
 
5
Torx-20
Replace the screws on the bottom cover.
Torx-20
D/A1Ćsize plotters have four screws.
E/A0Ćsize plotters have five screws.
 
Before reĆinstalling the overdrive
enclosure, ensure that both flags on the
media sensor move freely when you pass
a sheet of media over them.
 Turn the plotter to its correct position.
 After having reassembled
the plotter, perform the mediaĆsensor
calibration.
6Ć68 Removal and Replacement
C3187Ć90000

Table of Contents

Questions and Answers:

Question and Answer IconNeed help?

Do you have a question about the HP 200 and is the answer not in the manual?

HP 200 Specifications

General IconGeneral
BrandHP
Model200
CategoryPlotter
LanguageEnglish

Related product manuals