2
Remove the window page 6Ć15.
Remove the center cover page 6Ć16.
Remove the left endcover page 6Ć18.
Lift the left front trim clear of the
plotter.
Remove the bail page 6Ć56.
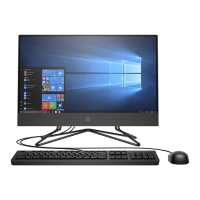
Remove the clutch retaining ring that
secures the overdrive clutch to the
overdrive roller.
You can do this with a needleĆnose pliers,
having to remove the service
station. (The service station is not shown
in the diagram.)
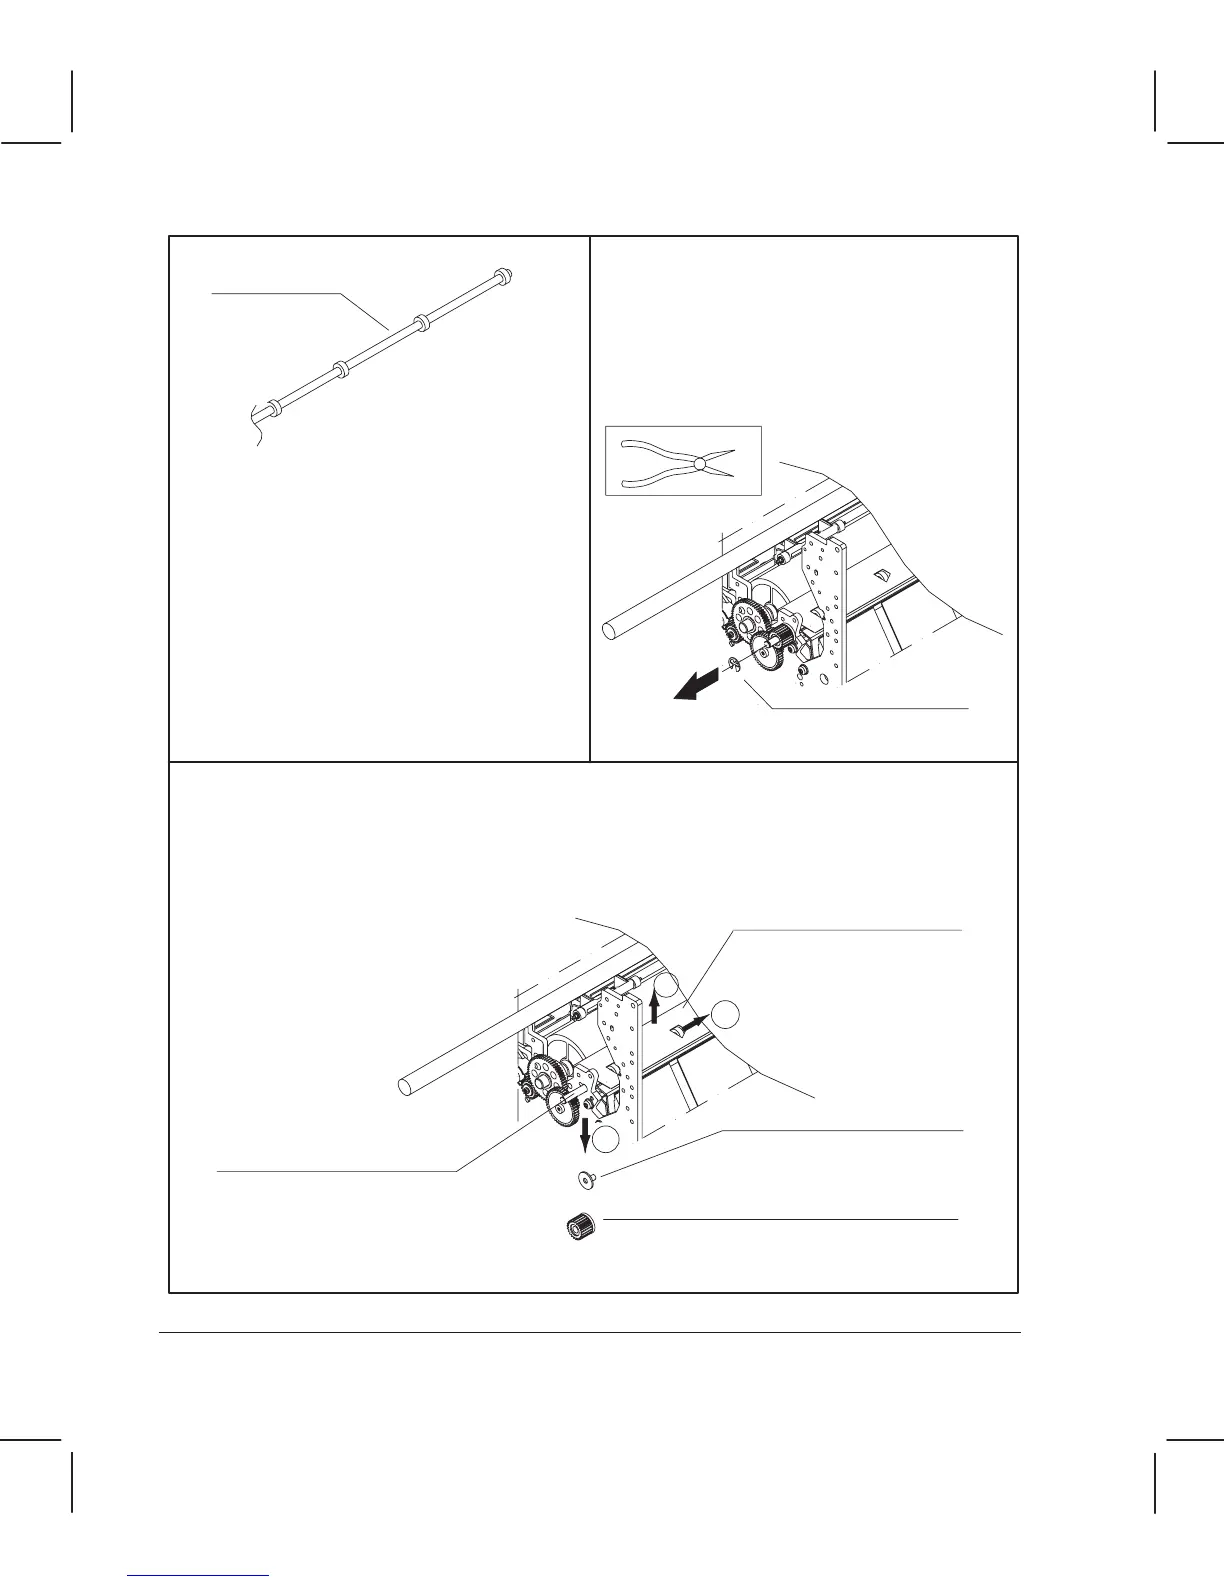
Note the position and orientation of the overdrive clutch. When correctly installed, the
overdrive roller can be manually rotated forward only.
While flexing the media separator upwards, slide the overdrive roller horizontally to the
right until the overdrive clutch and sideplate bushing can drop free of the roller.
1
3
Media separator
Overdrive roller
Sideplate bushing
Overdrive clutch
Clutch retaining ring
Overdrive roller
6Ć60 Removal and Replacement
C3187Ć90000