Remove the electronicsĆenclosure
cover page 6Ć5.
Remove the window page 6Ć15.
Remove the center cover page 6Ć16.
Remove the right endcover page 6Ć19.
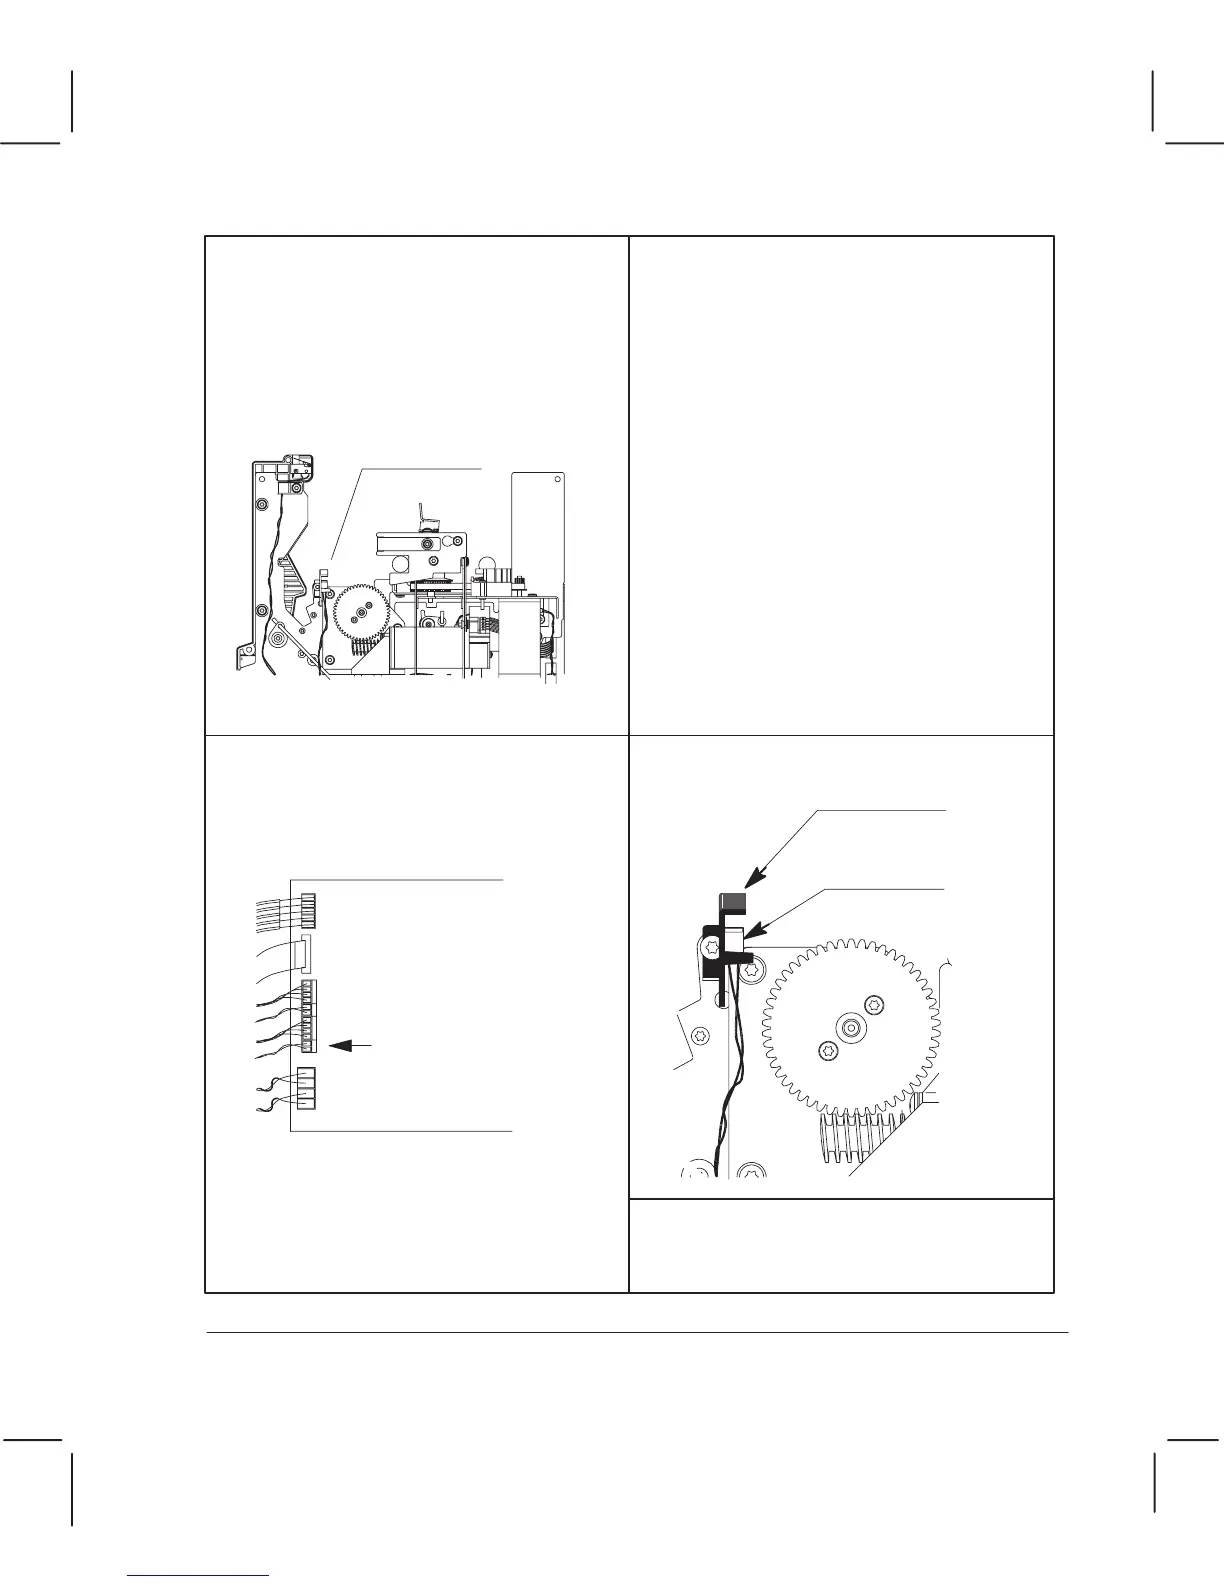
Bail-sensor
connector
Bail sensor
Note the position of the bailĆsensor cable
for reassembly. Incorrect positioning
could cause obstruction of the cartridge
carriage and motor gears.
Disconnect the bailĆsensor cable
connector from the main PCA, and from
its ferrite and holding clip on the right
sideplate.
Carefully feed the bailĆsensor cable out
from the electronics enclosure and from
under the motor assemblies.
Unclip the bail sensor from its holder,
and lift it, with cable, clear of the plotter.
Calibration: After having
reassembled the plotter, perform
the bail calibration chapter 7.
The ferrite holder opens from the top.
Reassembling: The cable goes through
the same ferrite as for the windowĆsensor
cable page 6Ć24.
Bail sensor
Bail-sensor
holder
6Ć55 Removal and ReplacementC3187Ć90000