Remove the electronicsĆenclosure
cover ' page 6Ć5.
Remove the window ' page 6Ć15.
Remove the center cover ' page 6Ć16.
Remove the right endcover ' page 6Ć19.
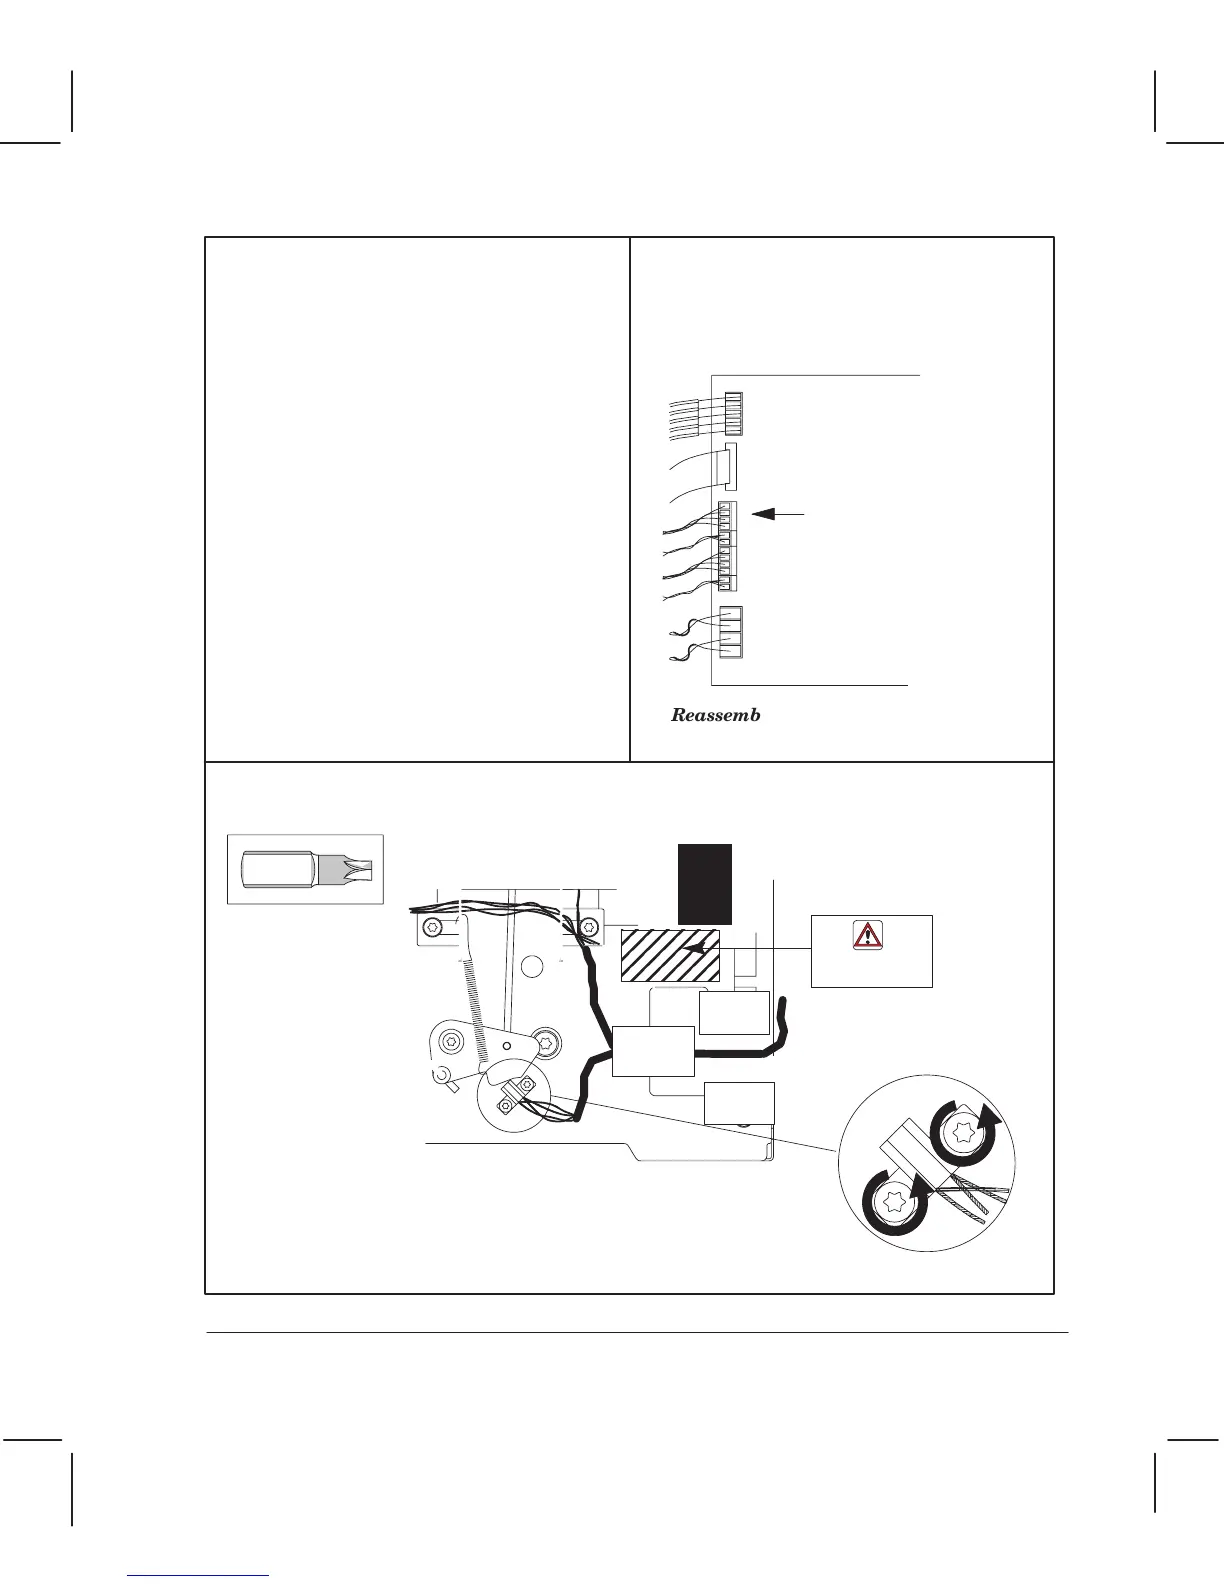
Disconnect the pinchĆarmĆsensor cable
connector from the main PCA and from
the ferrite on the right sideplate.
Pinch-arm-
sensor connector
Remove the two screws that attach the pinchĆarm sensor to the right sideplate.
Lift the pinchĆarm sensor, with cable, clear of the plotter.
Torx-10
Pinch-arm
sensor
KEEP THIS AREA
FREE OF CABLES
Reassembling:
Ferrite
6Ć23 Removal and ReplacementC3187Ć90000