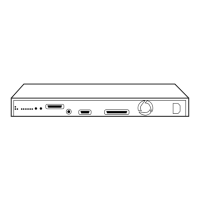
Remove the screws that attach the
bottom cover to the plotter, and lift the
cover clear of the plotter.
D/A1Ćsize plotters have 8 screws.
E/A0Ćsize plotters have 10 screws.
Torx-20
Reassembling: Ensure that the two
flags on the media sensor are correctly
positioned (see following procedure).
Pull the media sensor straight out
towards you, freeing it from the
underside of the entry platen.
Cut the plastic tie that fastens the
mediaĆsensor cable to the underside of
the entry platen.
Lift the media sensor and cable clear of
the plotter
Take care not to cut the mediaĆsensor cable
itself.
CAUTION
Calibration: After having reassembled the
plotter, perform the mediaĆsensor calibration
(Details chapter 7).
6Ć27 Removal and ReplacementC3187Ć90000
 Loading...


