Image tab
You can move to the next or previous page using the up/down arrows located at the bottom left.
● Original Type: Selects whether the original is text, photo, etc.
● Adjust Background: Erase the background to some extent by adjusting density or brightness.
● Erase Backside Image: Prevents scanning the other side’s image shown through the original paper.
● Scan to Edge: Scans the document all the way to the edge of the paper.
Output tab
● Quality: Adjusts the display quality of the scanned output.
● File Format: Selects the le format of the scanned output.
Setting up an FTP/SMB server
1. Check whether or not the network cable is connected to the printer. If not, connect the printer with a
standard network cable.
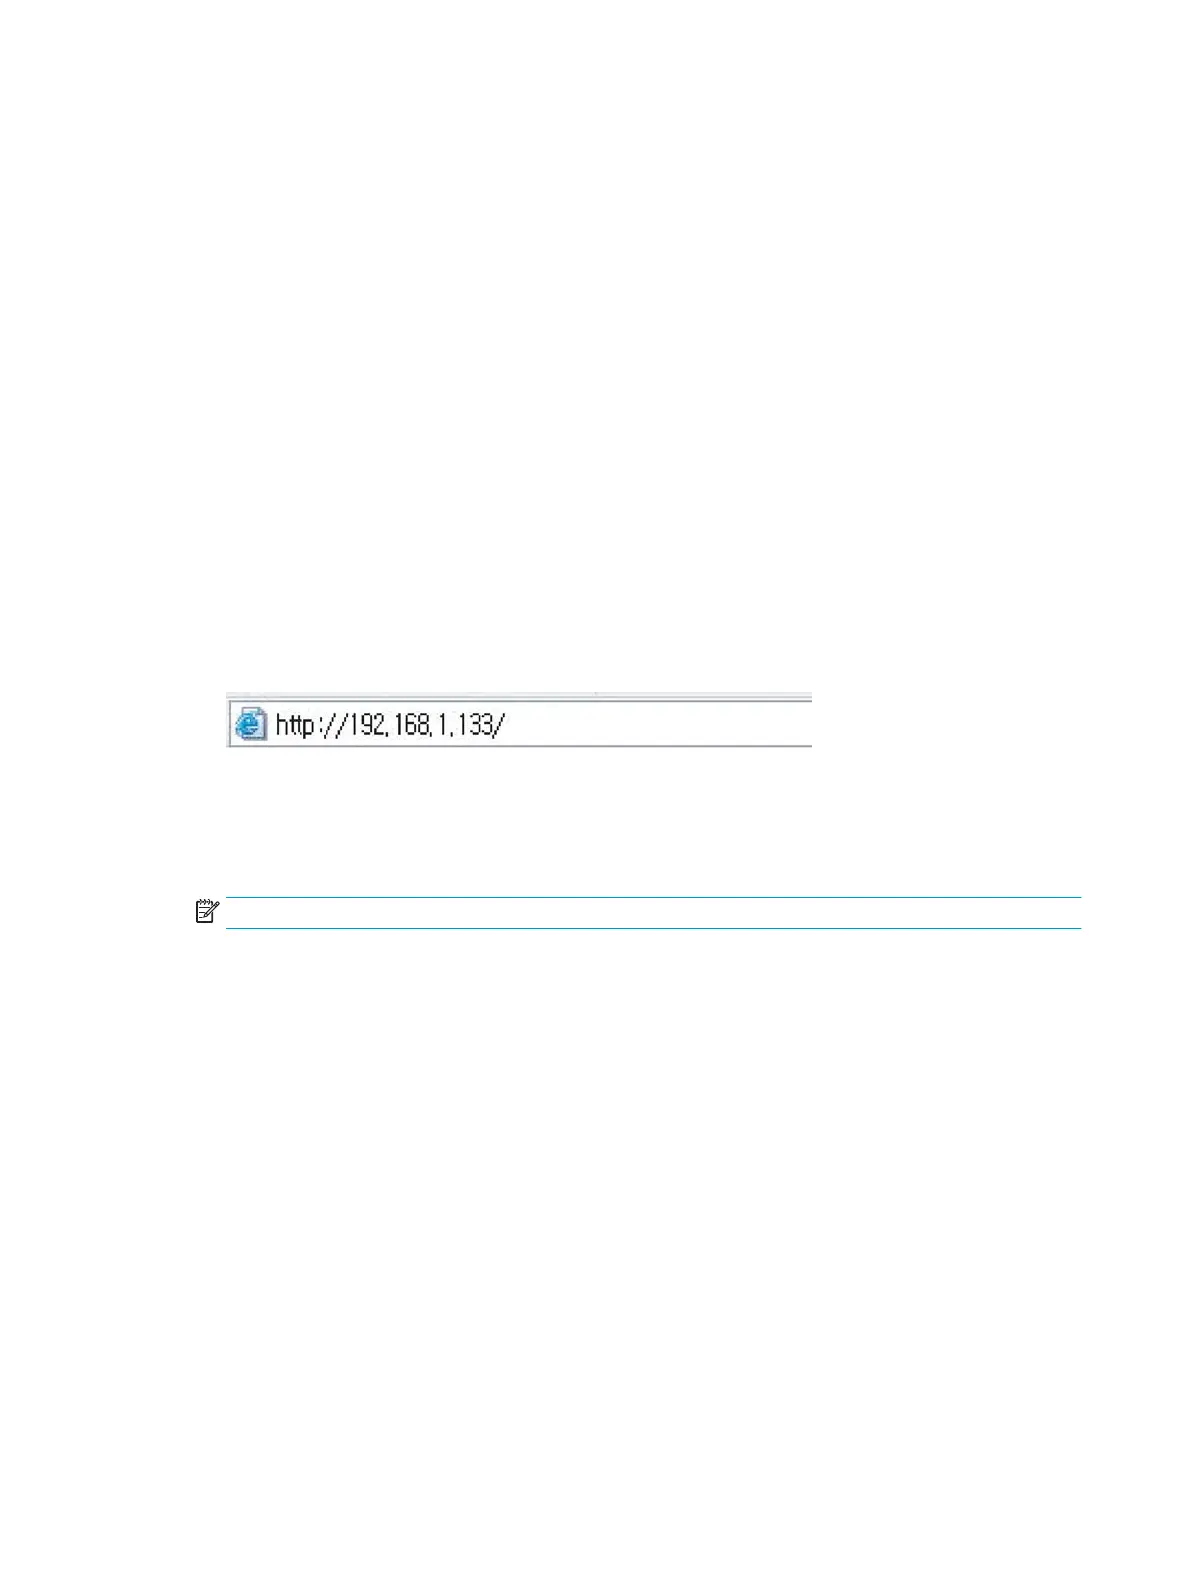
2. Start a web browser such as Internet Explorer, Safari, or Firefox and enter your printer’s new IP address in
the browser window.
3. Click Login on the upper right of the WebUI website.
4. Type in the ID and Password.
Use the same login ID, Password as when logging in from the printer (see "Log-in").
NOTE: If you want to change the password, see the "Security tab" section.
5. Select Address Book > Individual > Add.
6. Check the box next to Add FTP or Add SMB.
7. Enter the IP address in dotted decimal notation or as a host name.
8. Enter the server port number, from 1 to 65535.
9. Check the box next to Anonymous, then the server permits the access of unauthorized people.
10. Enter the login name and password.
11. Enter the domain name if your server is joined to the certain domain, otherwise just enter your computer
name which is registered to the SMB server.
12. Enter the path for saving the scanned image.
86 Chapter 6 Scanning ENWW
 Loading...