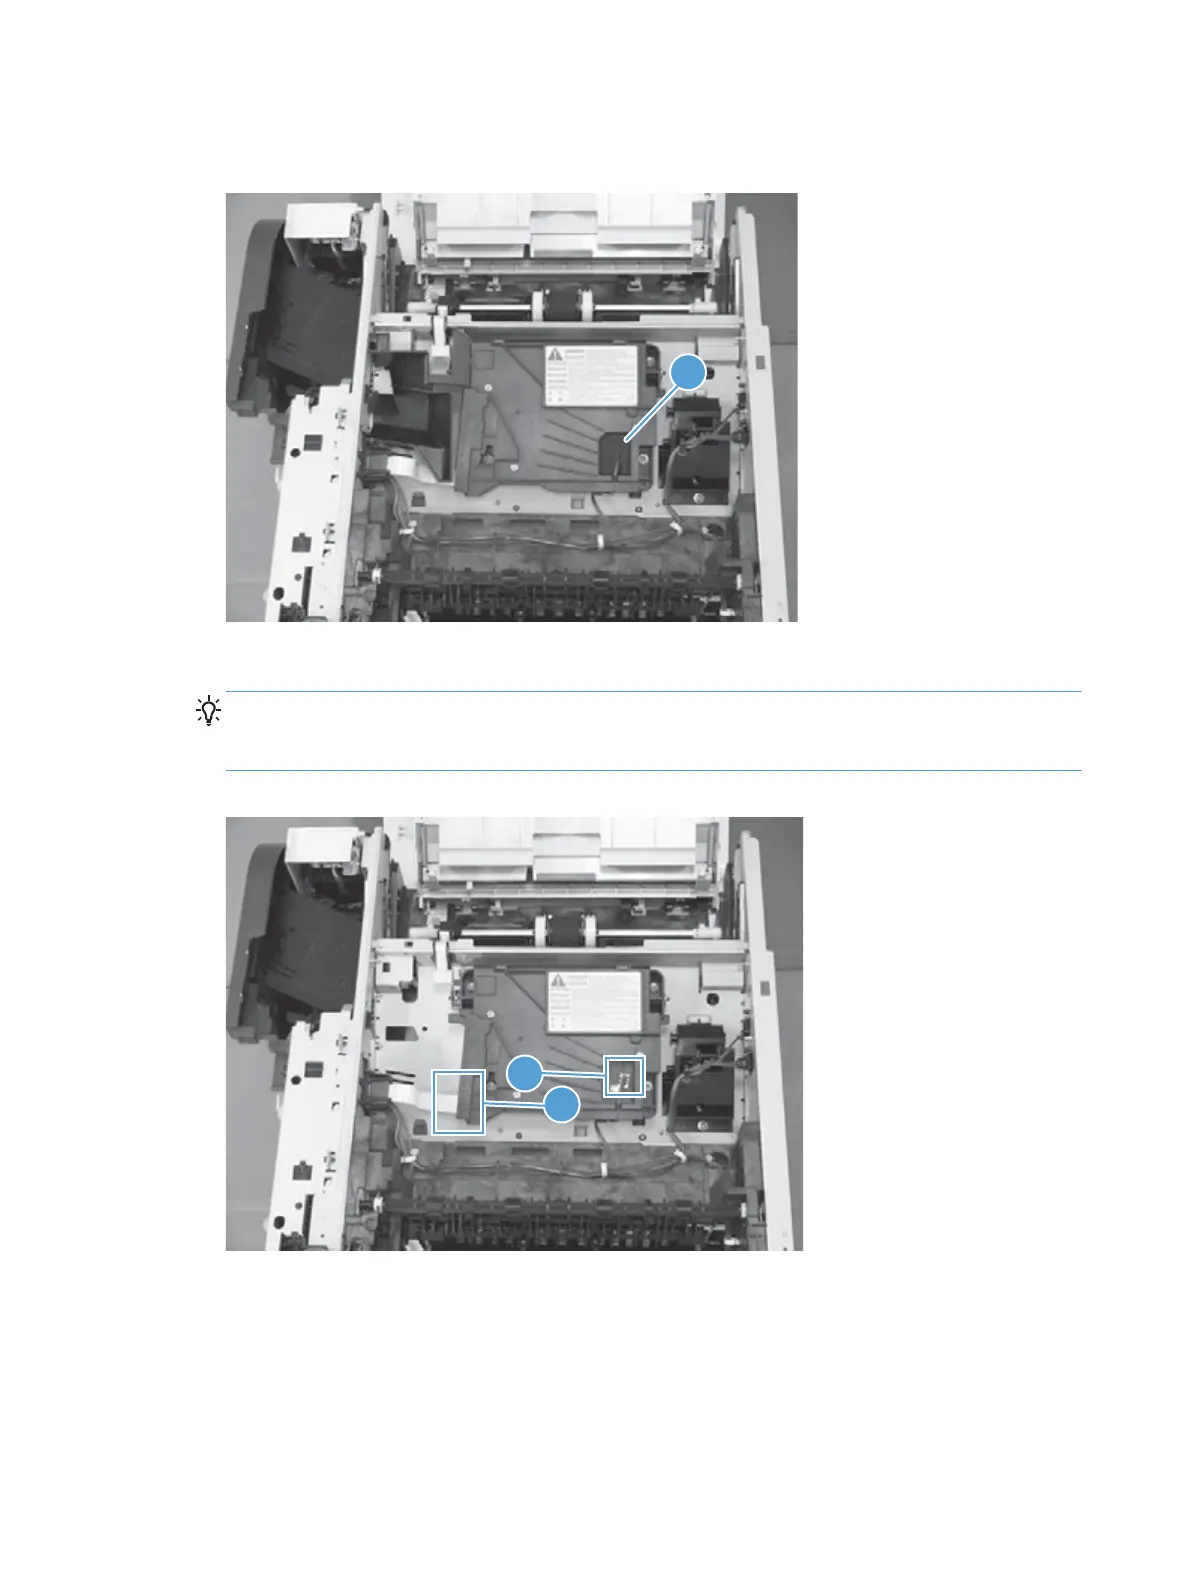
3. Remove the antistatic sponge (callout 1).
Figure 1-185 Remove the laser scanner (2 of 5)
1
4. Disconnect one connector (callout 1) and one FFC (callout 2).
Reinstallation tip Make sure that you correctly reconnect the FFC when the laser scanner is
installed. If the FFC is not correctly reconnected, a 51.1 ERROR will appear on the control-panel
display.
Figure 1-186 Remove the laser scanner (3 of 5)
1
2
124 Chapter 1 Removal and replacement ENWW
 Loading...
