Tray 2, 3, or 4 pickup roller
CAUTION: Do not touch the surface of the roller. Skin oils deposited on the roller might cause print-
quality problems.
NOTE: If you did not remove Tray 2, 3, or 4 before servicing the product, remove them now.
1. Carefully place the product front-side up, so that you can see into the opening where the tray
would be installed.
NOTE: Debris can scratch or damage the back of the product. Before you place the product
front-side up, remove any debris from the work surface. If possible, set the product on a clean, dry
cloth to prevent scratching and damage.
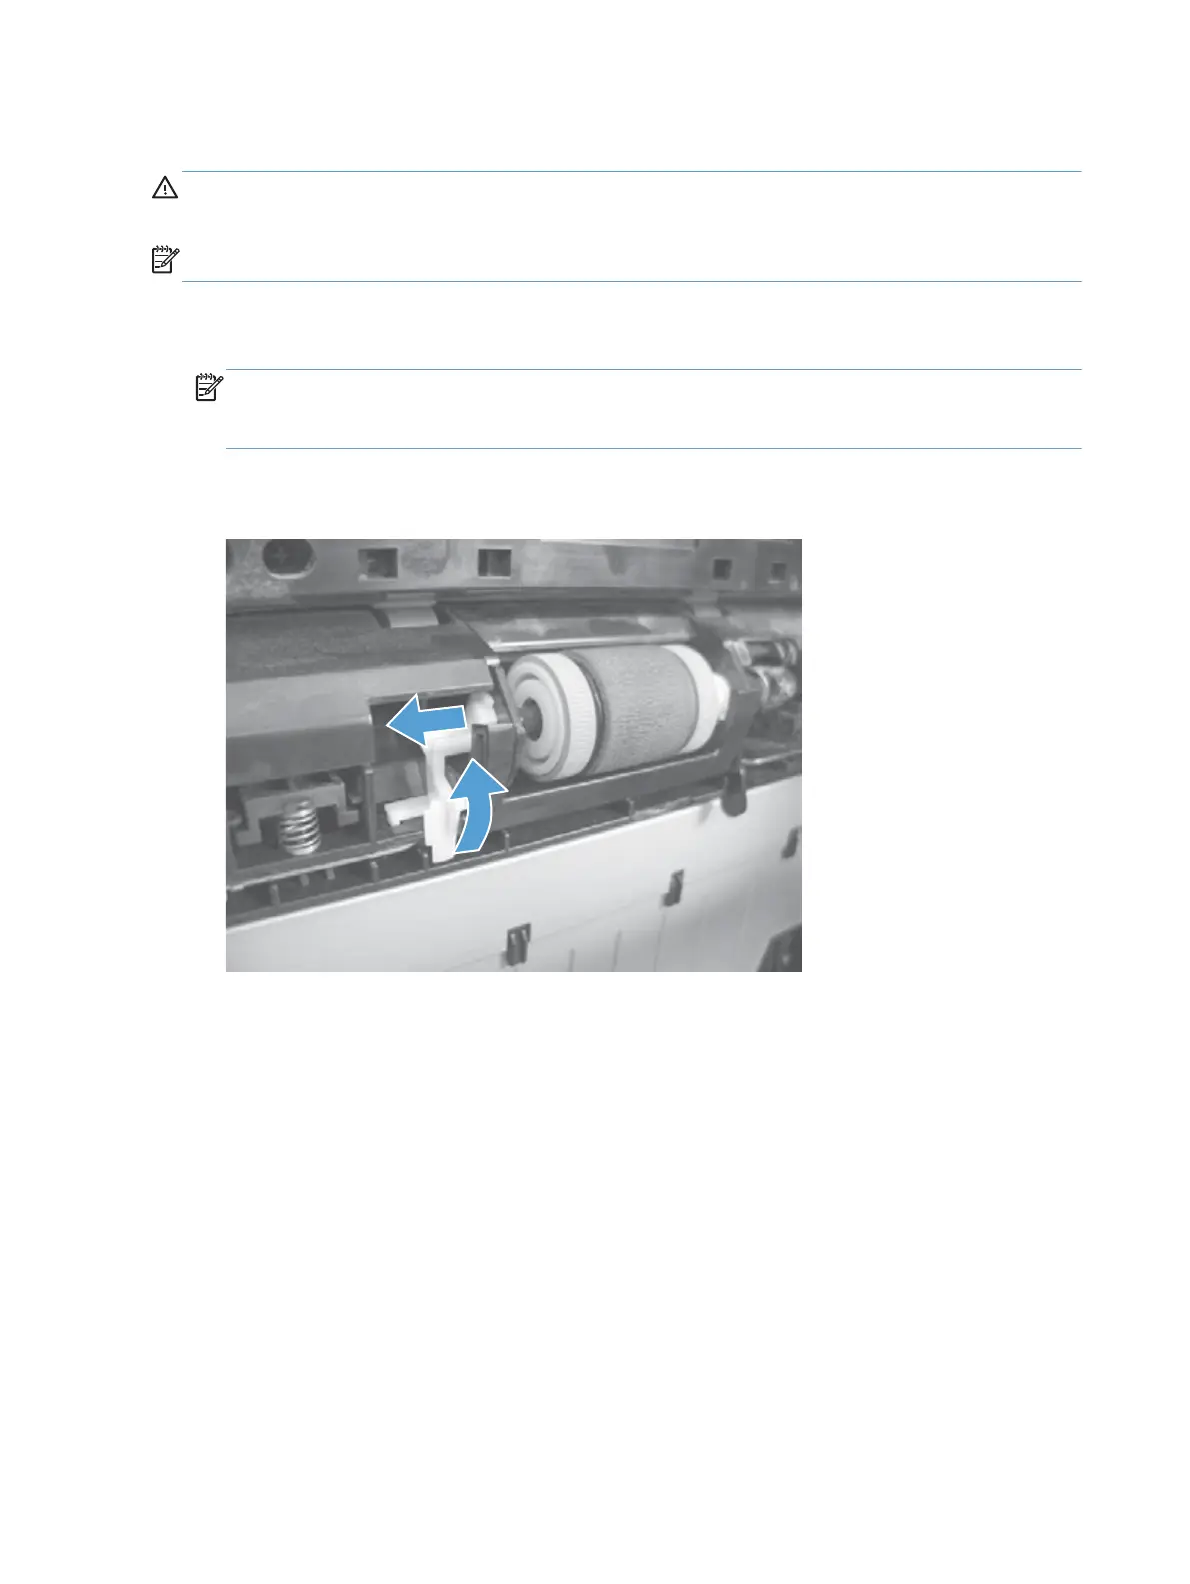
2. Release the roller bushing, rotate the busing up, and then slide the bushing off of the roller shaft.
Figure 1-147 Remove the Tray 2, 3, or 4 pickup roller (1 of 3)
98 Chapter 1 Removal and replacement ENWW
 Loading...
