1. Connect to ground with a wrist strap and grounding mat. Refer to “Electrostatic Discharge
” (page 142) for more information.
2. Loosen the retaining screws securing the cover to the rear of the chassis.
3. Slide the cover toward the rear of the chassis.
4. Lift the cover up and away from the chassis.
Replacing the Top Cover
1. Orient the cover on the top of the chassis.
NOTE: Carefully seat the cover to avoid damage to the intrusion switch.
2. Slide the cover into position using a slow firm pressure to properly seat the cover.
3. Tighten the retaining screws to secure the cover to the chassis.
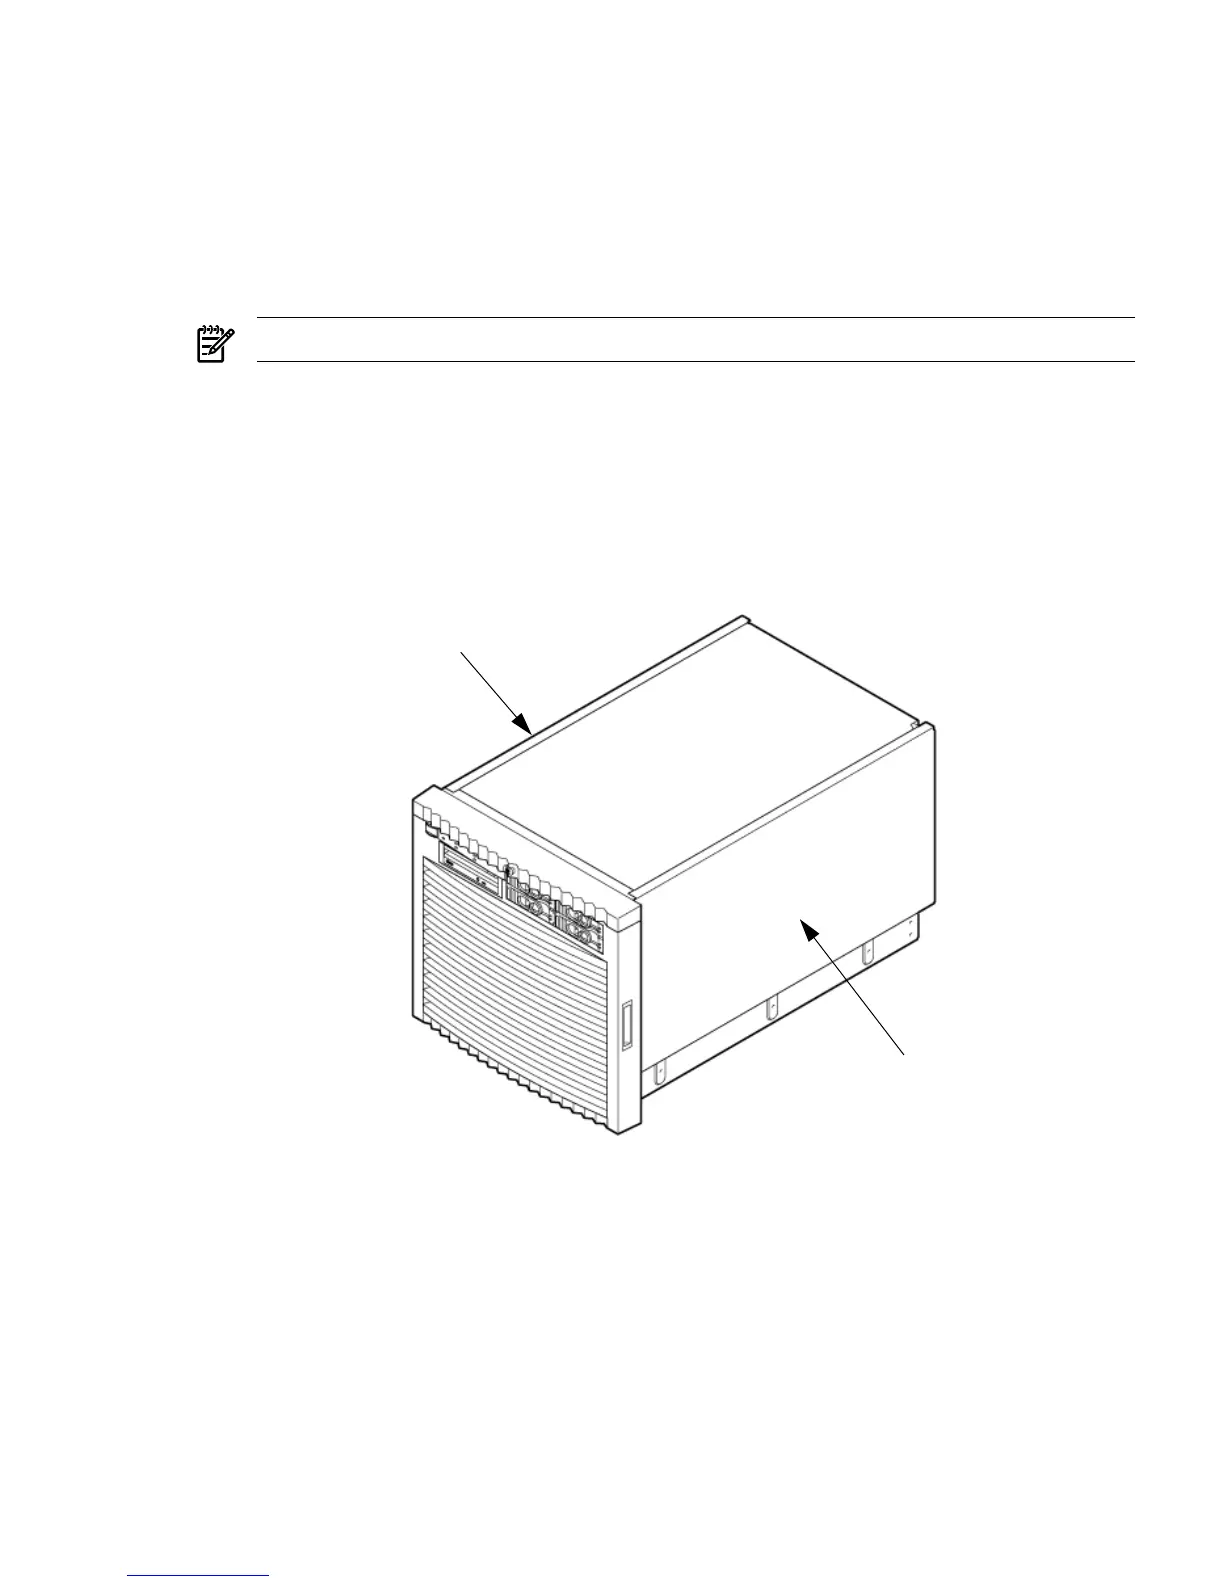
Removing and Replacing a Side Cover
It is necessary to remove and replace one or both of the side covers to access the components
within the server chassis.
Figure 6-3 Side Cover Locations
Removing and Replacing a Side Cover 145