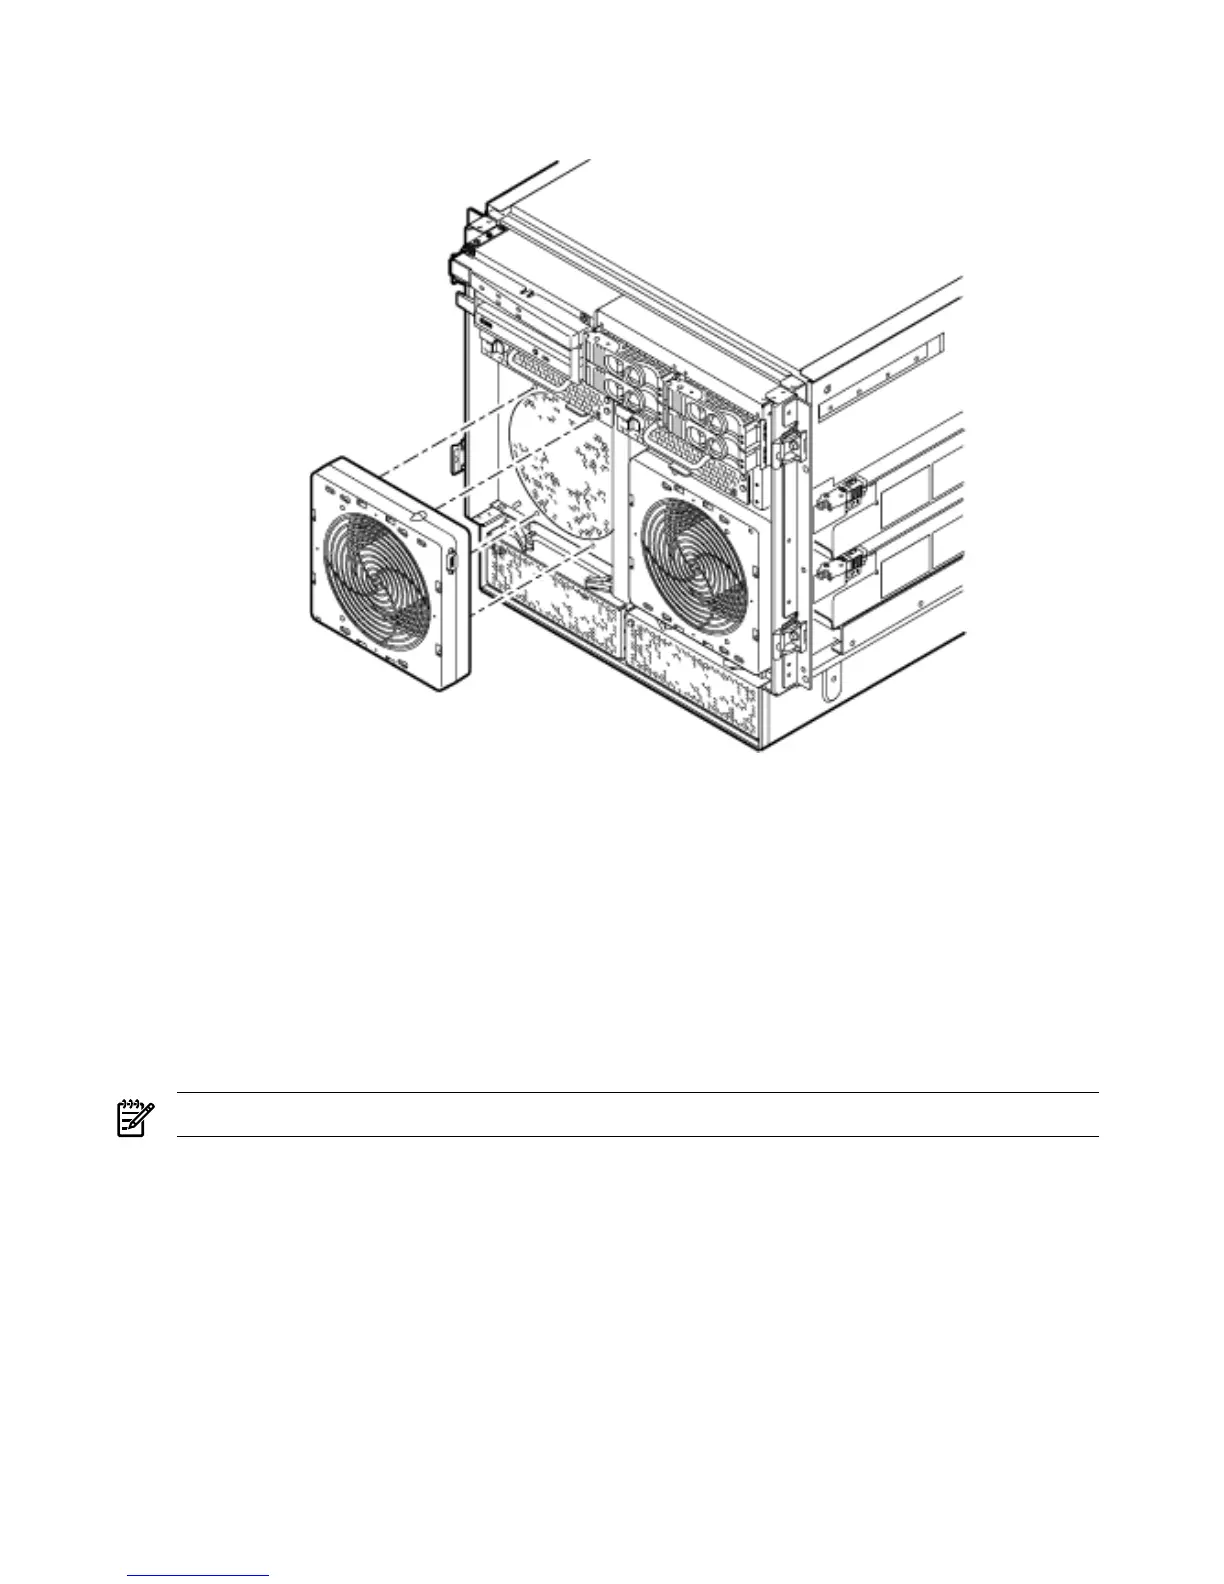
Removing a Front Smart Fan Assembly
Figure 6-11 Front Fan Detail
1. Remove the front bezel.
2. Pull the fan release pin upward away from the fan.
3. Slide the fan away from the connector.
4. Pull the fan away from the chassis.
Replacing a Front Smart Fan Assembly
1. Position the fan assembly on the chassis fan guide pins.
2. Slide the fan into the connector.
3. Verify that the fan release pin is in the locked position.
4. Replace the front bezel.
NOTE: The fan LED should show fan is operational (green).
Removing and Replacing a Rear Smart Fan Assembly
The Rear Smart Fan Assembly is located in the rear of the chassis. The fan assembly is a hot
swappable component.
152 Removing and Replacing Components