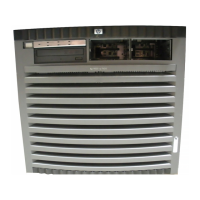
Figure 6-26 Top DVD/DAT and Bottom DVD Cables Nested Together
Bottom DVD
Cable
Top DVD/DAT
Cable
Cables Nested Together
8. Insert the two power cables into the media bay so they are on the left side of the drive bay
when viewed from the front of the system.
9. Carefully insert the SCSI cables into the media bay. The SCSI cables lay on top of the power
cables previously inserted into the media bay. The SCSI cables must extend out of the drive
bay so the black line on each cable aligns with the front of the chassis. The SCSI cables extend
from the drive bay at different lengths. The cable terminators remain ouside of the drive
bay in the top of the chassis. When correctly installed, the cables must be configured as
shown in Figure 6-27.
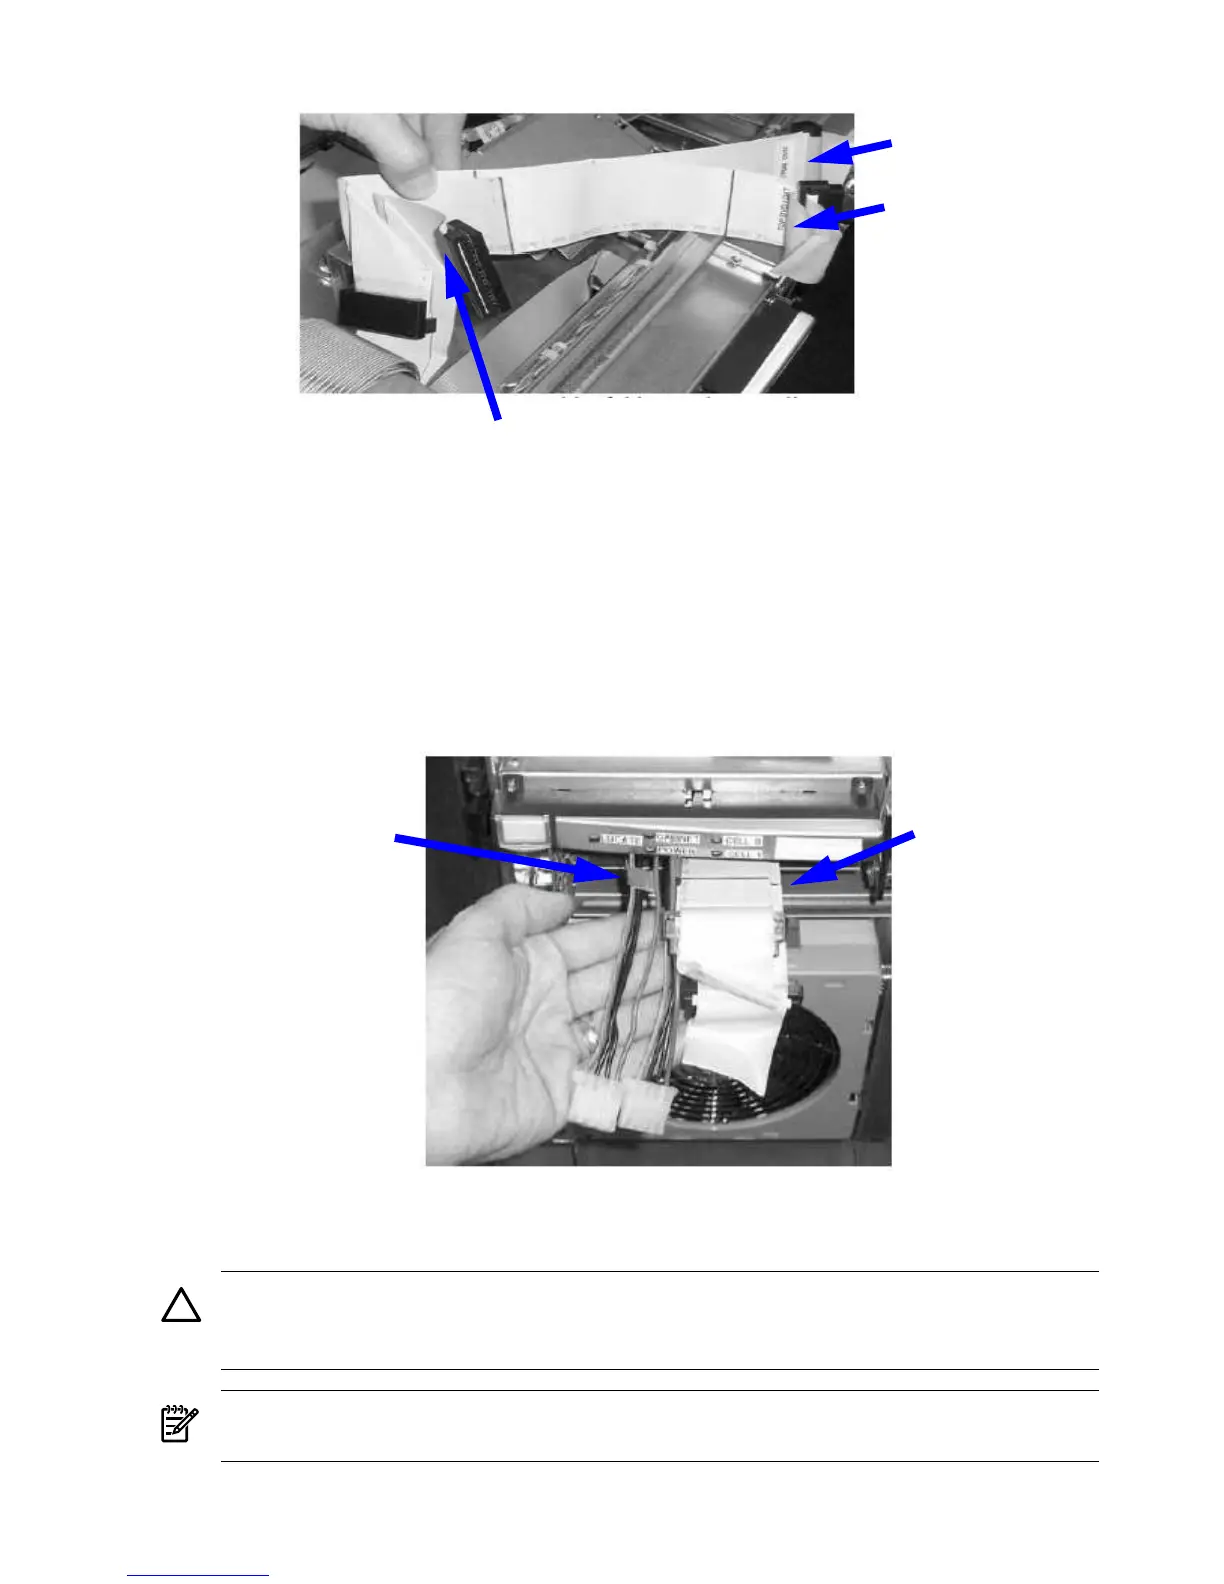
Figure 6-27 SCSI and Power Cables for Slimline DVD+RW Installation
SCSI Cable Length
Indicator
Power Cable Flag
Indicator
10. Carefully position the metal removable media cover over the SCSI data and power cables
and fasten into place.
CAUTION: Ensure the service length of the cables remains fixed as described in steps 7
and 8 when securing the removable media cover. Failure to comply will damage the
removable media drives, data, and power cables.
NOTE: The SCSI data cable end folds over the metal cover. The terminators sit on top of
the metal removable media cover.
11. Connect the removable media power cables into the mass storage backplane connectors.
164 Removing and Replacing Components
 Loading...