Chapter 6. Display Exchange
If you have an earthquake feature for the display go to “Display Exchange
(Earthquake Feature)” on page 6-8. Otherwise, continue with “Display Exchange
(Standard)”.
Display Exchange (Standard)
1. Switch off the display using the power ON/OFF switch located on the front
panel.
2. Disconnect the power plug of the display from the electrical outlet.
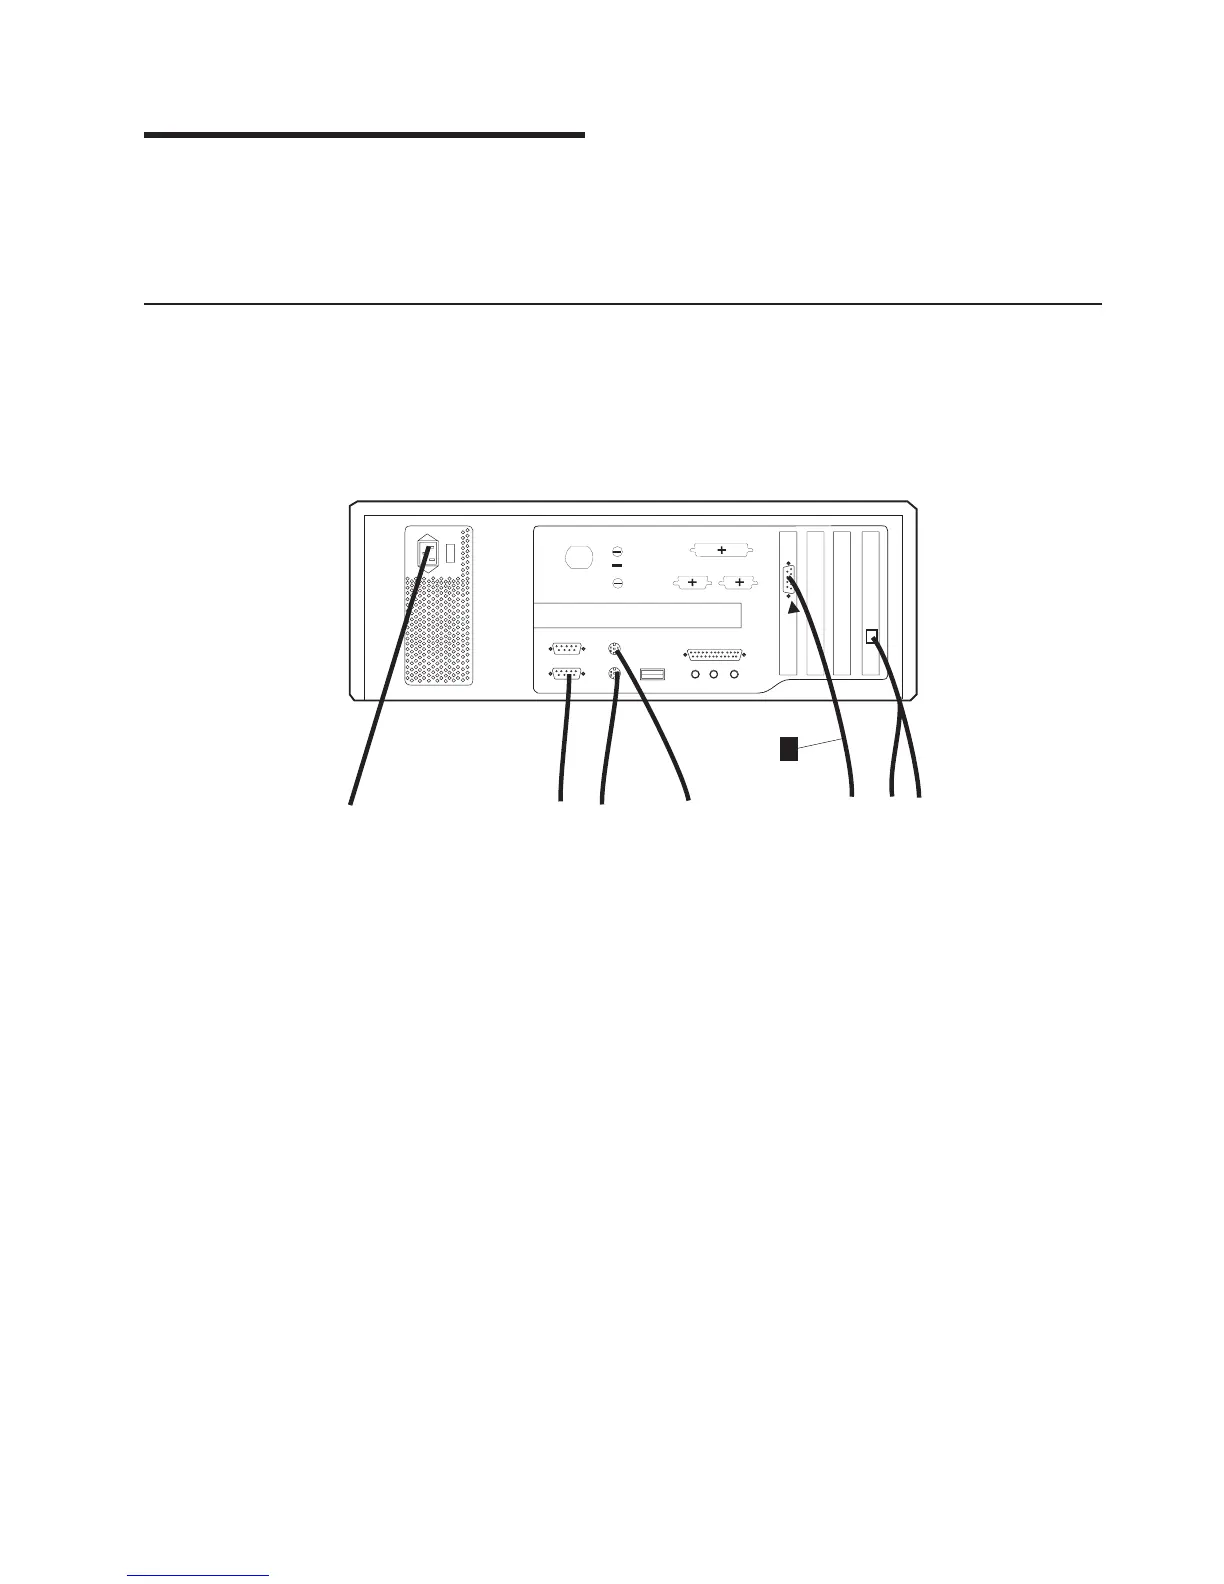
3. At the rear of the NAS disconnect the display cable «L¬ (see Figure 6-1).
4. If the display is installed:
v On a table, go to step 5.
v In a 37U rack, go to “Display Removal in 37U Rack” on page 6-2.
v On top of 29U rack, go to “Display Removal on Top of 29U Rack” on
page 6-3.
5. Exchange the display, then go to “Display Install on a Table”.
Display Install on a Table
1. Unpack the display and install it on the table.
2. At the rear of the Nways Switch administration station, connect the display
signal cable «L¬ (see Figure 6-1).
3. Connect the display power cable to the electrical outlet.
4. Switch on the display using the power ON/OFF switch located on the front
panel.
5. Check that your display is working.
6. Go to “Leaving Procedure” on page 5-30.
L
Figure 6-1. Display Connection to the NAS
© Copyright IBM Corp. 1998, 2000 6-1