Part 1 - Getting Started
19
•
Information is not indicated on the bottom of the
screen for cameras already registered to the NVR,
and the Screen Position/Registration Info icon is
shown with a black background.
•
Screen Position/Registration Info icon for cameras
registered to another NVR is shown with a steady
orange background on top of a gray screen.
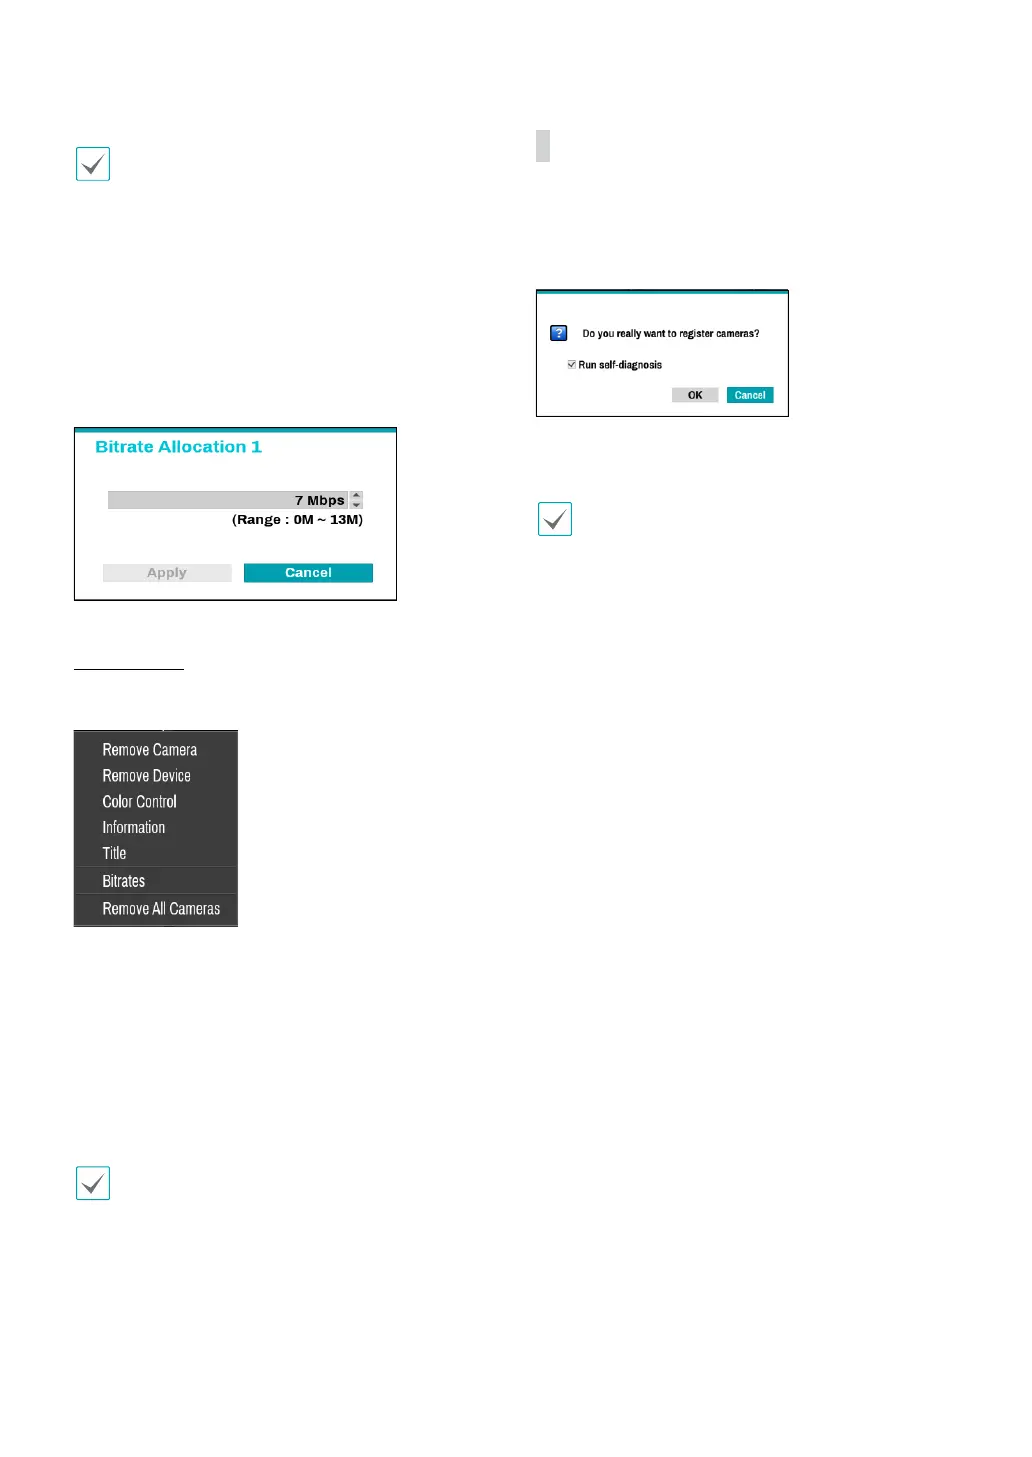
4 Bitrate Allocation
Indicates the performance (bitrate) allocated to the
channel. Left-click on the upper right corner of the
screen to change the bitrate.
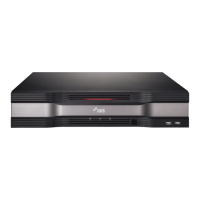
Camera Menu
Right-click on the video display area to bring up the
camera menu.
● Remove Camera: Removes the registered camera.
● Remove Device: Removes the registered encoder.
● Color Control: Adjusts the camera’s color settings.
● Information: Displays the camera’s basic information.
● Title: Edits the camera’s title.
● Bitrates: Changes the bitrate allocated to the channel.
● Remove All Cameras: Removes all registered
cameras.
You can drag & drop to add or remove cameras.
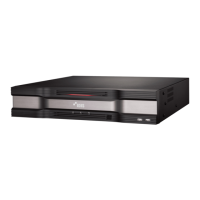
Apply/Cancel Buttons
While in Camera Registration mode, select Apply
to register all changes. When selecting Apply, the
following message will be displayed. You can activate or
deactivate Self-diagnosis.
Select Cancel to exit Camera Registration mode without
applying the changes.
It is not possible to register a camera that has already
been registered to a dierent NVR.