Matrix 2360 Programmable Shear User Manual - Section 5
12-092600 A 25
When the BACK UP DIST field is pressed, the back up move distance can be
changed. When it is non-zero, the pinch drive will reverse by this distance just after
each strip is cut free. This mitigates adhesive problems causing delamination of the
material. Too short a back move may allow the leading edge of the material to be
stuck to the blade as it completes its motion after the cut. Too large a move will slow
the cycle rate. Setting this field to 0 disables the back up move entirely.
The CUT 1 STRIP button causes the machine to make one cut at the programmed
width. It rotates the indexed roller one pitch and activates the guillotine to make one
complete down then up cycle. The button will be highlighted when pressed, but
since it is a momentary button, it will revert to its ready state when released.
The middle button causes the blade to go up and down without moving the material.
The button will display BLADE UP when the blade is down and BLADE DOWN
when the blade is in the up position.
If the blade is left in the down position, pressing the CYCLE pushbutton (below the
touch screen) will cause the blade to move to the up position. Pressing the CYCLE
pushbutton a second time causes the machine to run an entire programmed cycle.
Pressing the CYCLE pushbutton again during a cycle stops the cycle.
At the far right on the screen is a CLEAR SCRAP button, which activates the
indexed roller to turn and drive the trailing end of card material through to the output
chute without cutting. This is useful for clearing the machine of the scrap left over
from each run. Due to the necessary distance between the rollers and the blade,
there will always be a small amount of scrap remaining. (See NOTE on next page.)
The OPTIONS button opens the Options screen. This screen is used for setting
some basic operational parameters (or ‘preferences’) on the machine. The
OPTIONS screen is described in section 5.3.4.
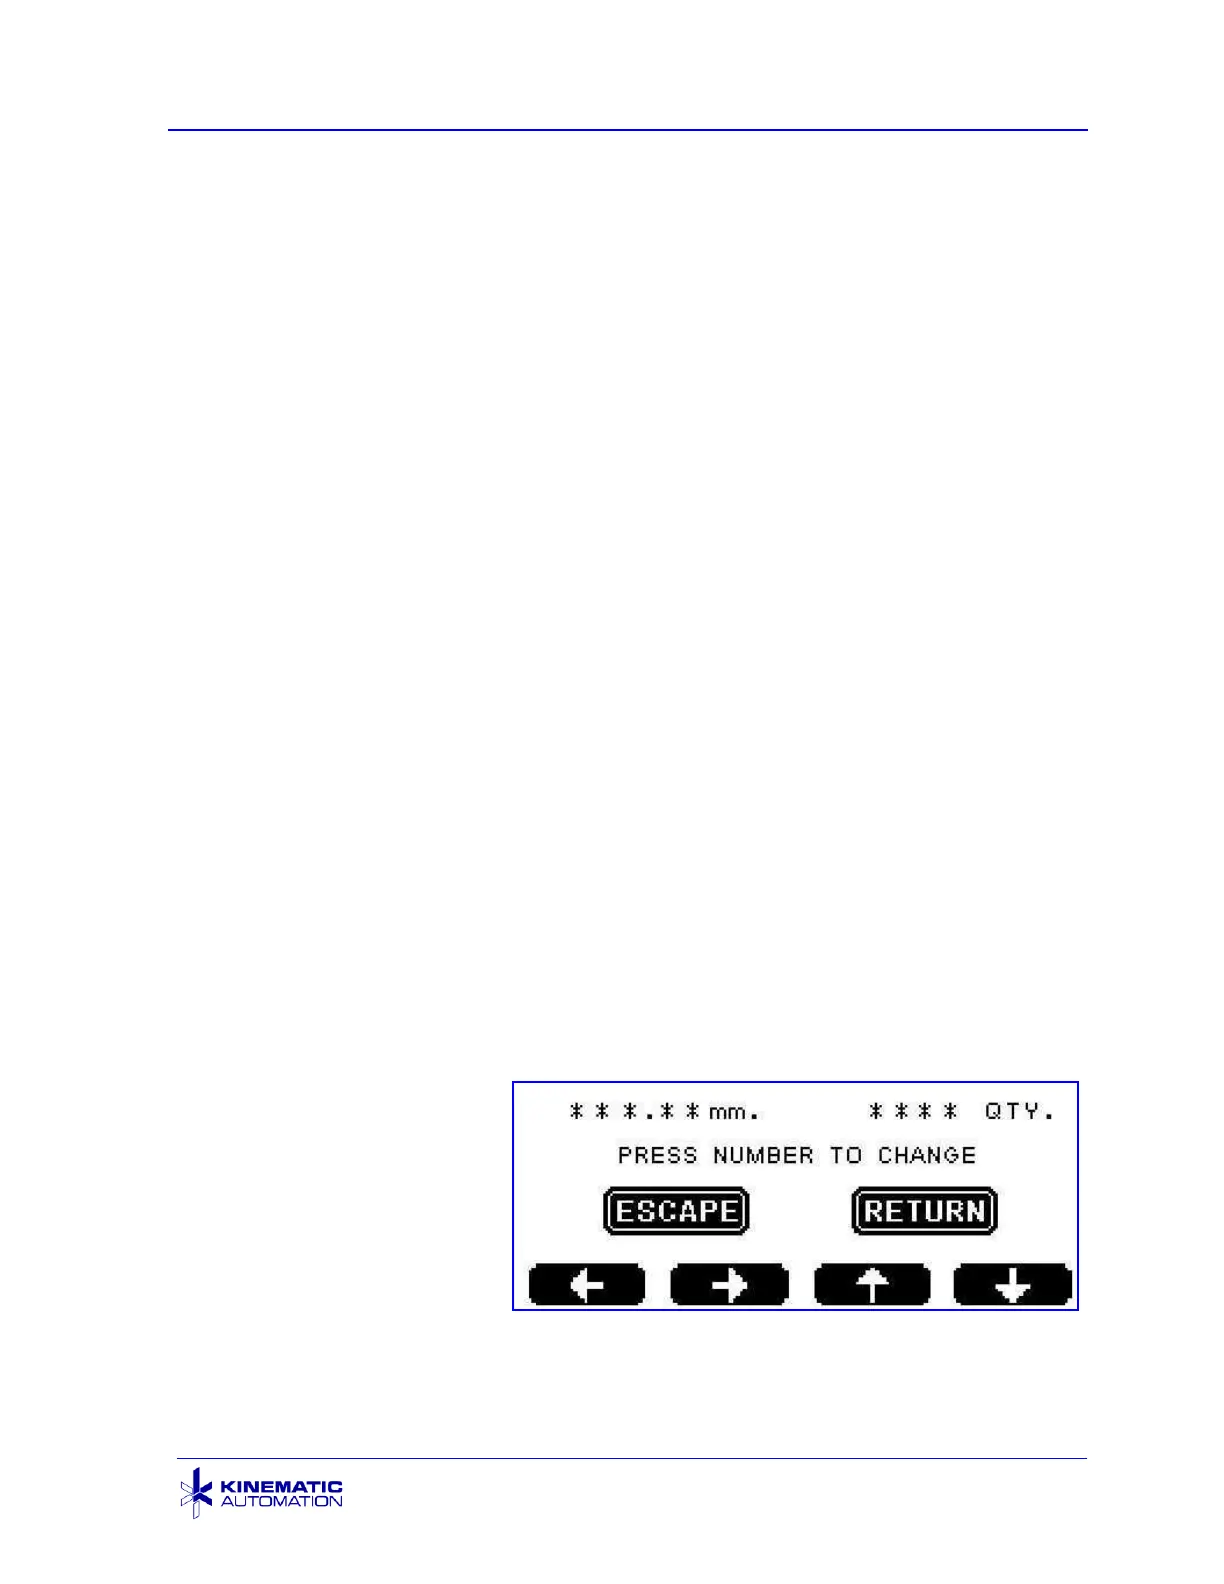
5.3.3 Set Units Screen
The Set Units Screen
appears when the UNITS
button on the Main Screen
is pressed. There is one
screen for inches and one
for millimeters. It is used to
set the size and quantity of
the strips to be cut in a
batch.
The range of strip sizes for Strip Mode operation is from 0.8 mm to 19.00 mm (0.03”
to 0.75”). The range of values for Card Mode operation is from 19.01 mm to 609