Matrix 2360 Programmable Shear User Manual - Section 5
32 12-092600 A
5. Loosen the lock nut counterclockwise (CCW), and turn the top knob CCW
until the material moves freely through the rollers without making either roller
turn. Use one hand on either side of the rollers to move material.
• Turning top knob CCW loosens the tension
• Turning top knob CW increases the tension
6. Turn the top knob CW just until pulling the material from either side of the
rollers makes both rollers turn. (The bottom roller is best observed by looking
at the drive pulley.)
7. Tighten the lock nut (CW) after any adjustment.
8. Remove the material, close the blade cover, plug the machine back in, and
cut at least 10 test strips to test tension setting. (See the next section for
details on cutting test strips. If there is variation in test strip size, loosen lock,
tighten top knob ¼ to ½ turn, relock, and test again.)
IMPORTANT: Too little pressure may allow product slippage,
resulting in inaccurate strip lengths.
Excessive pressure may result in inaccurate strip lengths due to
flattening of the indexing roller.
5.4.3 Offset Adjustment
Depending on your material, some offset may need to be set to account for any
slight differences that may occur between the desired strip size and actual measured
cut size. Follow the instructions below to test strip size and make an offset
adjustment if necessary.
Program the machine to cut 10 strips. (See
Section 5.3.3.)
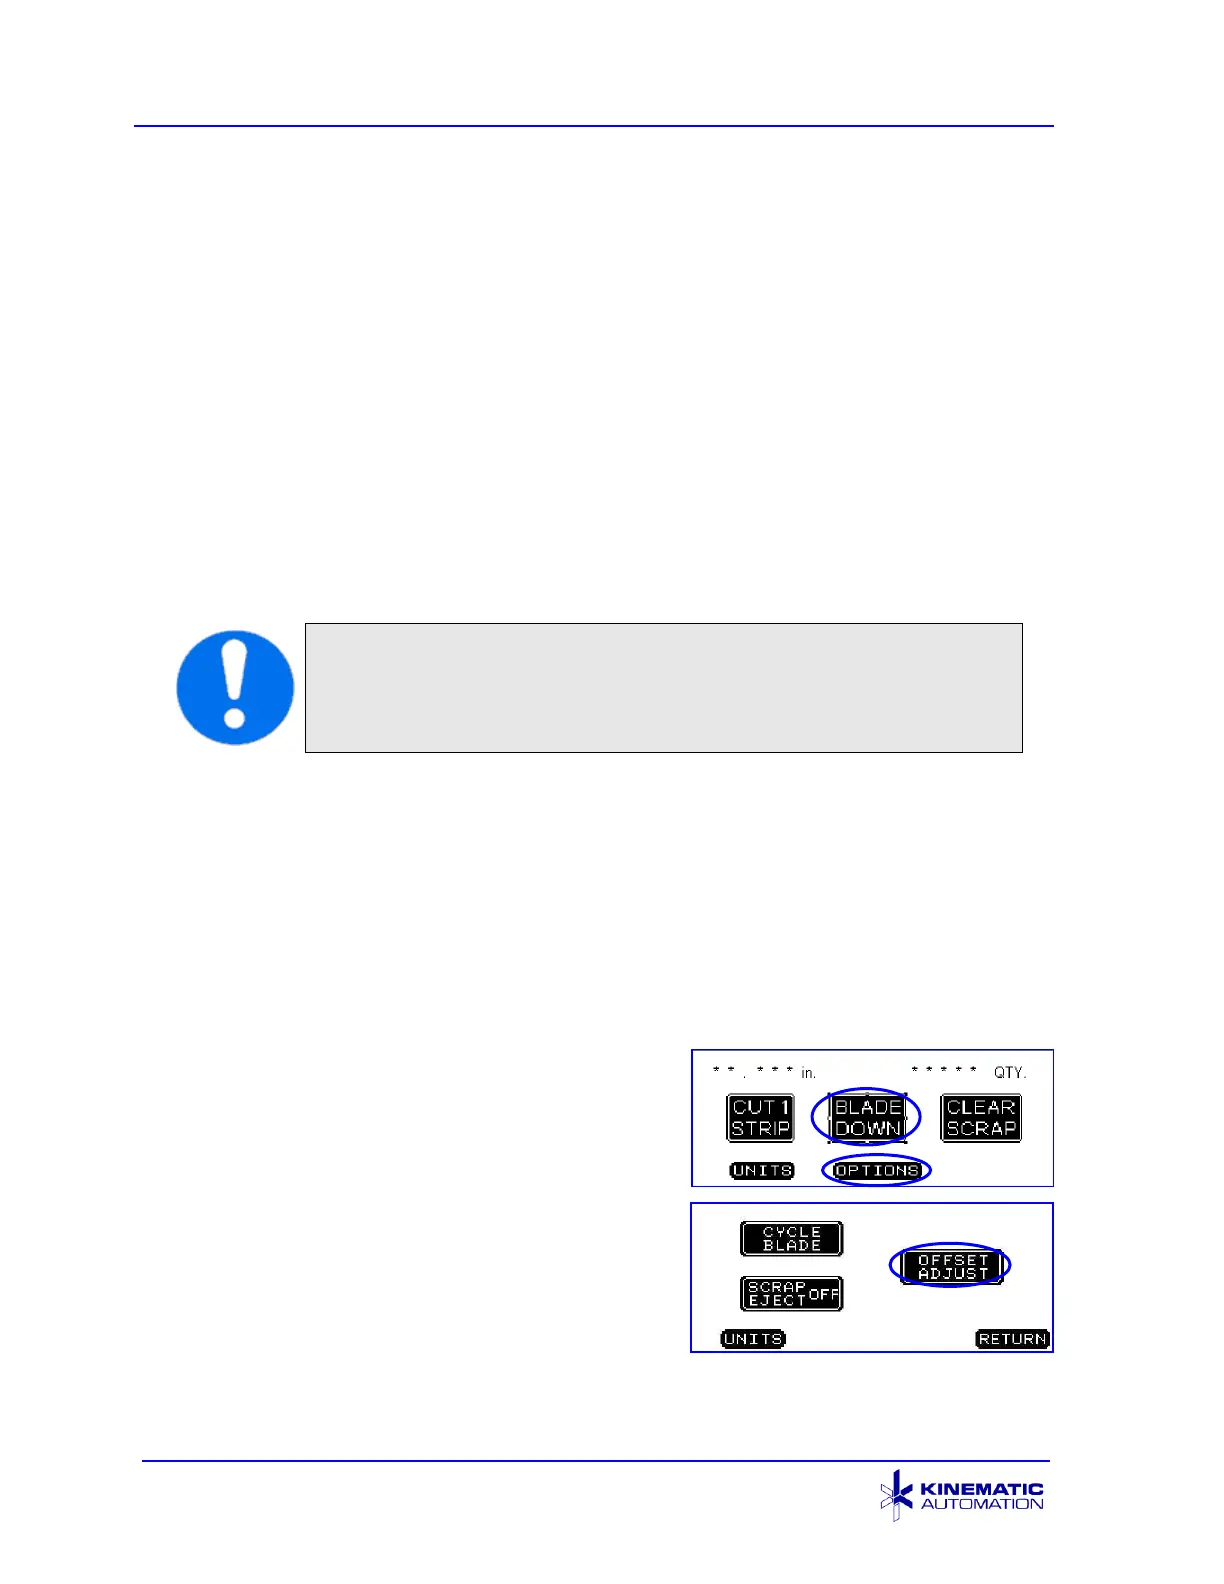
Press the BLADE DOWN button on the Main
screen. Now feed the material to be cut under
the pinch roller (lifting the top roller by pressing
and holding down the tension adjustment knob)
and push the material up to the lowered blade.
Release the tension adjustment knob. Press the
BLADE UP button. Press the CUT 1 STRIP
button to cut off the leading edge and discard this piece.