Please refer to the information in the Third Party Documentation for detailed
information on your sensor, since several types are supported for the Matrix 2360.
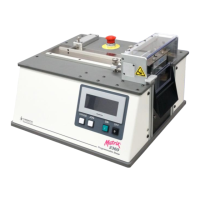
The most common sensor used on the Matrix 2360 is a
reflective sensor inserted into a C-collar tightened with
a screw or locked in place with a nylon tip setscrew.
Before removing the sensor, use a pen to mark on the
old sensor where it sits on the holder.
Release the setscrew or collar lock screw and slide the
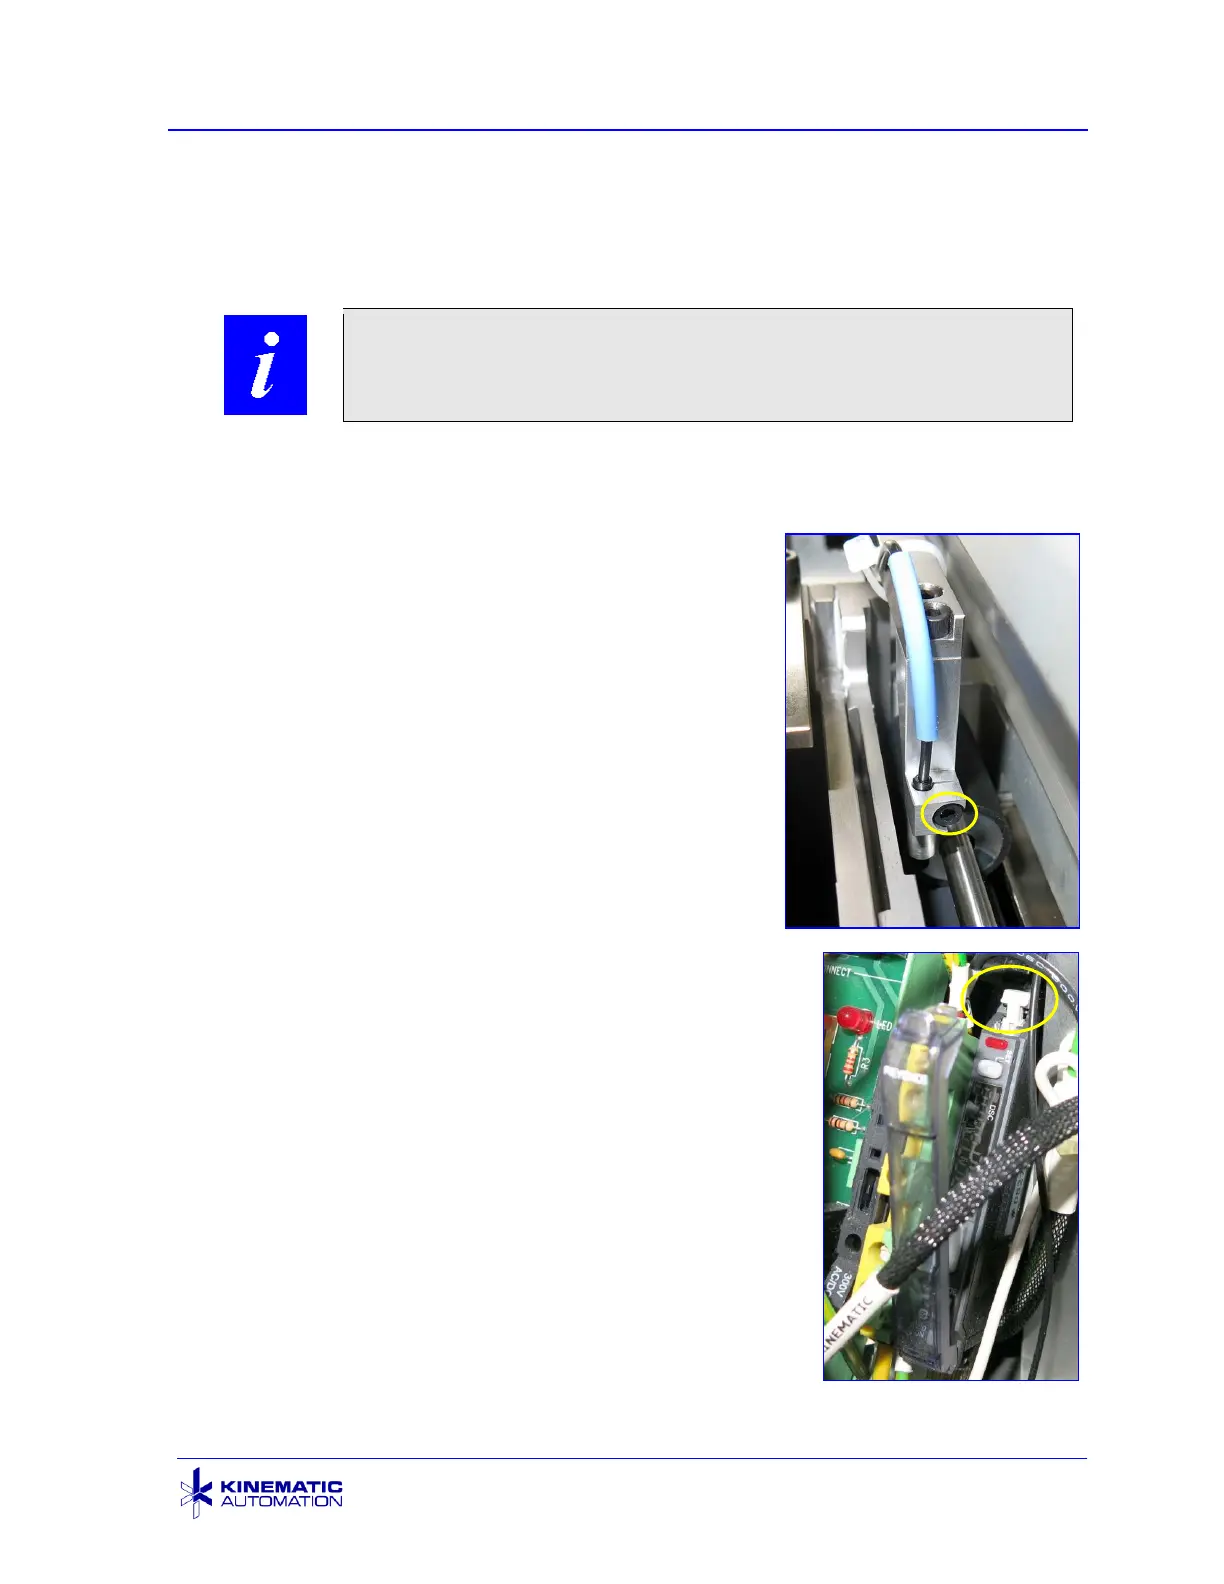
sensor out of the holder. If an amplifier is used, unplug
the sensor from the amplifier. The plug pulls out easily
once the release latch on the amplifier is lifted (see
lower photo). The release latch unlocks the amplifier
socket to allow the sensor plug to be removed. Note
the orientation of the plug as you remove it from the
amplifier socket. Some cable ties may have to be cut
to remove the sensor and wire.
Use the mark made on the old sensor to mark the new
sensor in the same place. This will provide a good starting
place for the vertical adjustment of the new sensor.
Place the sensor into the sensor holder. Many sensors
have a specific zone in which the setscrew may come in
contact. Verify that the screw is not outside of this zone
before tightening. Gently tighten the screw to hold it in
place. Reflective sensors have a focal point that requires
that the sensor is a specific distance from the object to
detect it reliably. This means that the sensor may have to
be moved closer to, or farther from, the material. (See the
next section.)
Do not over-tighten the lock screw or setscrew.
Fiberoptic cable is easily damaged.