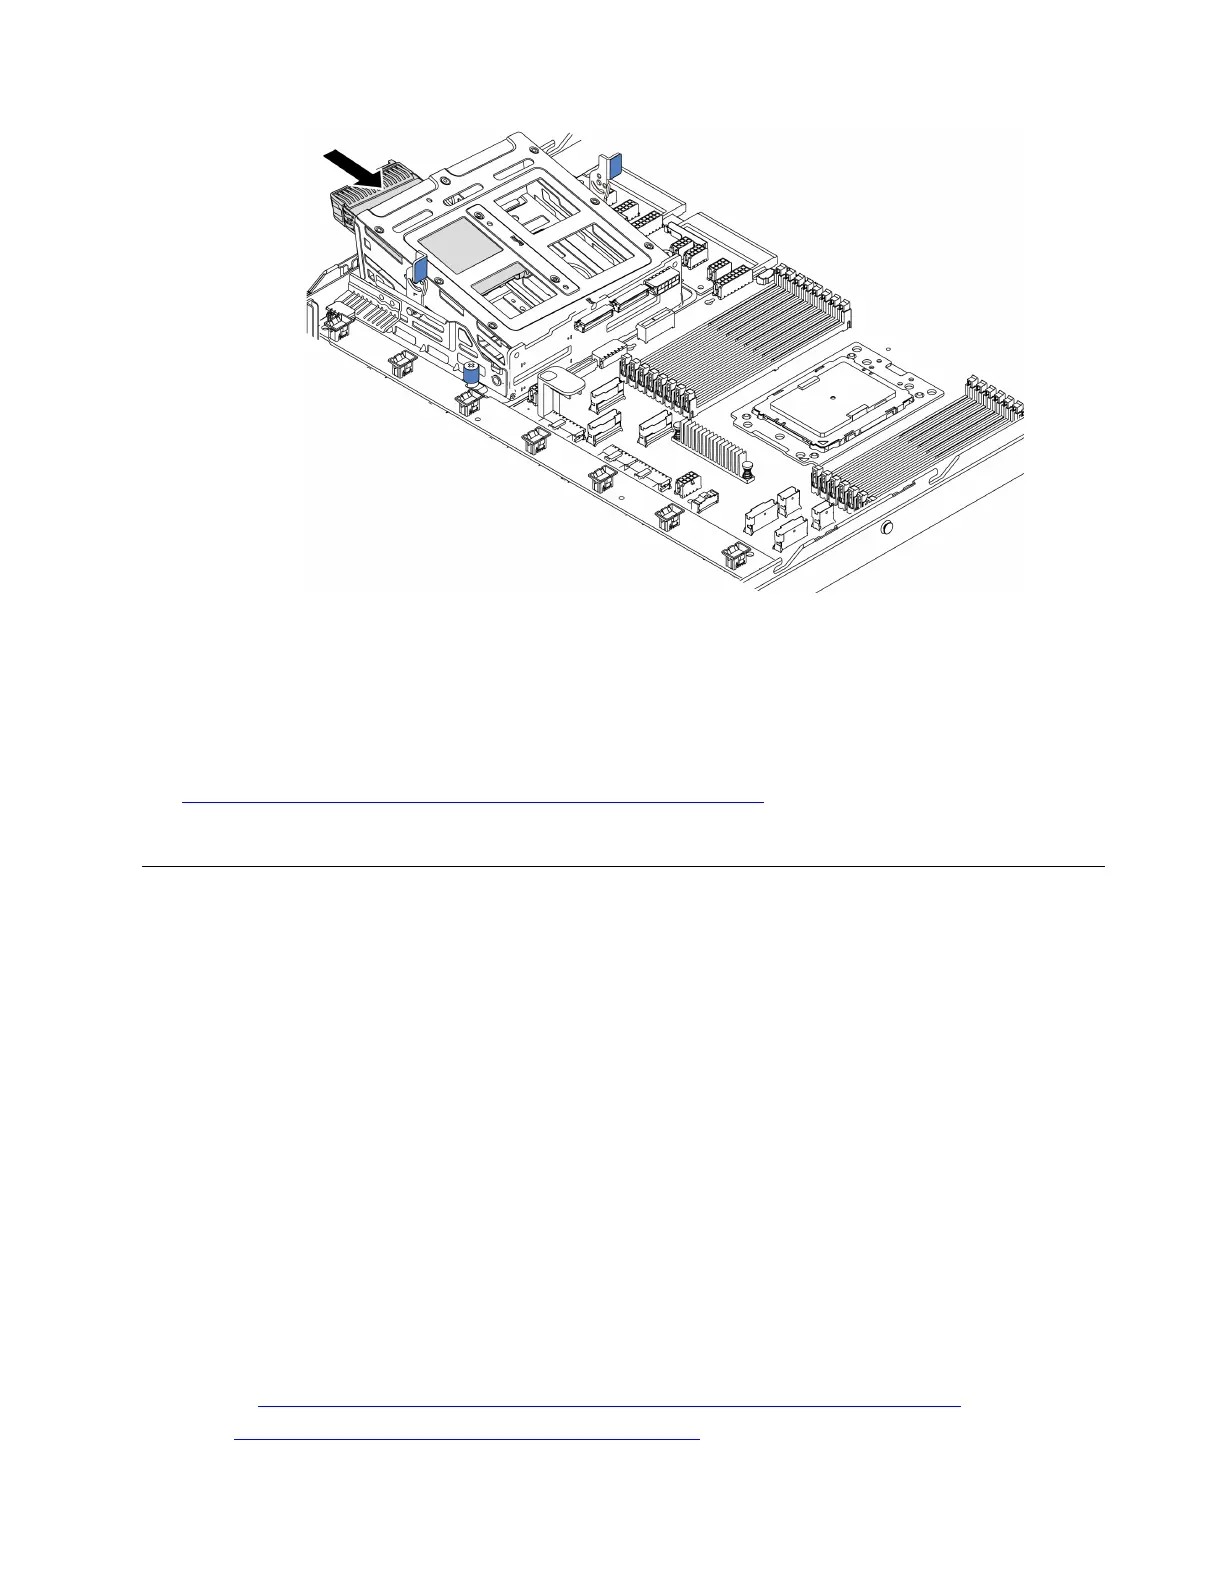
Figure 142. Internal hot-swap drive installation-2
After installing all hot-swap drives:
1. Connect the cables to the middle drive cage. See “Internal cable routing” on page 27.
2. Use the Lenovo XClarity Provisioning Manager Lite to configure the RAID if necessary. For more
information, see:
https://sysmgt.lenovofiles.com/help/topic/lxpml_v2/Introduction.html
3. Complete the parts replacement. See “Complete the parts replacement” on page 203.
M.2 adapter and M.2 drive replacement
Use this information to remove and install the M.2 adapter and M.2 drive (an assembled M.2 adapter and M.2
drive is also known as M.2 module).
Remove the M.2 adapter and M.2 drive
Use this information to remove the M.2 adapter and M.2 drive.
Before removing the M.2 adapter and M.2 drive:
1. Remove the top cover. See “Remove the top cover” on page 89.
2. Disconnect the cables of the M.2 adapter.
3. For easier operation, remove the internal riser assembly next to the M.2 adapter. See “Remove the
internal riser assembly” on page 115.
To remove the M.2 adapter and M.2 drive, complete the following steps:
Note: The M.2 adapter you want to remove might be different from the following illustrations, but the
removal method is the same.
Watch the procedure. A video of the installation and removal process is available:
• YouTube:
https://www.youtube.com/playlist?list=PLYV5R7hVcs-DTDY1lmpIPpJVOzo7dKq14
• Youku: http://list.youku.com/albumlist/show/id_52222446.html
Chapter 3. Hardware replacement procedures 159

 Loading...


