4. LG Network Storage Web Menu Use (for LG
Network Storage administrators)
87
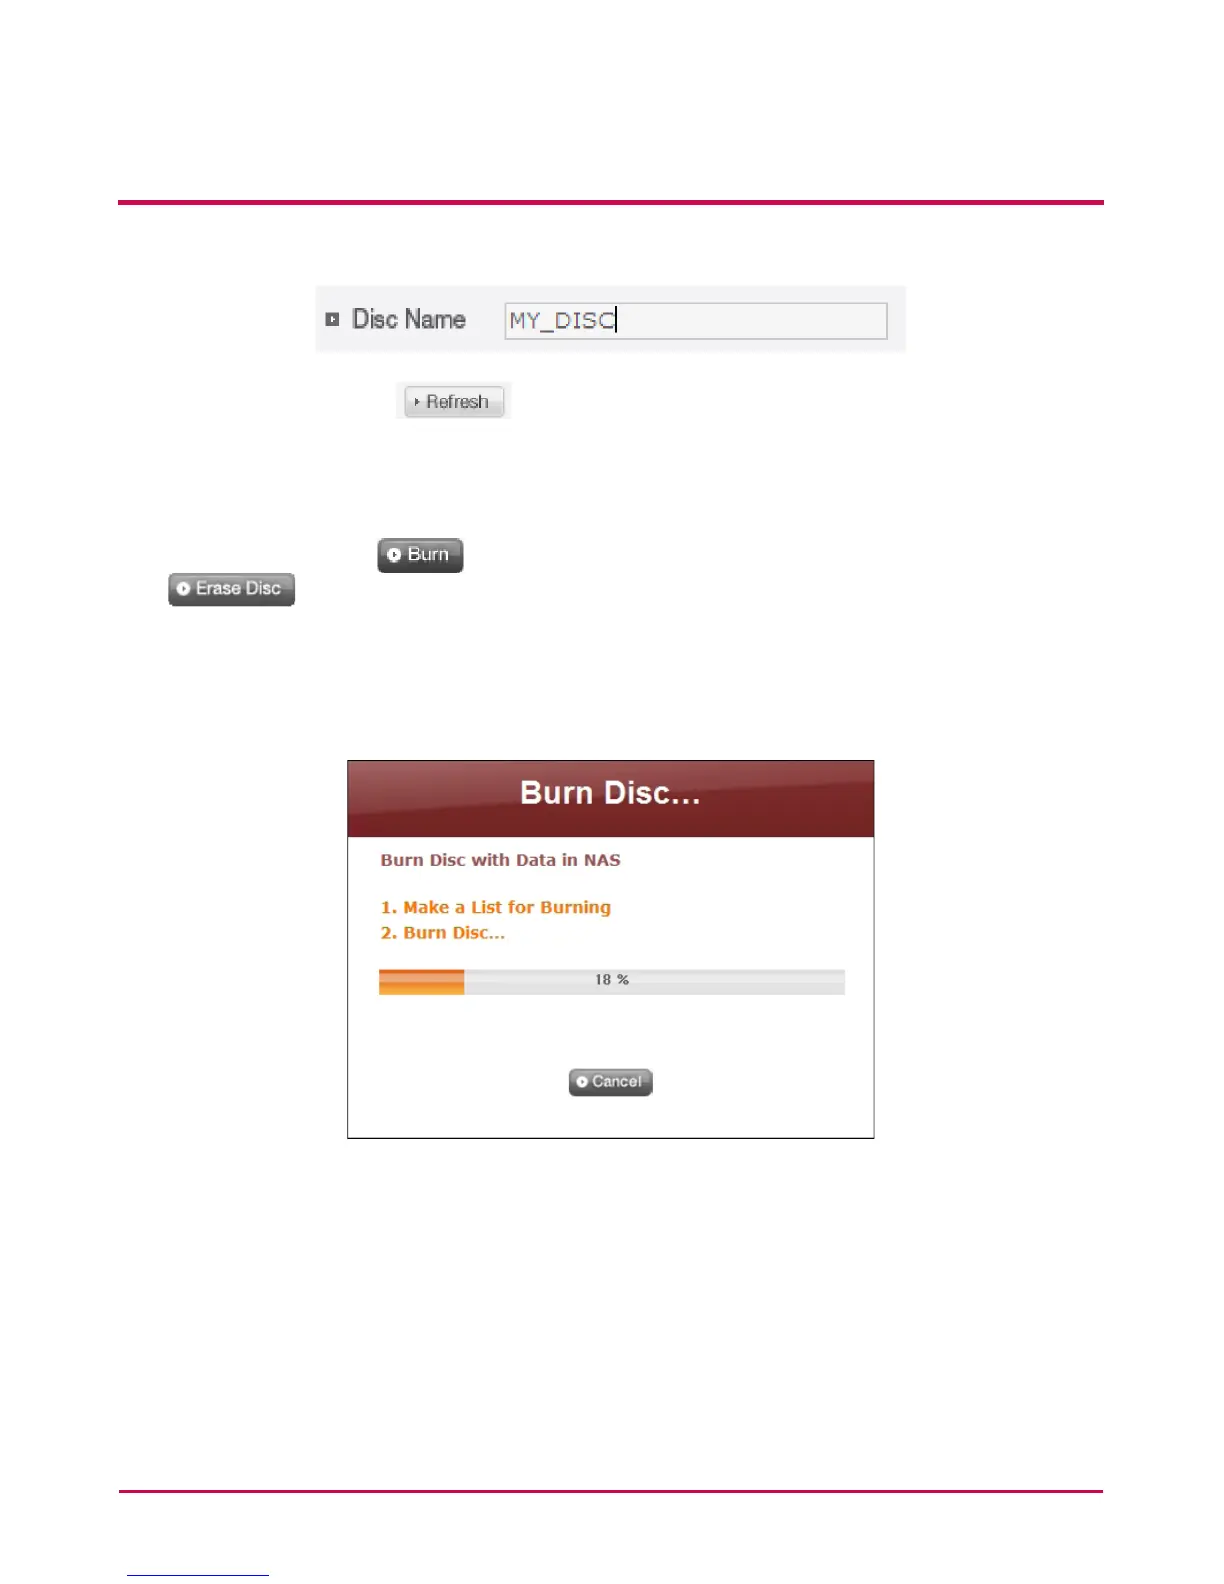
3 Specify disc name in the ‘‘Disc Name’ window
4 Click on the ‘Refresh’ button and conrm that disc writing is possible as
indicated in the disc status box.
5 Put a check in ‘Verify after completing burning’ if you wish to run a test on the written
le after writing in a disc.
6 Pressing the ‘Burn’ button begins the burning process. Press ‘Erase Disc’
button to erase data written in the disc, if it’s a written disc. The burning
process is accompanied by a progress bar display. To cancel the process, click on the
‘Cancel’ button, which appears with the progress bar.
7 At the end of the burning process, the tray ejects and the disc can be removed.