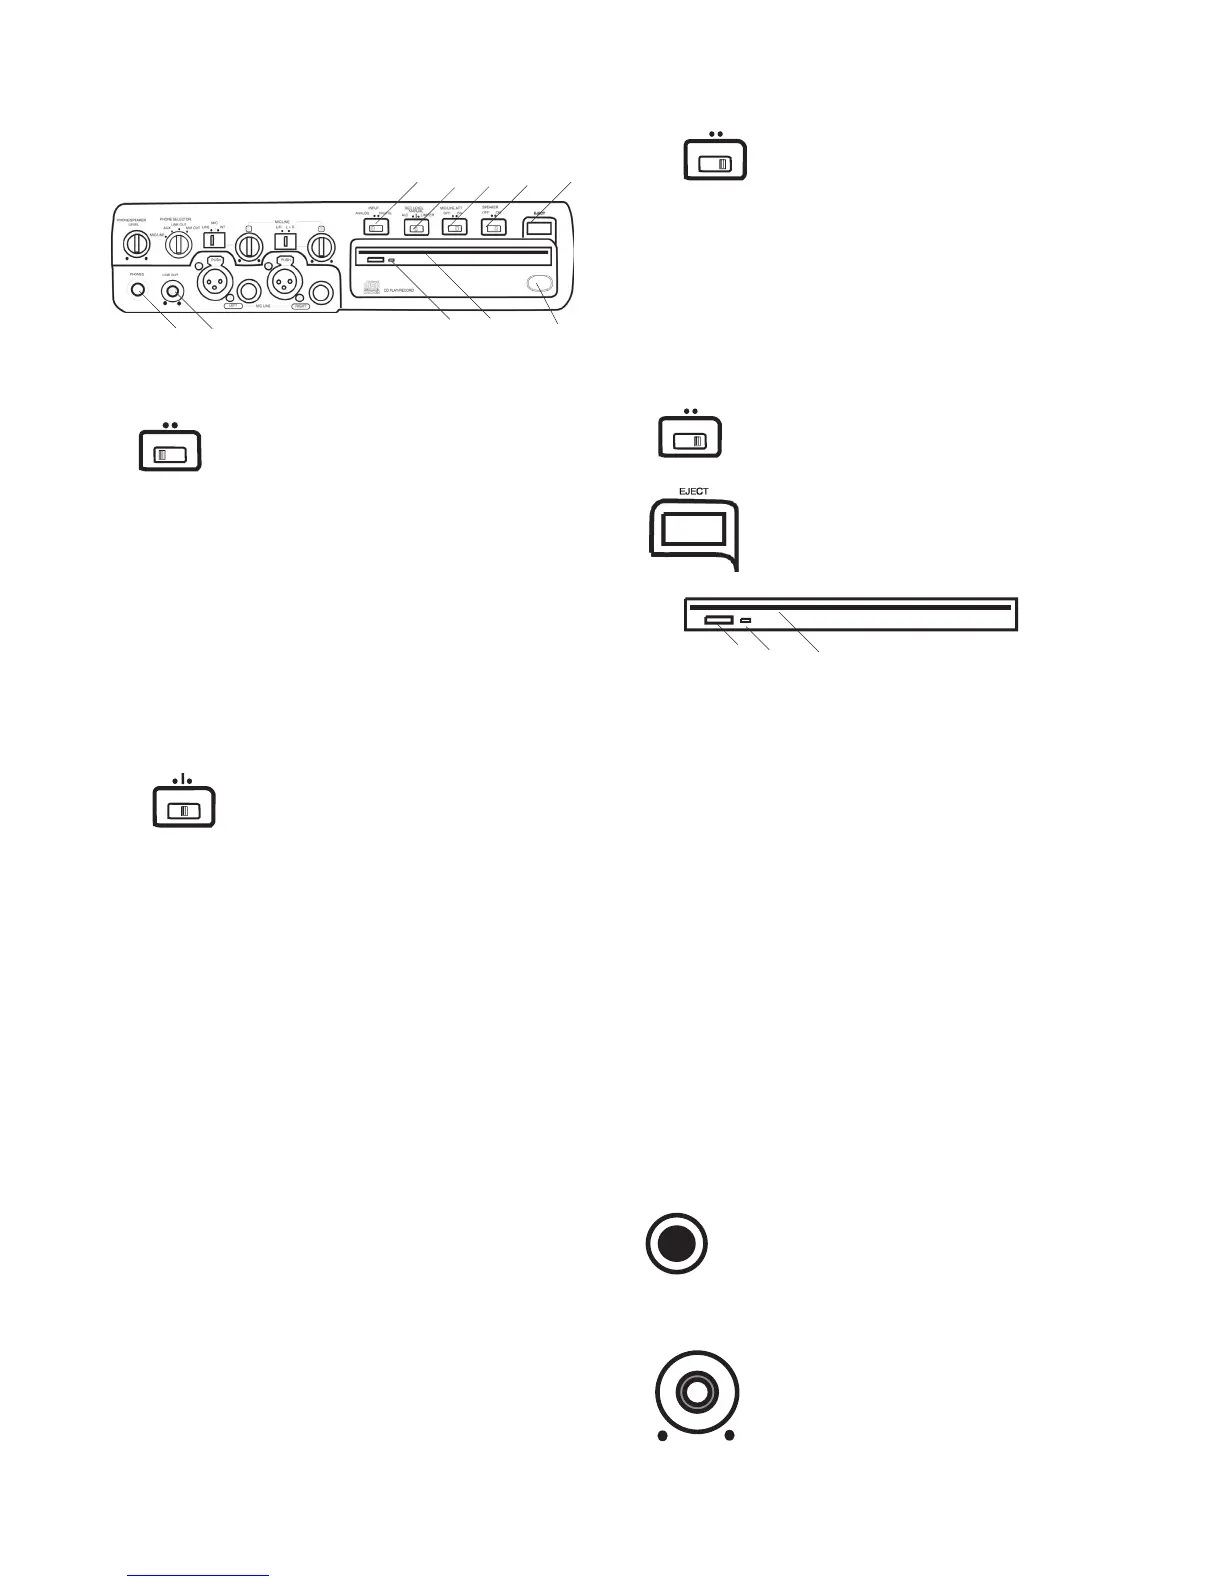
Controls, Connections (front) continued
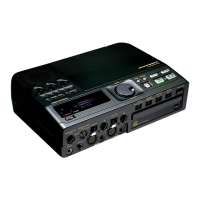
Select between analog or digital
Connect digital output of the source machine to
the DIGITAL IN jack on the rear of CDR420*. Con-
nect analog input to either the MIC/LINE input jacks
on the front of the CDR420, and/or the AUX IN jacks
on the rear of the CDR420, or use the internal micro-
*The CDR420 can only accept S/PDIF digital input signals at the
Sample Frequency of 44.1 kHz.
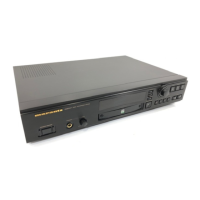
Record level limiter for analog
Limits any input signal greater than -12 dB.
Left and right MIC/LINE (or INT MIC) level
controls do not have any function when using ALC.
Set level using left and right MIC/LINE
level controls. When recording via AUX IN control
the level using the output level control on the external
device. Levels in excess of 0 dB may be recorded and
may result in distorted recordings.
Same as manual: Set level using left and
right MIC/LINE level controls. Levels in excess of 0
dB are automatically limited.
NOTE: REC LEVEL adjustment is not available with
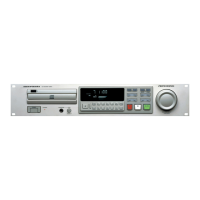
Determines if the signal from the
MIC/LINE inputs is attenuated.
– the signal(s) is not attenuated.
– Overdrive of the signal is attenuated (limited).
Turns the built-in speaker OFF or
Plug stereo headphones in here.
Adjust headphone volume with the
PHONES/SPEAKER LEVEL control.
MANUAL
ALC
LIMITER
REC LEVEL
Press and release to eject a CD in the
13 LINE OUT level control
Turn to adjust the level of the output
The small Eject button on the CD drive mechanism
can also be pressed and released to eject a CD in the
*Neither the Eject button on the face of the unit or the small Eject
button on the CD mechanism are functional when a CD is being
The CD light fl ashes when the CD drive is active,
The CD drive is used for recording and can record CD-
R and CD-RW discs. The CD drive can also playback