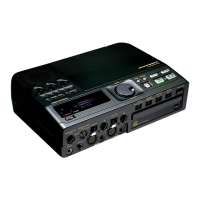
• In our example the track is NOV 16 1045PM.WAV.
• Once one or more fi les have been selected for the CD Project,
the REC button fl ashes to indicate that a CD can be burned.
That gives you an opportunity to review your
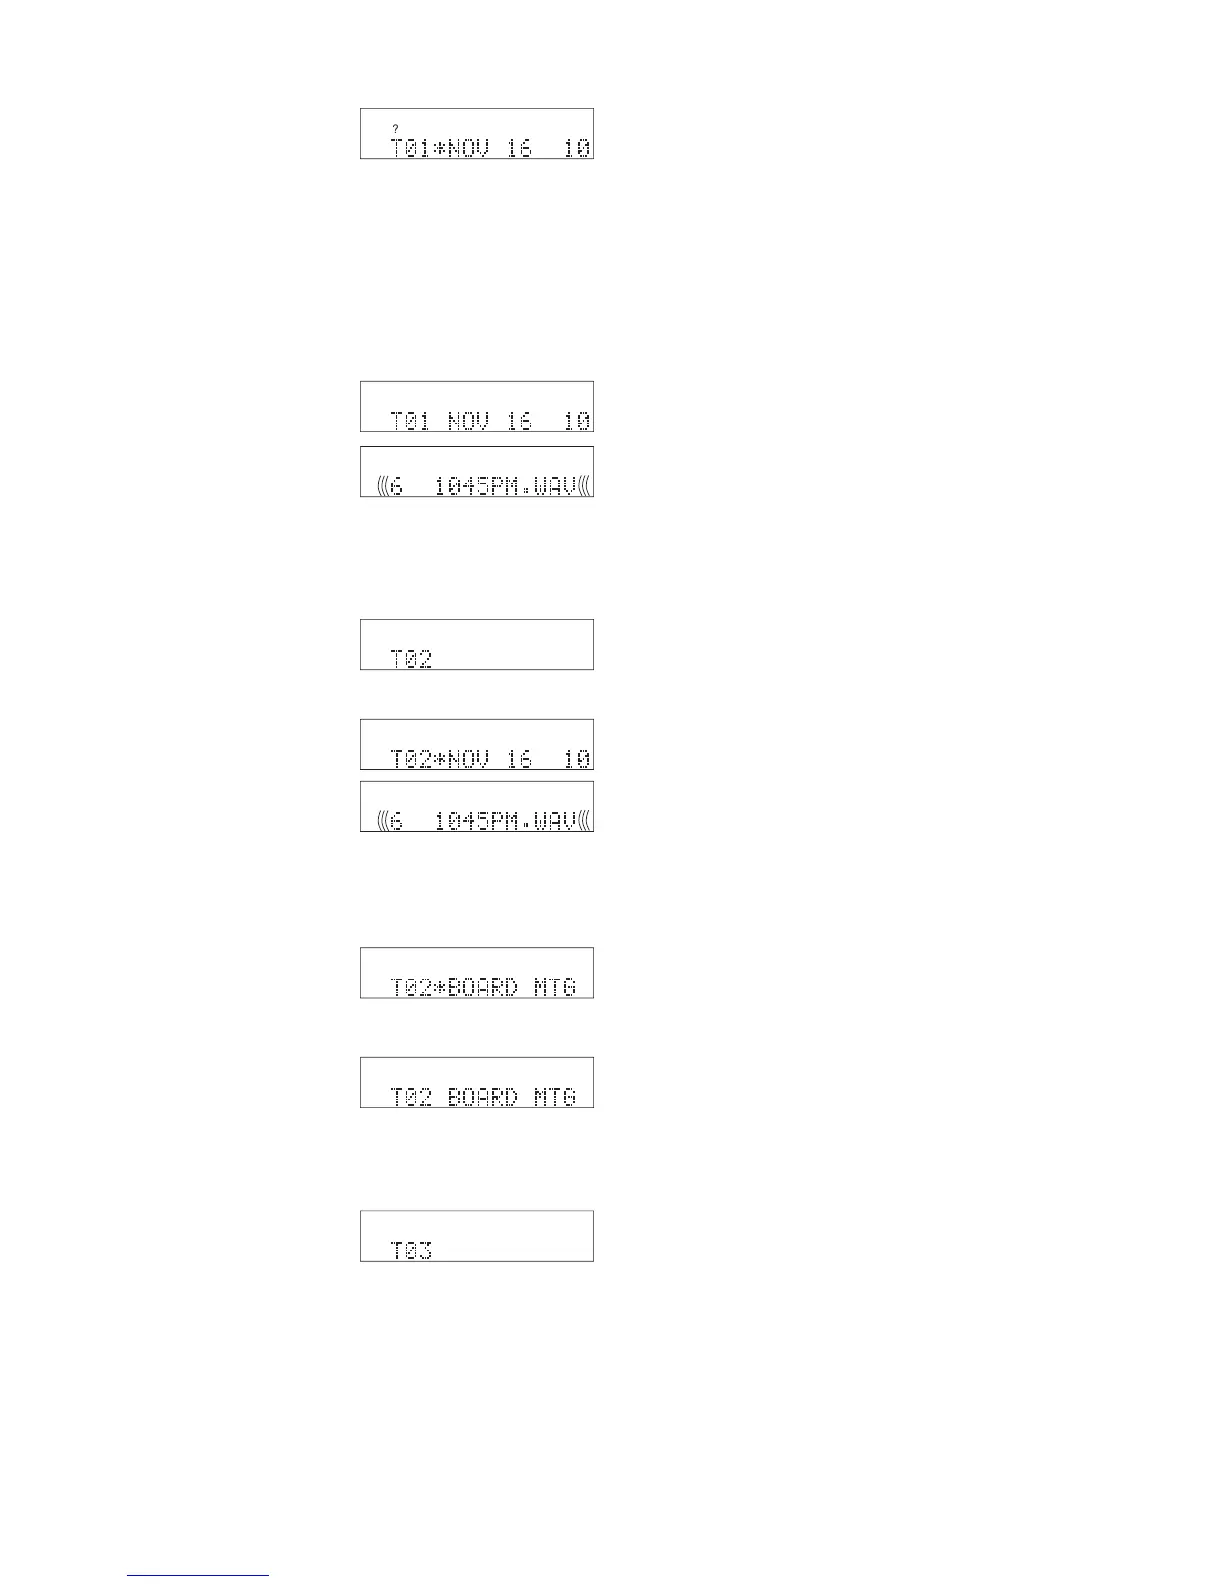
In our example, above, we chose the fi rst fi le in the fi le directory
for T01 so it is the fi rst fi le that appears at T02*.
During CD Project a single click of the Jog Wheel
switches between * and no *.
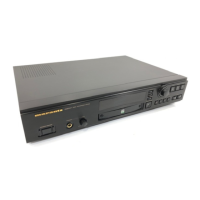
the Jog Wheel tabs through the tracks (T's).
• File names are displayed for existing tracks.
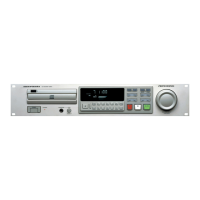
• The fi le name is blank for the next track to be
the Jog Wheel tabs through the fi le directory
while remaining at the track (T) selected.
• If an existing track, DELETE TRACK is
found at the end of the fi le directory.
• If the next track to be added to your project
WRITE CD is found at the end of the fi le
How to add a track to a CD Project
b Turn the Jog Wheel until the highest "T" is
displayed. The highest T will be blank.
c Press and release the Jog Wheel to add the *
and display the fi le directory.
d Turn the Jog Wheel to select the track to be
e Click the Jog Wheel to add the displayed track
How to delete a track from a CD Project
b Turn the Jog Wheel until the track you want to
c Press and release the Jog Wheel to add the *.
d Turn the Jog Wheel so DELETE is displayed.
e Press and release the Jog Wheel (single click)
to delete the displayed track from your CD
Project. The remaining tracks in your CD
How to change a track in a CD Project
b Turn the Jog Wheel until the track you want to
c Press and release the Jog Wheel to add the *.
d Turn the Jog Wheel to select the track you
Repeat steps 10 and 11 to construct your CD Proj-