Chapter 7 Assembly of the Devices
162
Using a TI2-LA-BM main branch
Attach the main branch to the rear of the microscope main body.
Attaching a TI2-LA-BS sub branch to the main branch enables two illumination modules to be mounted.
Using a stage-up kit to form a main branch in a two-tier configuration
If the FL turret is set up in a two-tier (upper and lower) configuration by using the TI2-LA-SU stage up kit
for Ti2-A/U, the main branch can be mounted in a two-tier configuration.
If an illumination module is mounted in the lower tier, the distance to the objective will lengthen, causing
the convergence position to be misaligned. To prevent this problem, a TI-LA-SUL stage-up lens needs to
be inserted into the main branch.
Stage-up kits must be mounted by Nikon personnel. For details, contact your local Nikon representative.
Cable connection
Nikon recommends connecting all cables together at the end of the assembly. For details on the connector
positions, see “7.15 Connection of Each Cable.”
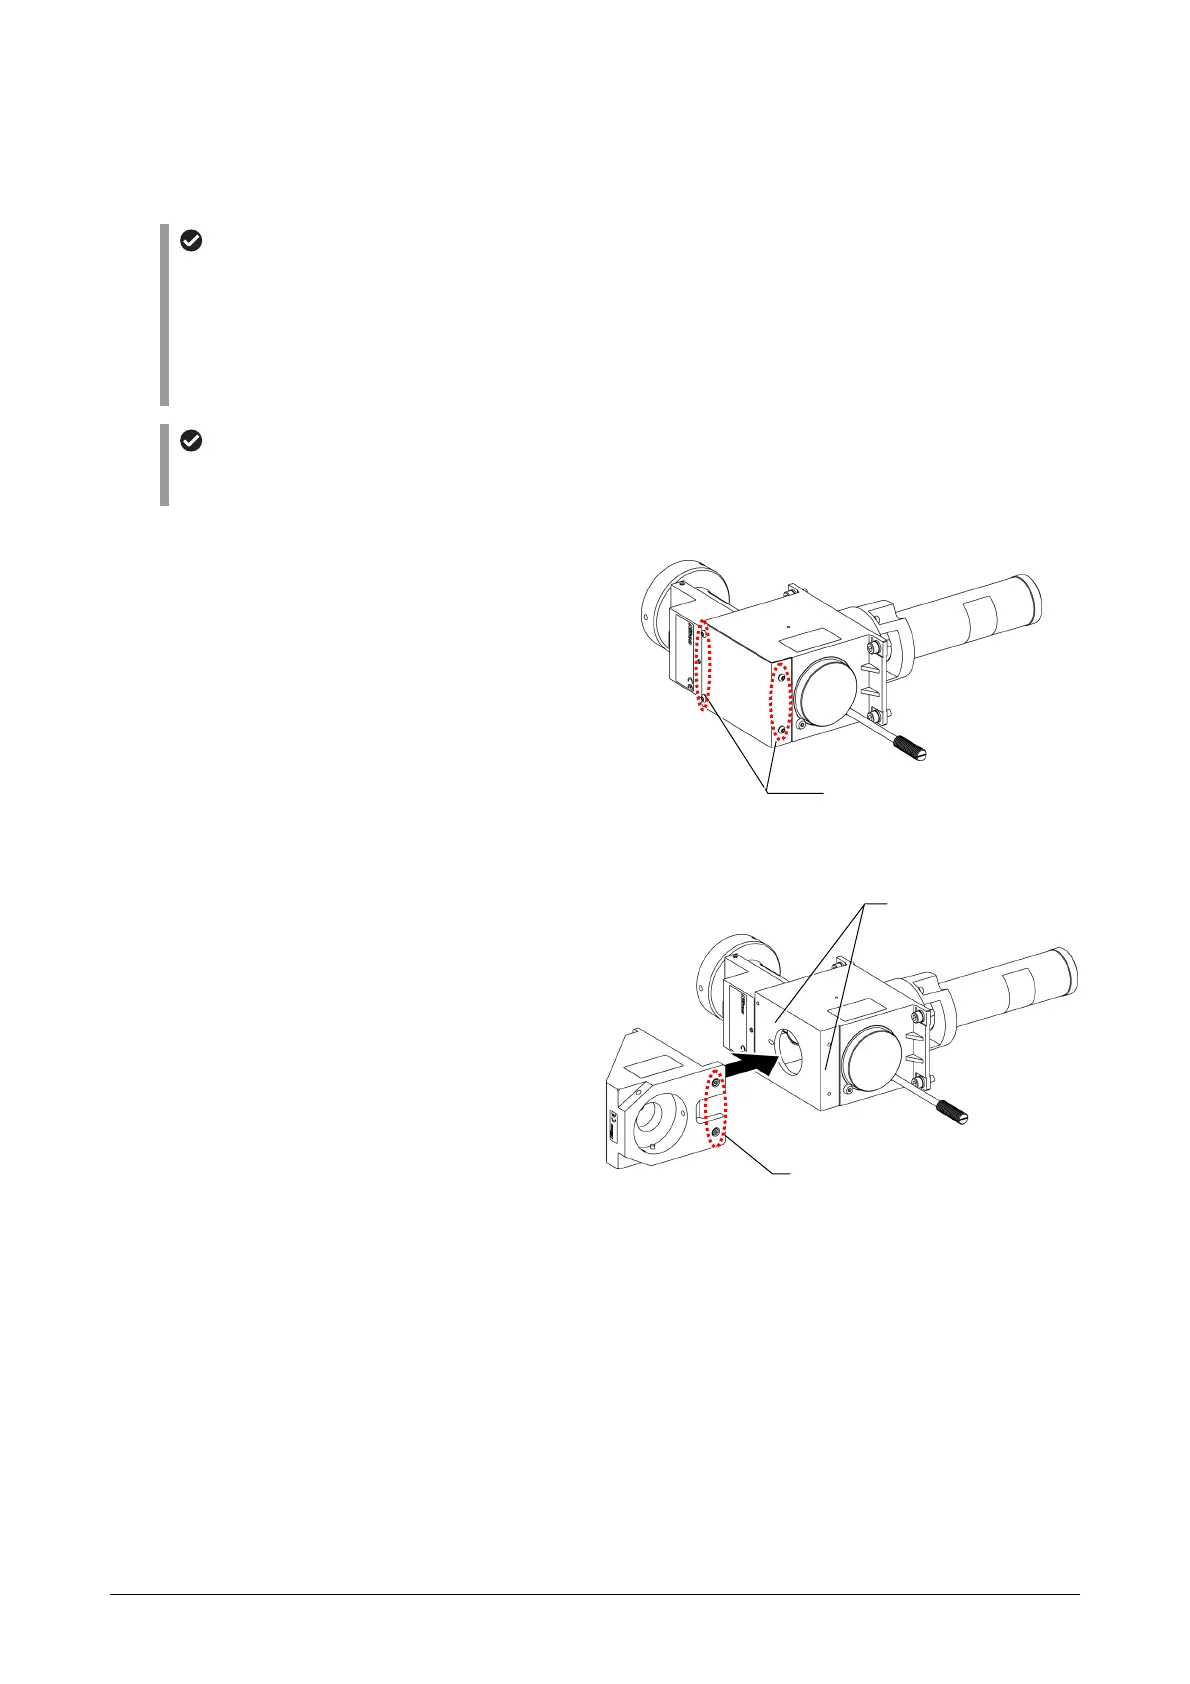
(1) Prepare for attaching a main branch.
A shielding panel is mounted on the main
branch.
Remove the four shielding panel fixing
screws using a hex wrench, and then remove
the shielding panel.
(Tool: 2 mm hexagonal screwdriver, supplied
with the microscope main body)
Removing the shielding panel from the main branch
Using a sub branch in combination with
the main branch
Mount a sub branch at the back of the main
branch, and secure the sub branch by tight-
ening the four sub branch fixing screws using
a hex wrench.
When mounting the sub branch, correctly
place it on the base surfaces of the main
branch, and then secure it.
(Tool: 2.5 mm hex wrench, supplied with the
main branch)
Attaching a sub branch
Shielding panel fixing screws (x 4)
Sub branch fixing screws (x 4)
Base surfaces