Industrial gear units – Operating and Assembly Instructions
74 B 1050 en-1819
Pos: 16 9 /Anlei tung en/G etrieb e/5. In spekti on un d Wartu ng/Öls tand_ 05-Ölschauglas... [B1050, B2050] @ 31\mod_1553008539481_388.docx @ 2514186 @ 4 @ 1
5.2.6.2 Oil inspection glass/oil level glass (Option: OSG), Oil level indicator (Option: OST)
The oil level can be seen directly in the window. The correct oil level is the middle of the inspection
glass For the oil level indicator version, the oil level must be in the middle.
Pos: 17 0 /Anlei tung en/G etrieb e/5. In spekti on un d Wartu ng/Öls tand_ 06-Öl peil st ab [B 105 0, B 205 0] @ 31 \mod_1553008548620_388.docx @ 2514227 @ 4 @ 1
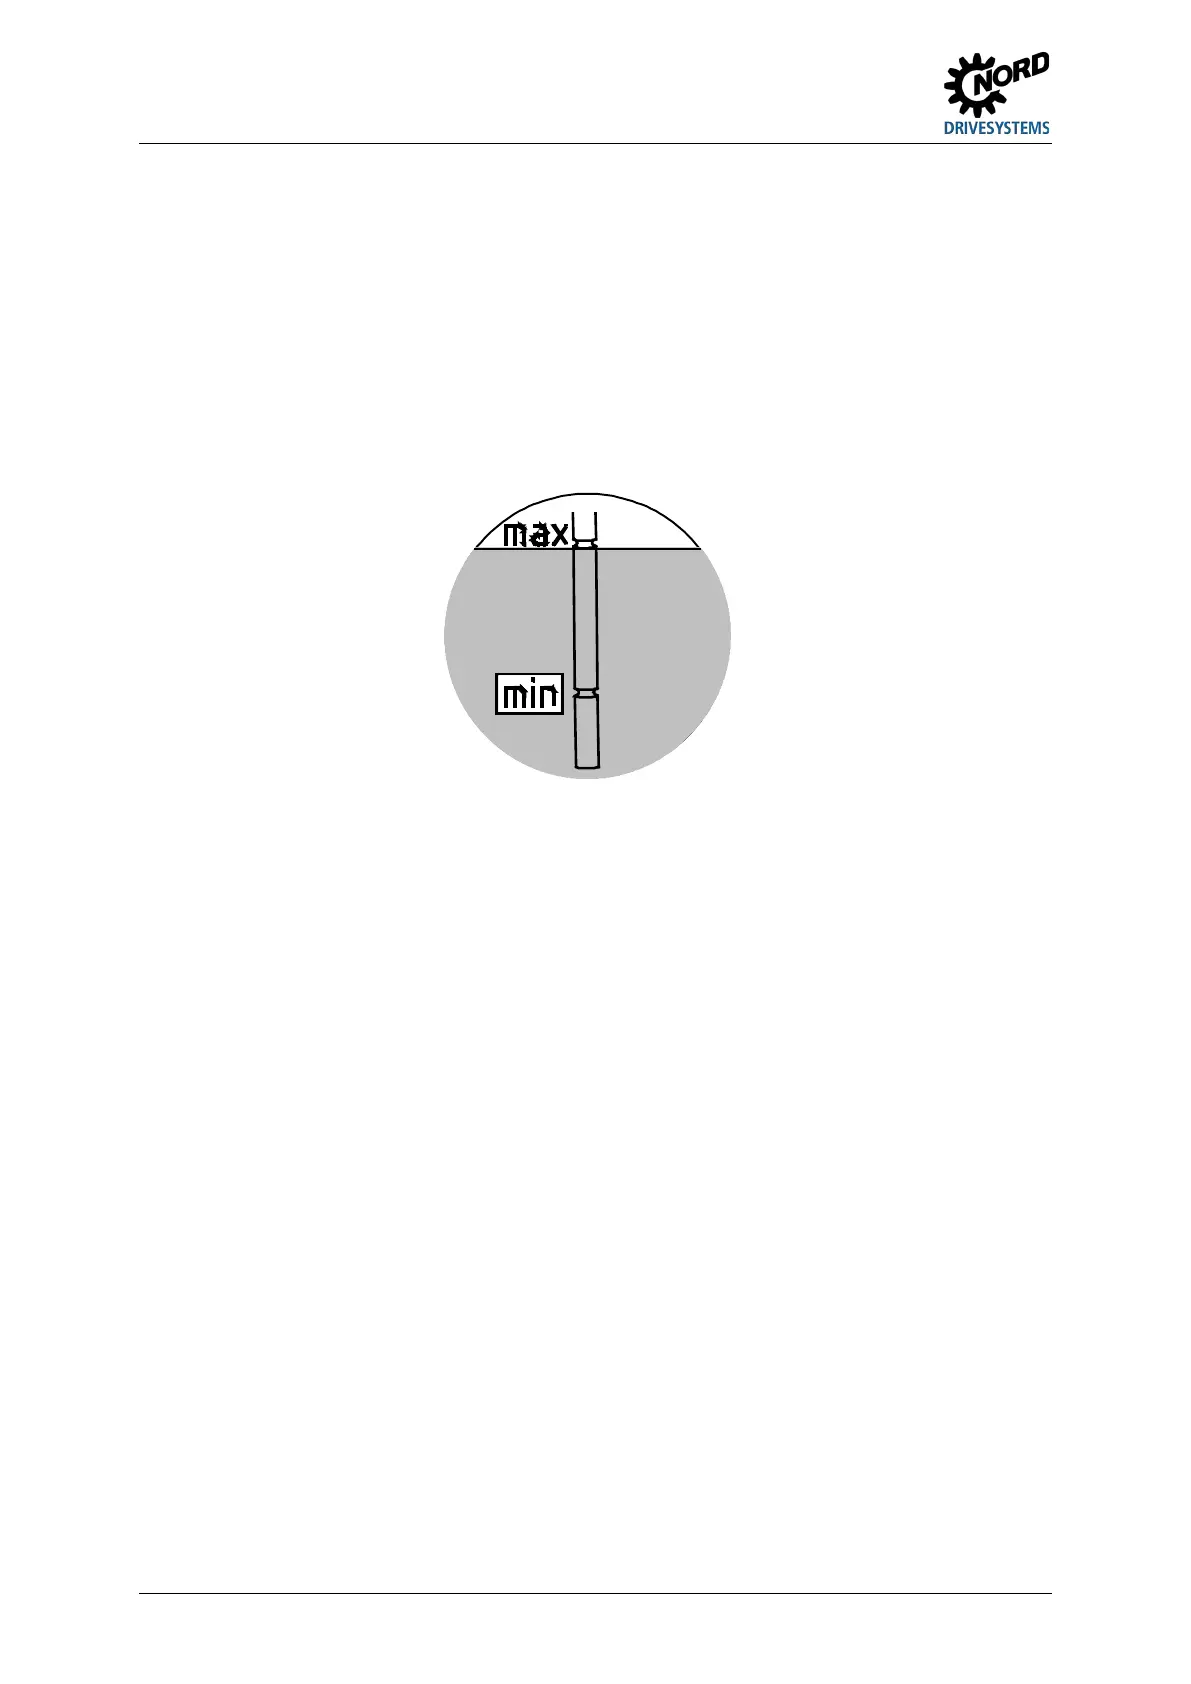
5.2.6.3 Oil dipstick (Option: PS)
1. Unscrew the dipstick from the gear unit and wipe it with a clean cloth.
2. Fully insert the dipstick into the gear unit and unscrew it again.
3. The oil level must be between the upper and lower marking.
Figure 28: Checking the oil level with an oil dip-stick
Pos: 17 1 /Anlei tung en/G etrieb e/5. In spekti on un d Wartung/Ölstand_07-Ölst ands behält er [B1 050, B20 50] @ 31 \mod_1553009462714_388.docx @ 2514268 @ 4 @ 1
5.2.6.4 Oil level tanks (Option: OT)
a. Oil level tank and dipstick (standard configuration) (characteristic: cylindrical container): The oil
level must be checked with the aid of the dipstick plug (thread G1¼) in the oil tank. The
sequence is as described in the previous section.
b. Oil level tank and Oil level indicator (standard configuration)(characteristic: rectangular
container): The oil level can be seen directly in the window The correct oil level is the middle of
the oil level indicator.
After correction of the oil level, unscrewed oil level screws, dipsticks, vents and oil drain screws which
have been unscrewed must be screwed in again and tightened with the appropriate torques (see
Section 7.4 "Torque values").
Pos: 17 2 /Allg emein/ Allg emeing ültig e Mod ule/---------Sei tenumbr uch ko mpakt --------- @ 13\mod_1476369695906_0.docx @ 2265495 @ @ 1
 Loading...