www.nordsonefd.com info@nordsonefd.com 800-556-3484 Sales and service of Nordson EFD dispensing systems are available worldwide.
EV Series Automated Dispensing Systems
18
Position the Robot and Install and Connect Components (continued)
Applicability Item
Components to Install
or Connect Installation Tasks
All models
(optional)
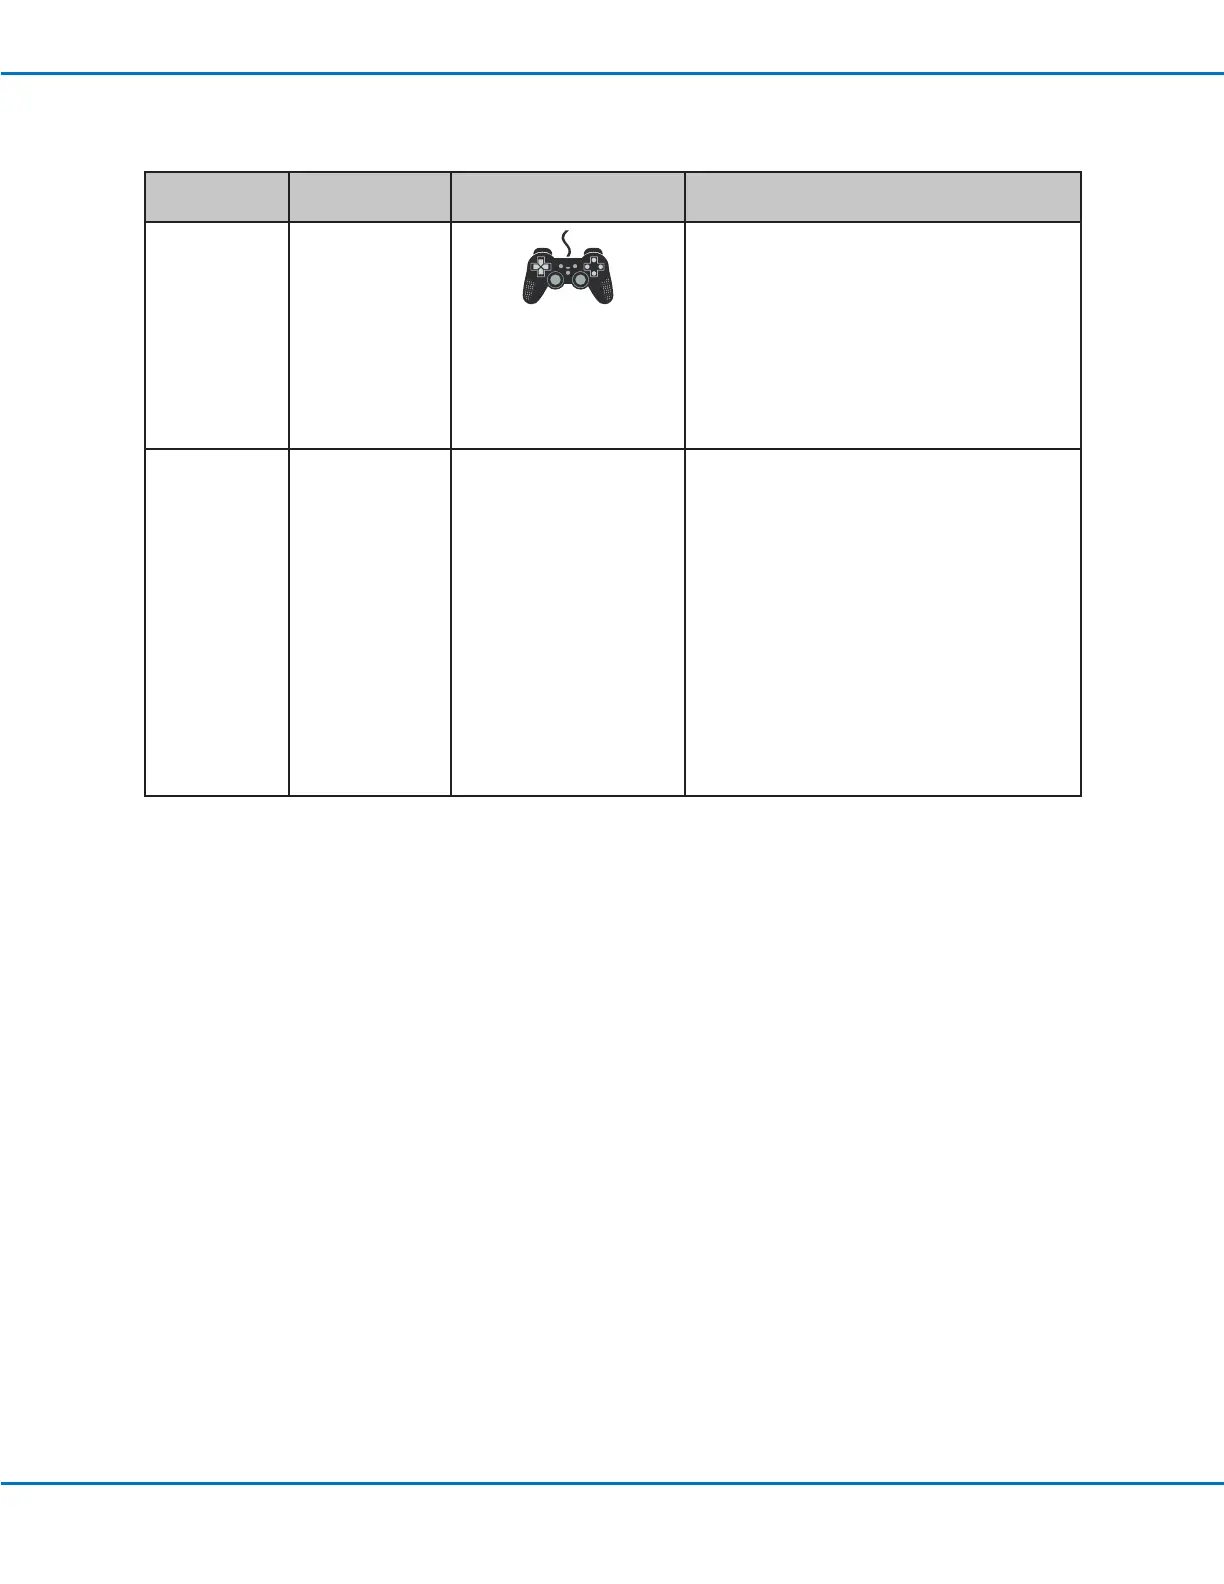
Joystick
Connect the joystick cable to any USB port
on the DispenseMotion controller or USB
expansion cable.
NOTES:
• Do not connect the joystick to the USB port
on the front of the robot.
• Refer to “Joystick” on page 15 for joystick
operating instructions.
All models Dispenser
components
As applicable
Mount the syringe barrel or dispensing
valve holder (as applicable) on the Zaxis;
choose mounting holes that allow a
maximum workpiece clearance but also
allow the dispensing tip to reach all areas
on the workpiece where dispensing is
required.
To prevent damage to the camera, make
sure the dispensing tip position is lower
than bottom of the camera. Refer to “Check
the Camera and Dispenser Installation” on
page 19.
Refer to the dispensing equipment manuals
for all other dispensing system installation
steps.