www.nordsonefd.com info@nordsonefd.com 800-556-3484 Sales and service of Nordson EFD dispensing systems are available worldwide.
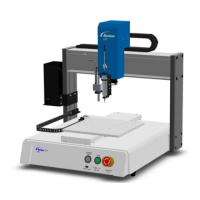
EV Series Automated Dispensing Systems
41
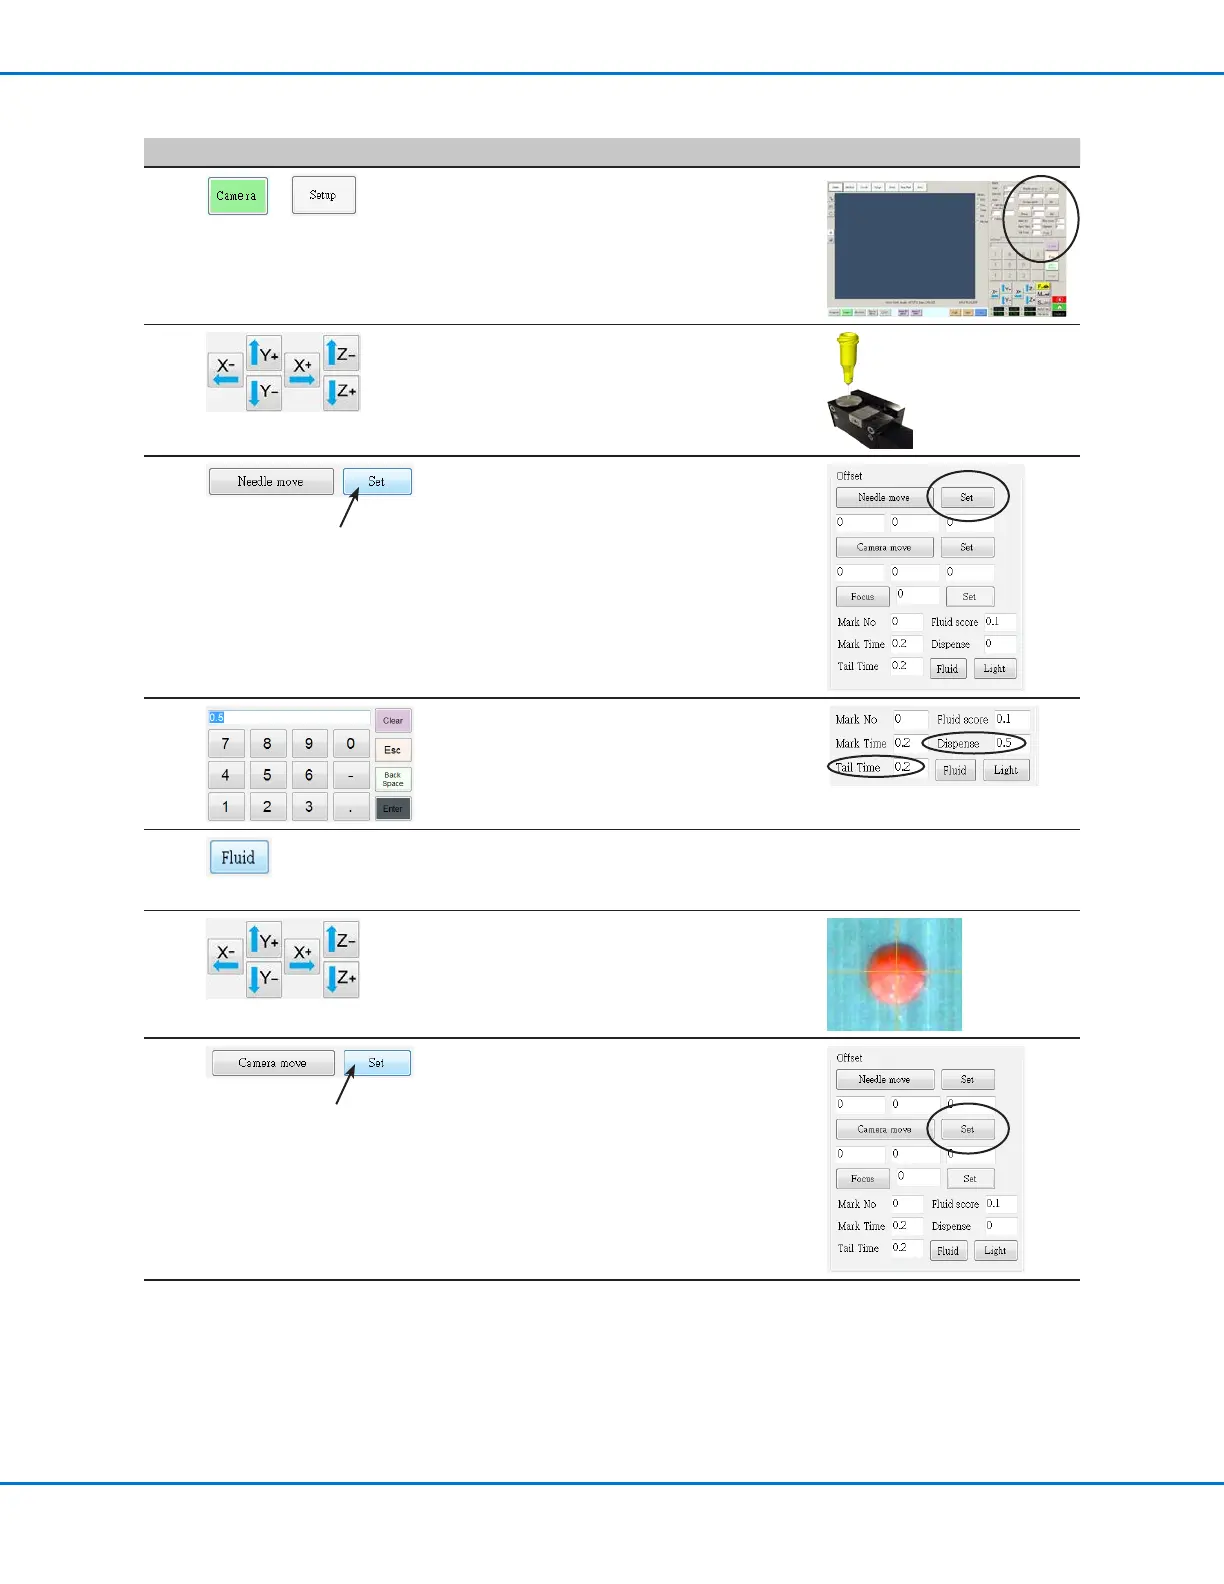
Setting the Camera-to-Tip Offset
# Click Step Reference Image
1
>
• Click the CAMERA tab and then click SETUP
at the top of the Camera screen.
The camera setup elds appear. This
procedure uses the elds under Offset,
located at the top right corner of the screen.
2
• Jog the tip until it is positioned over the
stainless-steel area on the tip detector.
Lower the tip until the desired dispense gap
(between the tip and surface) is reached.
3
• Click SET next to Needle Move.
This sets the XYZ coordinates for the
dispense calibration point. The system
enters the dispensing tip coordinates in the
elds under Needle Move and Set.
4
• Use the keypad to enter the following
recommended dispense dot parameters:
- DISPENSE: 0.5
- TAIL TIME: 0.2
5
• Click FLUID to dispense a dot of uid.
The dispenser dispenses a dot of uid (a
dispense dot) on the tip detector.
6
• Jog the camera until the camera crosshairs
are centered over the dispense dot.
• Jog the Zaxis until the image of the
dispense dot is clear.
7
• Click SET next to Camera Move.
This sets the camera position. The system
enters the camera coordinates in the elds
under Camera Move and Set.
Continued on next page