www.nordsonefd.com info@nordsonefd.com 800-556-3484 Sales and service of Nordson EFD dispensing systems are available worldwide.
EV Series Automated Dispensing Systems
86
Importing a DXF File
PREREQUISITES:
The system is properly set up. Refer to “Setting Up and Calibrating the System (Required)” on page 37.
If the tip was changed, run Needle Z Detect (systems with a tip detector) or Needle XY Adjust (no tip detector).
The system is in the correct mode (Tip or CCD).
The DXF le for the workpiece is located on the DispenseMotion controller.
The actual workpiece is properly positioned on the xture plate.
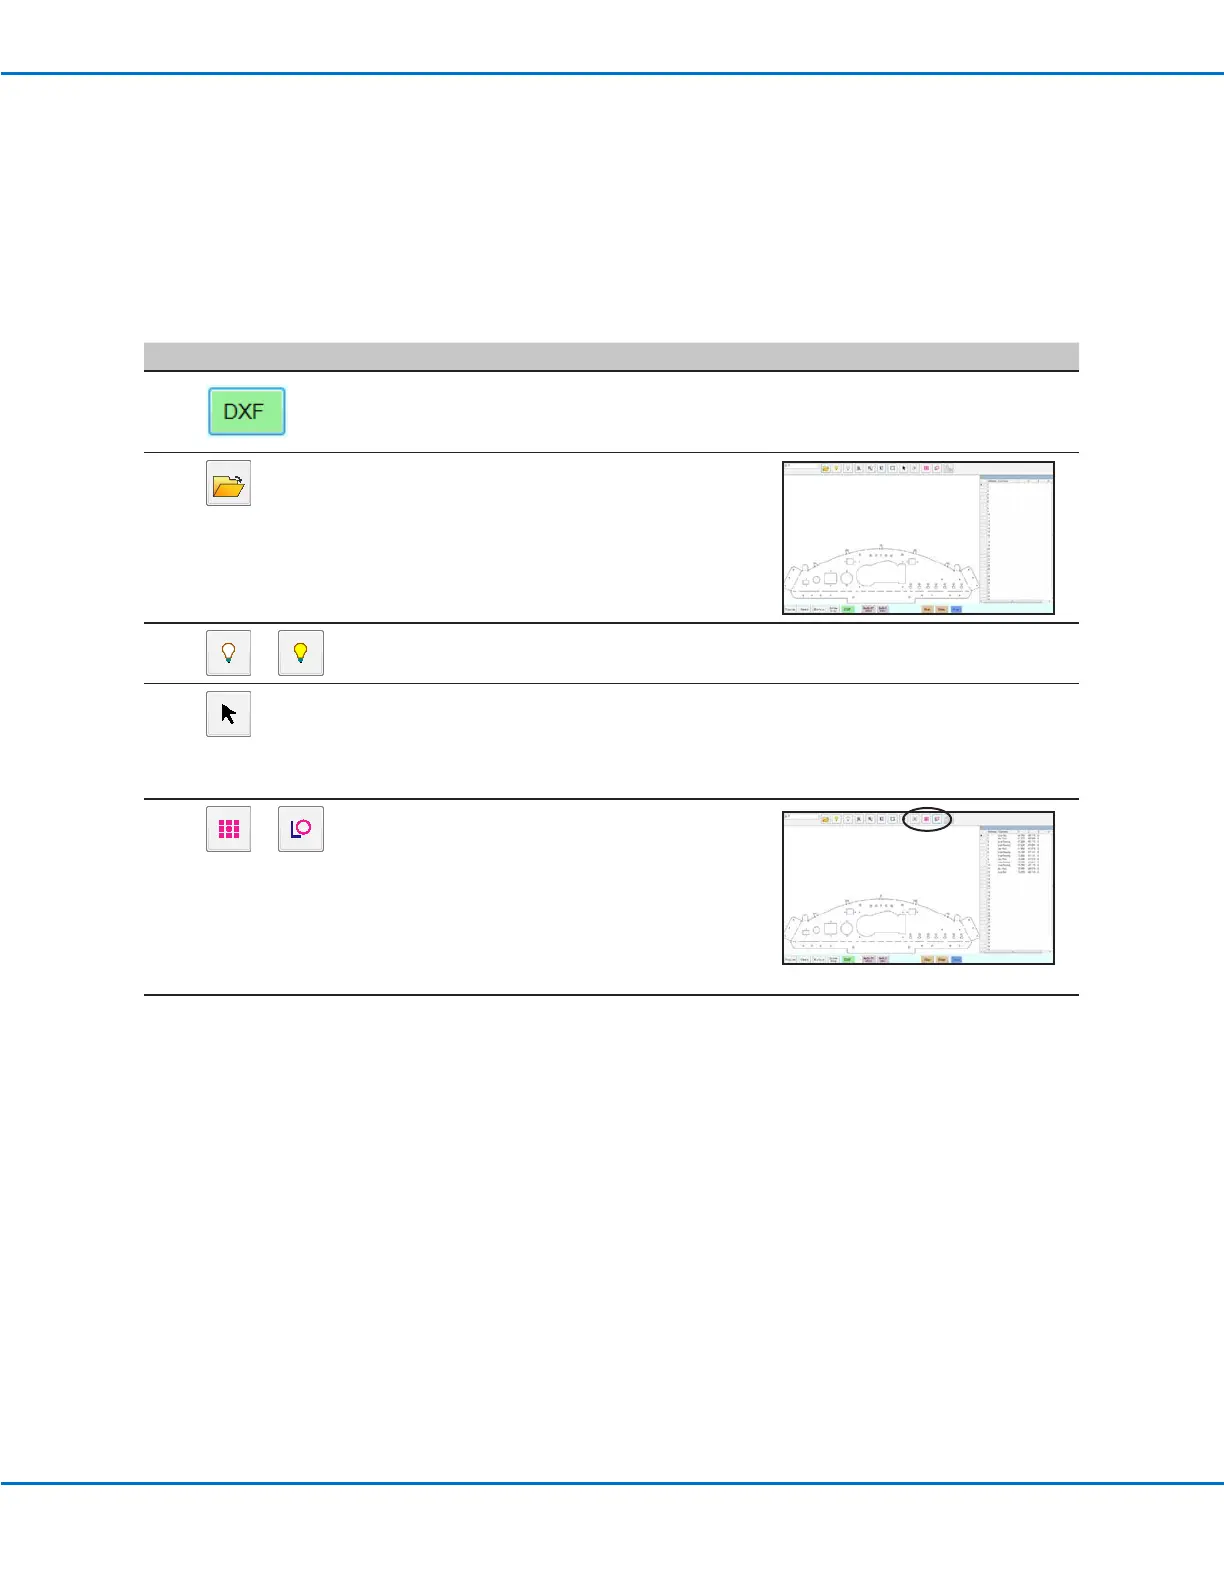
# Click Step Reference Image
1
• Click DXF.
The DXF screen appears in the Primary
View screen.
2
• Open the DXF le you want to convert
to a program.
The le appears in the Primary View
screen.
3
or
• To hide or show layers, click HIDE ALL
LAYERS or SHOW ALL LAYERS.
4
• Select the points and/or lines onto
which you want to dispense material.
Refer to “Overview of the DXF Screen”
on page 84 for an explanation of all
the selection icons.
5
or
• Click POINT DISPENSE (for dispense
dots) or LINE DISPENSE (for lines, arcs,
and circles).
The system generates the program
commands that will create the selected
pattern.
Continued on next page