Creating Objects
Designing a Form 15
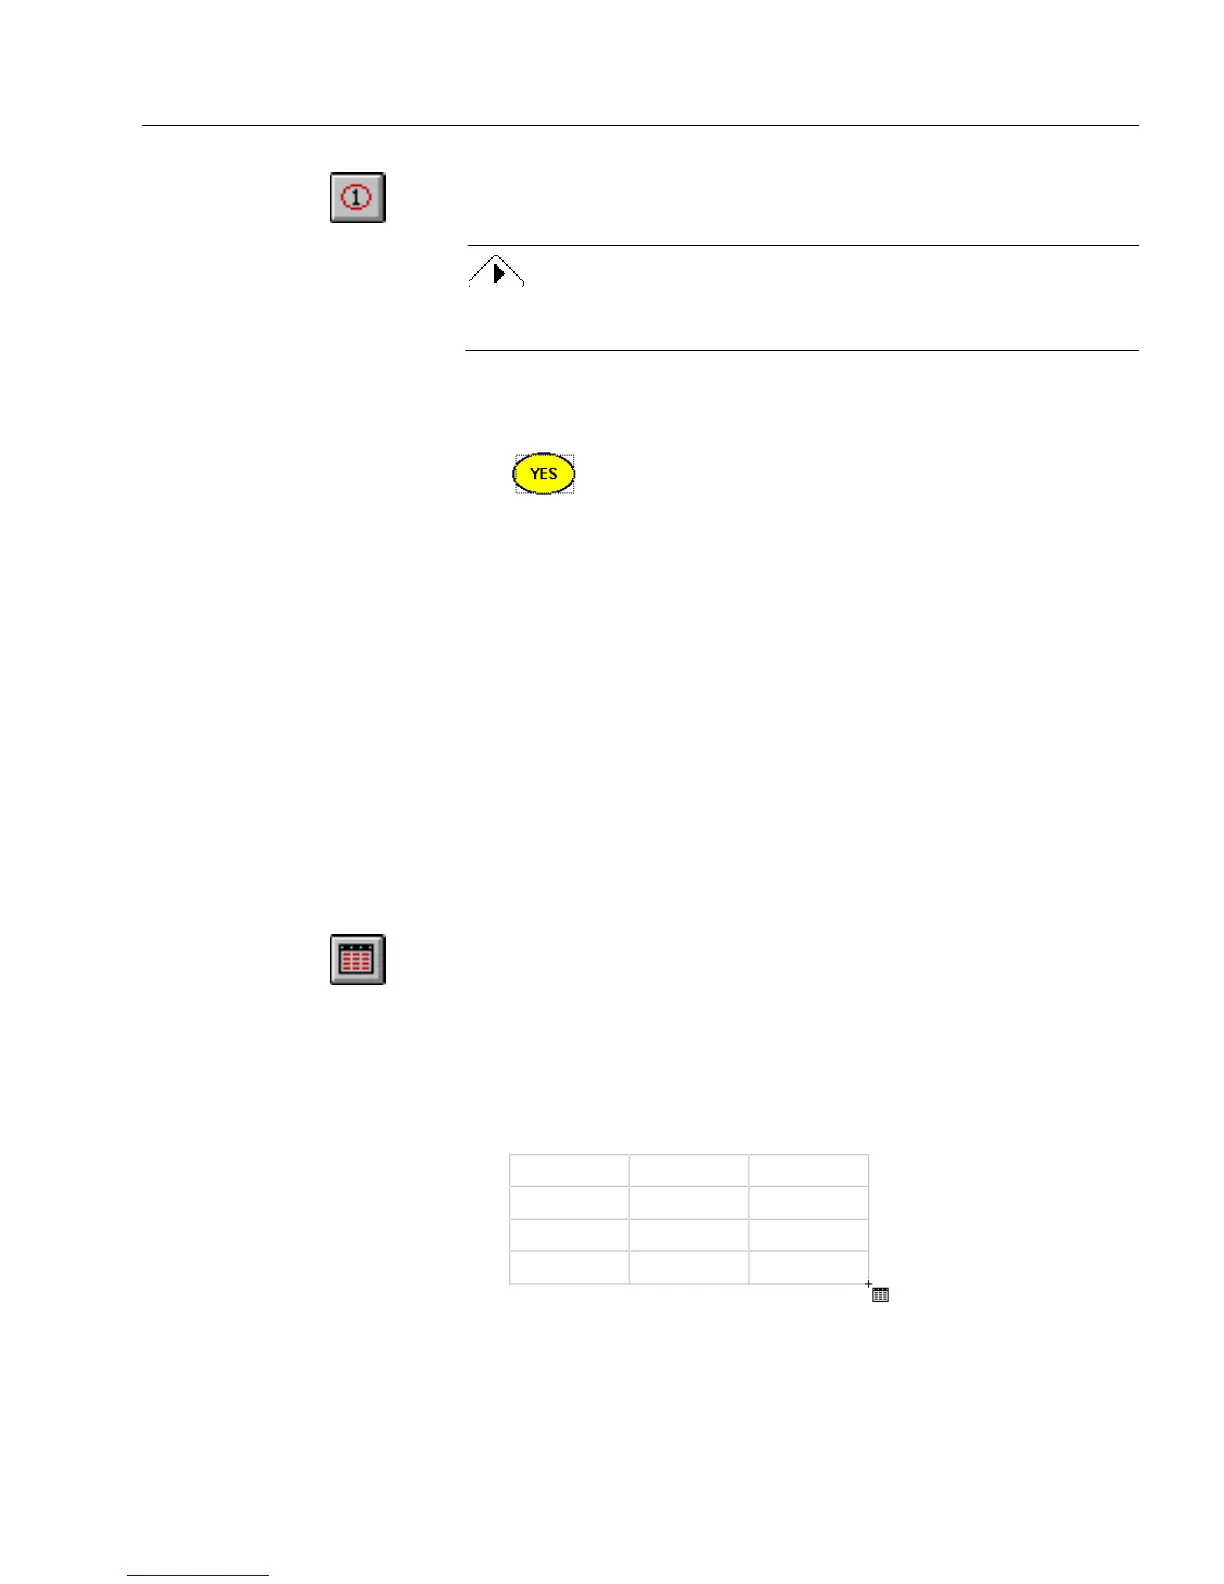
1 Click the Circle Text tool in the drawing toolbar.
2 Draw a circle text object.
To create a circle instead of an oval, hold down the Shift key as you
draw.
3 With the object still selected, type the text that you want to
replace the number in the object.
Creating a Table Object
Use a table to enter information for order forms, invoices, comparison
charts, purchase orders, and so forth.
A table consists of cells. Each cell contains a fill text object by default,
with the exception of the header. The header cells contain text objects by
default.
You can convert these objects to any other kind of object. You can insert
any object in a table cell. Cells can contain multiple objects.
See “Redesigning a Table” on page 5-38, “Placing Objects in Table Cells”
on page 5-43, and “Breaking a Table Apart” on page 5-39 for more
information on tables.
To create a table object:
1 Click the Table tool in the drawing toolbar.
2 Either click anywhere on the form to create a table, or move the
cursor to anyplace on the form and hold down the mouse but-
ton as you slowly drag the cursor.
The number of rows and columns in the comb field increase as
you drag the mouse. Let go of the mouse button when the table
contains the number of rows and columns that you want.