Protecting Your Database
Managing an OmniForm Database 25
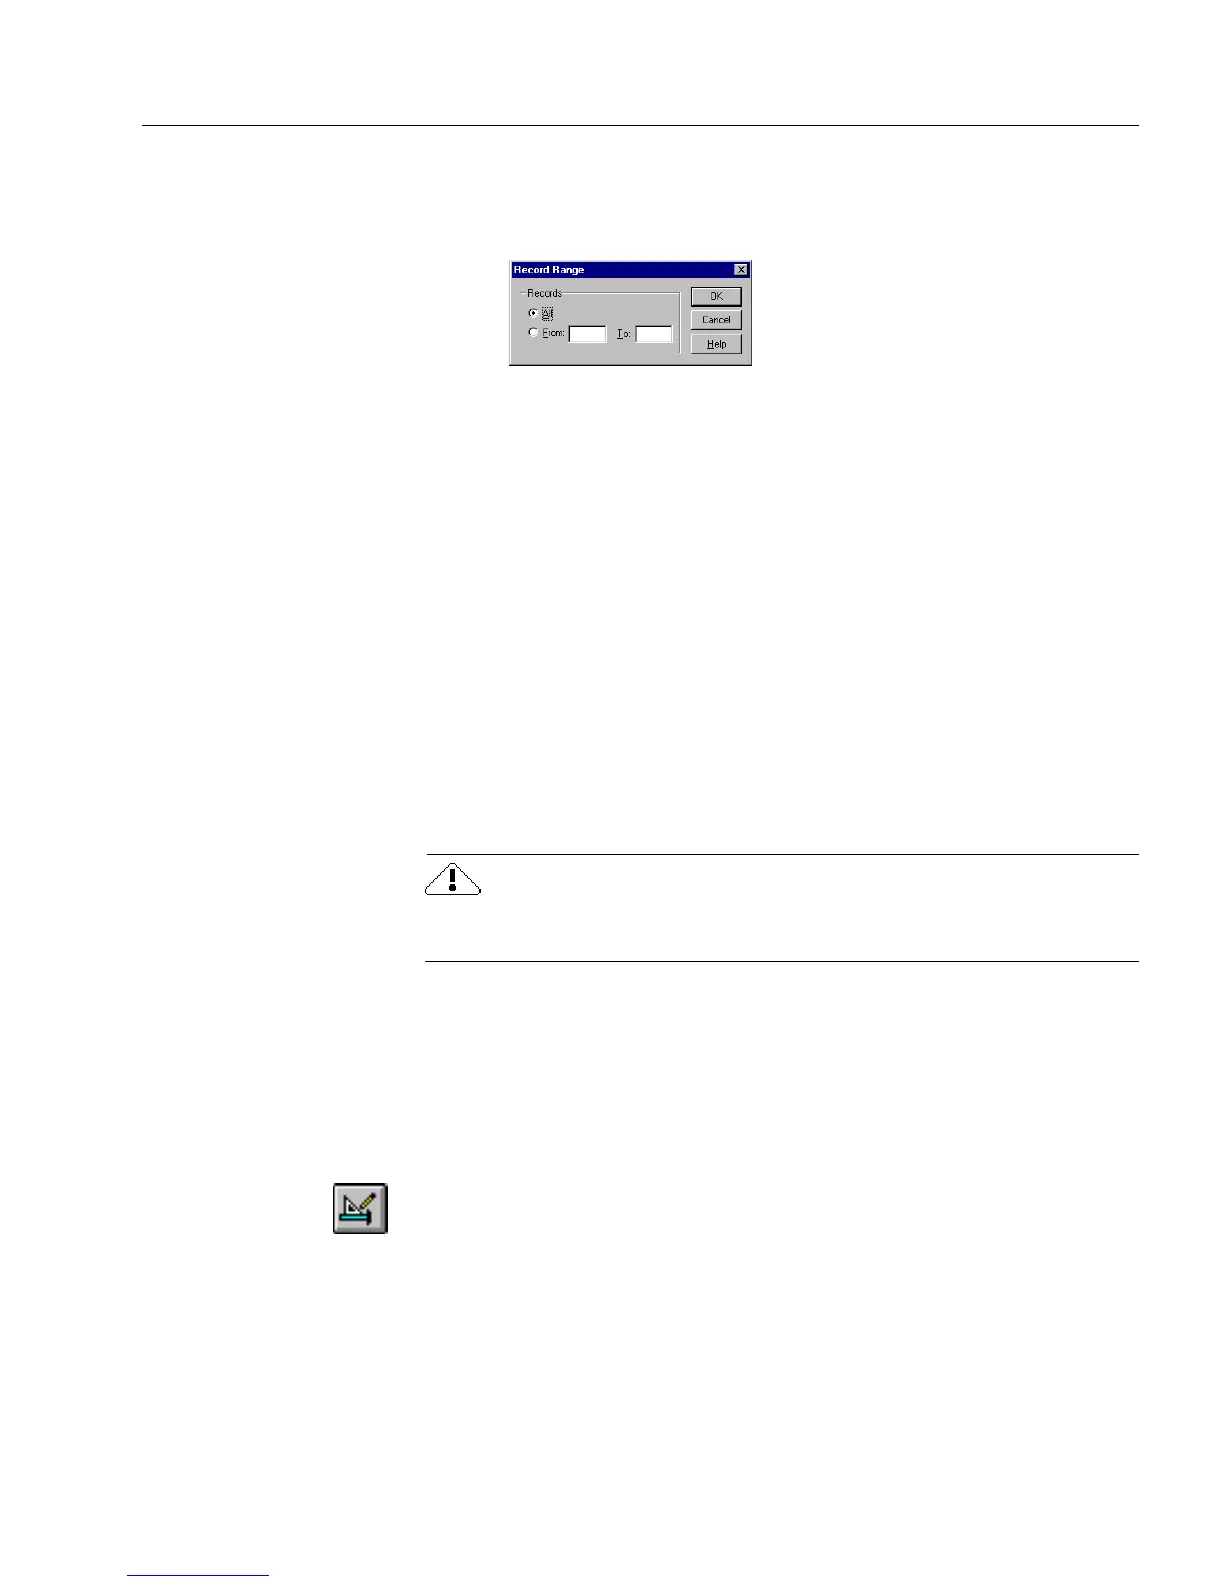
9 Click
Range...
to open the Record Range dialog box to specify a
range of records to import.
Otherwise, OmniForm imports all records by default.
• Type the first record number to import in the
From
text box
and the last record number of the range to import in the
To
text box.
• Click
OK
to return to the Import dialog box.
10 Click
OK
when you are done linking fields.
OmniForm imports the information into the selected fields, cre-
ating as many new records as necessary in the process.
11 Click
OK
in the dialog box that tells you how many records
were imported successfully.
Protecting Your Database
It is important to protect information and form design in your database.
This section describes how to use the OmniForm protection options to
protect both your data and form design from potential deletions or
changes, as well as the benefits of using the OmniForm Filler program.
If your OmniForm database has an administrator, check with the
administrator first before making any changes.
Protecting Data
Many databases have multiple users. Until a user is familiar with
database concepts and how to use OmniForm, you may want to protect
the information (data) entered in fill view from deletion or change.
To protect your data:
1 If you are in fill view, click the Design button in the standard
toolbar or choose
Design
in the View menu to switch to design
view.
2 Choose
Protection...
in the Tools menu.