Inserting OLE Objects in a Form
50 Designing a Form
Creating a New OLE Object
See the previous section, “How to Insert OLE Objects” on page 5-49 if
you need to insert an object. How your object appears depends on the
options you selected in the Insert Object dialog box.
If you selected
Display As Icon
in step 4 in the previous section, the
source application launches. Use its commands and tools to create your
object. Choose
Exit
in the File menu to insert the object as an icon.
If you did not select
Display As Icon,
an OLE window appears (some
applications do not support OLE windows and the object will launch in
the application itself). The OmniForm window changes to reflect the
application window for the selected object type:
• The name in the title bar changes to that of the source application.
• The embedded object appears as an empty OLE window within
the application window. Create your object here.
• All menus but the File and Windows menus change to those of
the source application.
• All toolbars change to those of the source application.
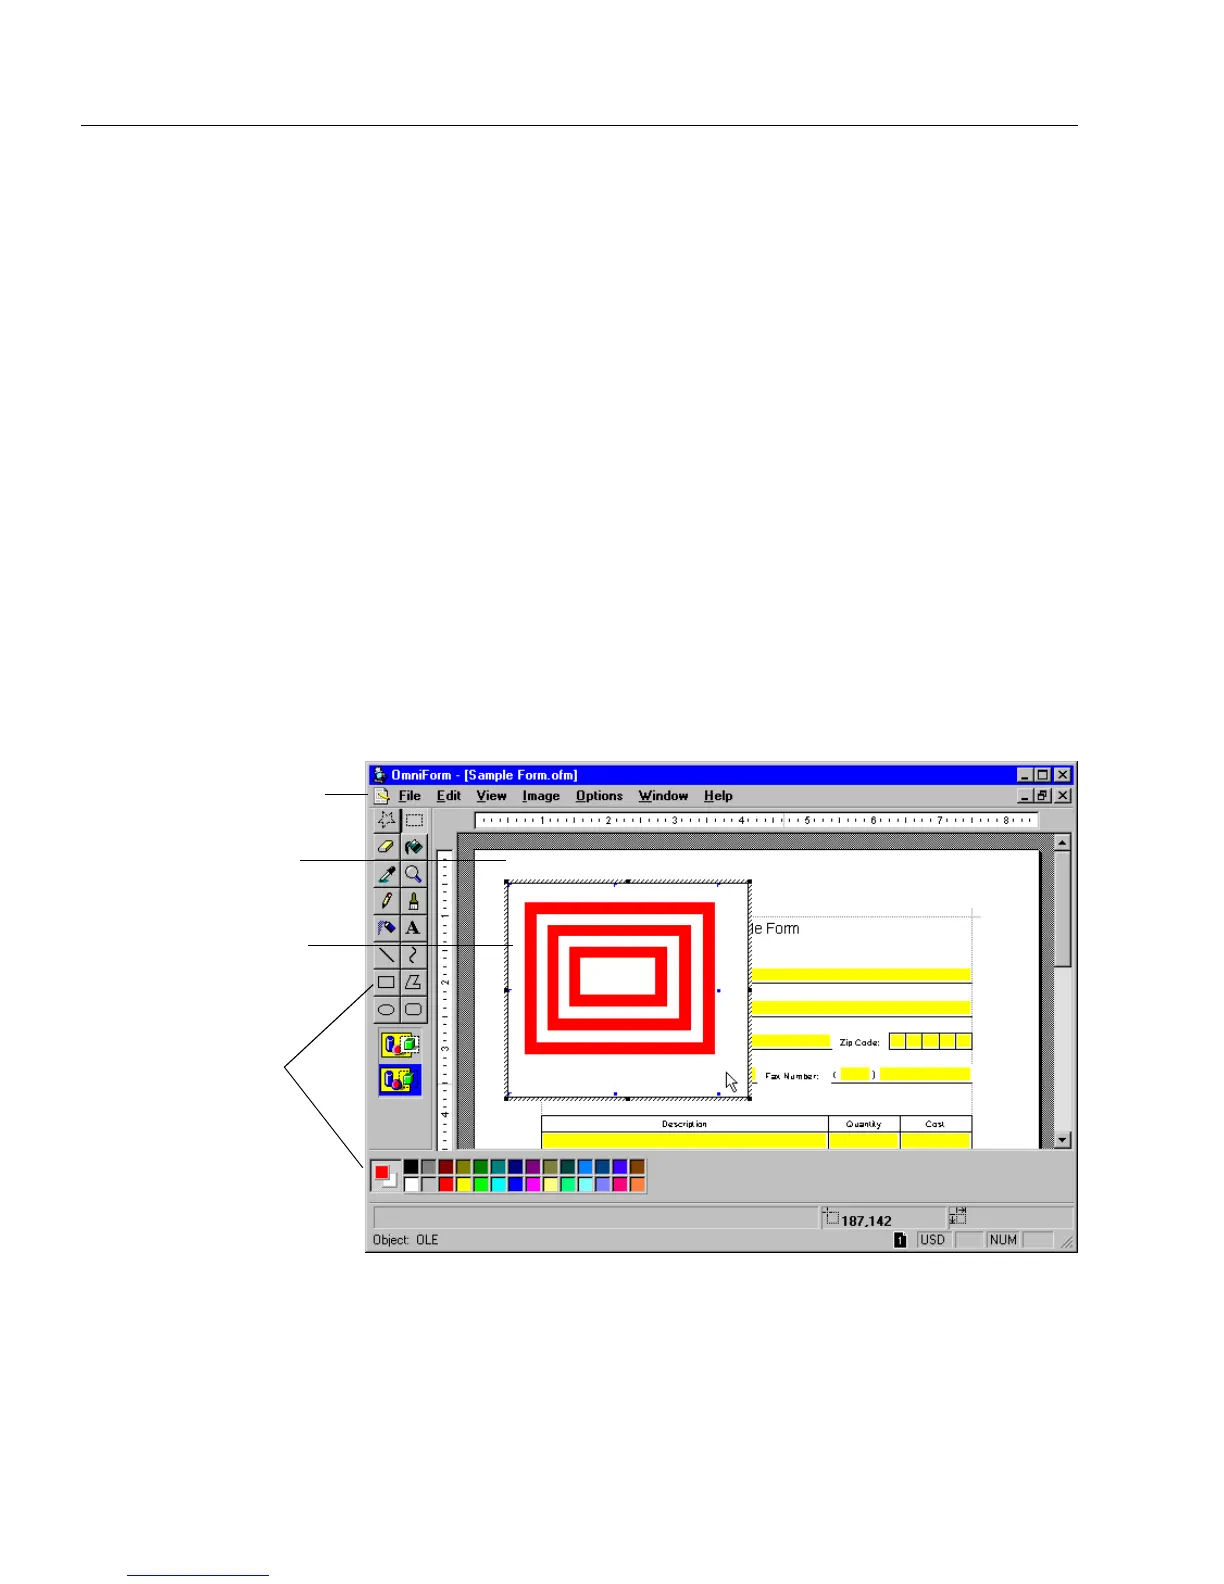
If you selected
Bitmap Image,
for example, you can use the Microsoft
Paint menu commands and tools and some OmniForm commands.
Create your object in the available window. Click outside the window or
press the Esc key to embed the object in your form when you are done.
Paint tools
used to create
object
OLE window
with newly creat-
ed bitmap im-
age to be
embedded
OmniForm form
Source application
menus