11 Performing a “Topography” Examination
Instruction Manual Keratograph 5M (G/77000/XXXX/EN – Rev05) 37 / 106
11 Performing a “Topography” Examination
Start the Keratograph 5M software (see “10.1 Starting the
Keratograph 5M Software” on page 30).
In the [Examination] menu, select [New].
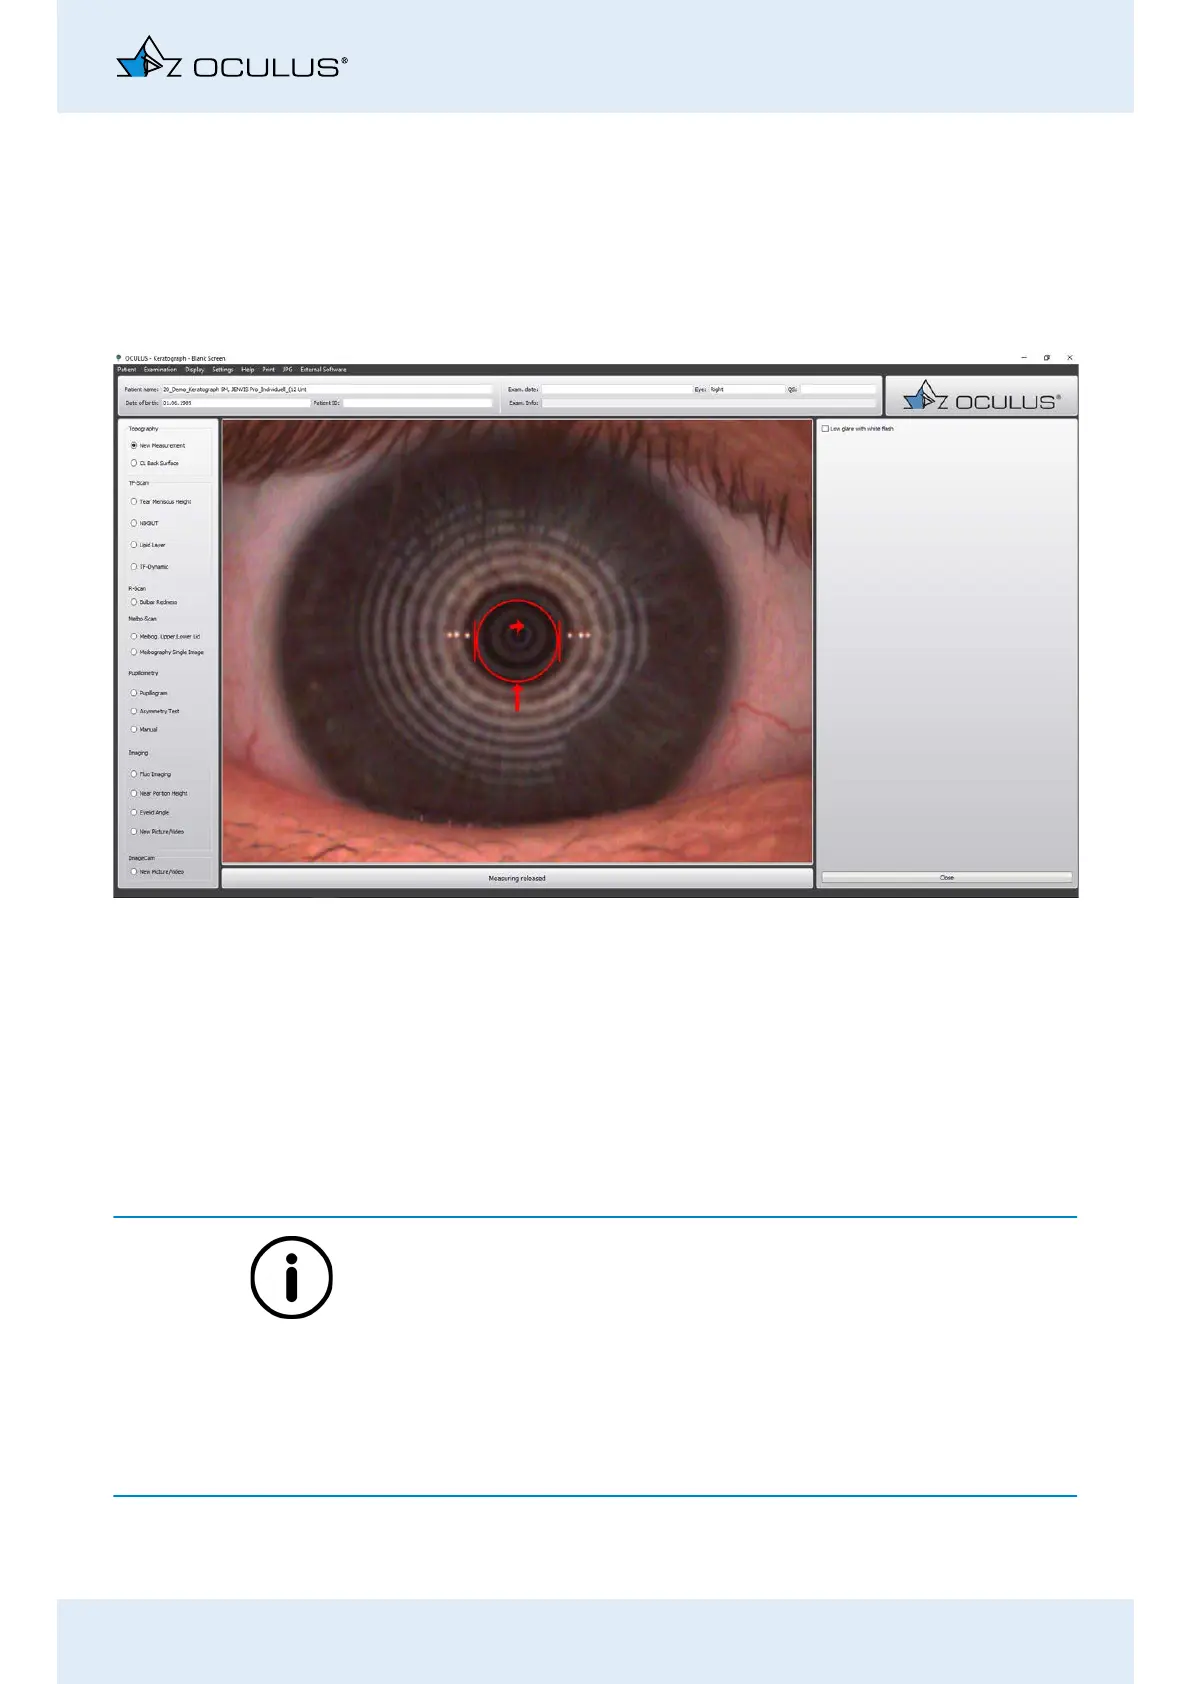
The following screen is displayed:
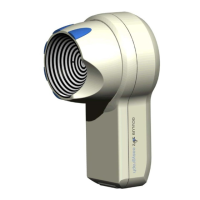
Position the patient and have them look at the red light in the mid-
dle of the device with their eyes wide open.
When examining particularly light-sensitive patients, disable the
[Low glare with white flash] (see “11.1 Patients who are sensitive to
light: Low glare with white flash” on page 38) button if necessary.
Activate the radio button [New Measurement].
Align the camera using the joystick (see “10.7 Aligning the camera
with the joystick” on page 34).
Once the cross-hairs are precisely aligned, the Keratograph automati-
cally starts measuring. This opens the “Overview” screen”.
If the measurement does not start automatically, which can happen in
case of severe corneal irregularities (e.g. severe keratoconus),
you can initiante the measurement manually (see “10.8 Manual
measurement” on page 36).
or
you will be prompted in a pop-up window to manually mark the
centre of the Placido rings (see “11.2 Manually marking the center
of the Placido rings” on page 38)
A manually initiated measurement may not be reproducible in some cir-
cumstances.
Fig. 11-1: Topography examination