16 Performing a “Pupillometry” Examination
Instruction Manual Keratograph 5M (G/77000/XXXX/EN – Rev05) 53 / 106
16.1 Adjustment
To use the pupillometry function, you must first focus the image.
Use the adjusting base and the joystick to focus on the center of
the pupil (see “10.7 Aligning the camera with the joystick” on
page 34).
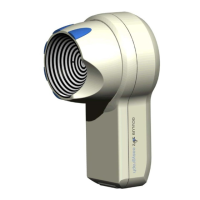
Use the image sharpness to adjust the distance.
To do so, sharply focus the image of the pupil by moving the x-y
stage or the joystick towards the Keratograph or away from the
Keratograph.
The blue bar indicates the degree of sharpness of the camera image.
The higher the blue bar is, the sharper the camera image.
16.2 Measuring values display
The measured values are displayed as a diagram:
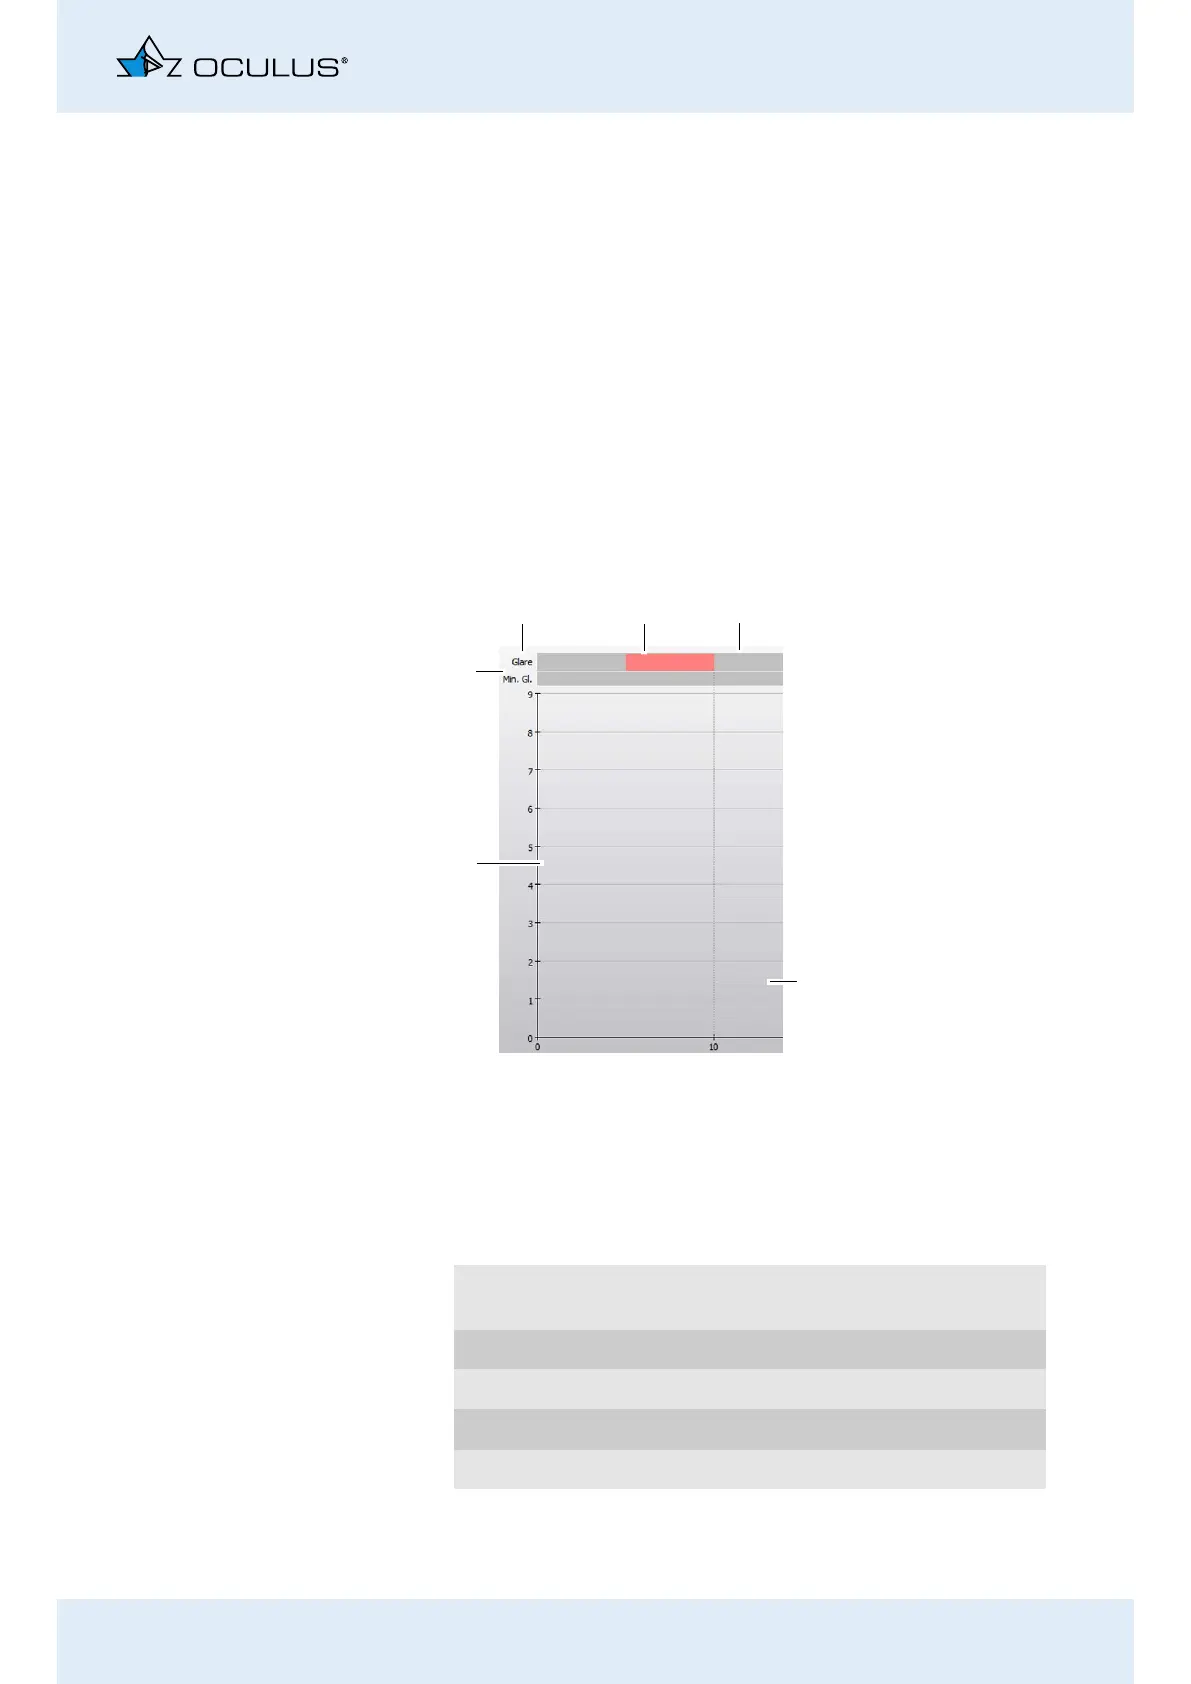
Fig. 16-2: Diagram
Glare Indicates the status of the ring illumination
(Placido system).
Red markers “Glare on”
Grey markers “Glare off”
x axis Measuring time in s
y axis Size of pupil in mm
1
2
3
4
1 “Glare” bar
2 Red marker
3 Gray marker
4 x axis
5 y axis
6 “Min. Gl.” bar