43
Chapter 4 Basic operations
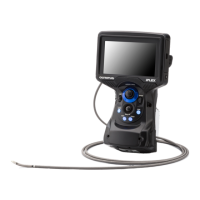
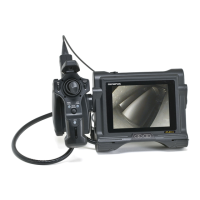
Checking the LCD monitor image
1 Open the shade of the LCD monitor and ensure that the LCD
monitor displays the observation image.
2 Make sure there are no dark patches or dirt in the image. If you find
any irregularities, go back to “3.4 Inspecting the insertion tube”
(page 28) and “3.6 Inspecting the optical adapter” (page 32) to
check it again.
NOTE
• Approximately 40 seconds after the [POWER] button is pressed a list of optical adapters is
displayed, after an optical adapter is selected the screen displays and menu operations are
enabled.
• When the language setting is changed, the time taken until the screen display functions, such
as menu selection, may be longer than before. This is not a malfunction.
• When using the stereo optical adapter, the positions of the left and right images may not line
up either horizontally or vertically depending on the combination of optical adapter and
instrument. However this is not a malfunction.
• The displayed title is the title that was entered on the Live screen the last time the system
was used.
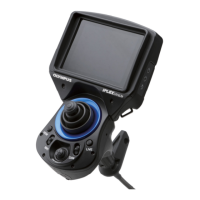
Setup of the optical adapter
The list of optical adapters is displayed about 40 seconds after the [POWER]
button is pressed.
Select the optical adapter to use from this list and press the [MEAS/ENTER]
joystick.
Refer to "Changing the selection of the optical adapter" (page 89) to do the
settings when changing the optical adapter or selecting a different optical
adapter.