56
Chapter 4 Basic operations
Adjusting the brightness
The brightness can be controlled either by “GAIN mode switching”, “Automatic
brightness control” or “Contrast correction”.
1 GAIN mode switching
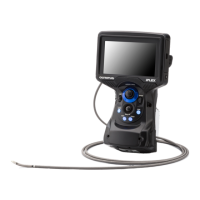
Press the [LIVE/GAIN] button on the remote control while the live image is
displayed. This switches the image’s GAIN mode. When this operation is
performed, the monitor screen shows the GAIN mode for about 3 seconds.
Switch the GAIN mode if the image is noisy or there is a dark area and you want
to make the image brighter.
The following four GAIN modes are available.
2 Automatic brightness adjustment with the [BRT/MARK] button
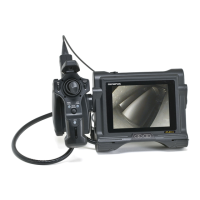
Press the [BRT/MARK] button on the remote control while the live image is
displayed to change the overall brightness of the image. When the image
brightness is adjusted, the LCD monitor displays the level indicator for about 3
seconds.
Use the [BRT/MARK] button when you want to change the overall brightness of
the image.
Mode Description
NORMAL Standard GAIN mode.
AUTO This is the default mode that the instrument is in immediately after it is
turned on.
The [BRT/MARK] button is interlocked to change automatically to the
dynamic range. This mode may be accompanied by increased noise
depending on the automatic brightness adjustment through the BRT/
MARK setting.
WiDER1 The mode to use when a brighter image than is possible in
STANDARD mode is desired. Note that this mode may be
accompanied with increased noise under certain observation
conditions.
WiDER2 The mode to use when a brighter image than is possible in WiDER1
mode is required.
“WiDER2” further expands the dynamic range so that dark positions
can be observed. But the noise may increase under certain
observation conditions.