45
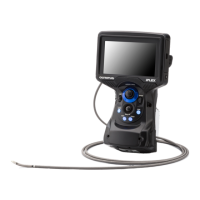
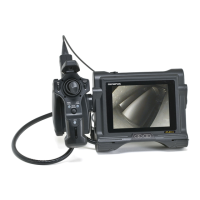
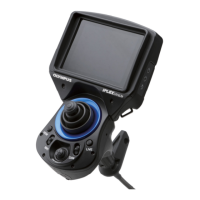
Chapter 4 Basic operations
Display language setting
Select the language to be used for menus and other display text before using
the system for the first time. For more information, see “Language selection”
(page 92).
Date and time settings
Set the current date and time before using the system for the first time. For more
information, see “Setting the date and time” (page 91).
Checking the illumination lighting
WARNING
• The Illumination emitted from the insertion tube's distal end may heat up and ignite nearby
objects. Be sure to set the illumination light turn off the [LIGHT] button on the front panel of
the instrument when not using the instrument.
• The instrument is a class 2 laser device. The device is guaranteed to be safe from irritating
your eyes, but be careful to not look directly into the light while using it. The light may enter
directly into your eye and cause an injury.
• The [LIGHT] indicator stays lighted, while the [LIGHT] button is pressed, as long as the light
is lighted. Be careful to not look directly at the light in the distal end of the insertion tube while
the indicator is lighted. The light may enter directly into your eye and cause an injury.
1 Attach the optical adapter firmly to the insertion tube.
See “Inspecting the optical adapter” (page 32) for the procedure to attach it.
2 Press the [LIGHT] button on the front panel and check that the
[LIGHT] indicator is lighted.
3 Verify the light is emitted from the insertion tube to ensure that the
light source is turned on.
White balance adjustment
Adjust the white balance of the image if necessary, according to the procedure
described in “Live screen/frozen screen menu display and functions” in “W
BALANCE” (page 75).
Adjust the white balance after replacing the optical adapter.